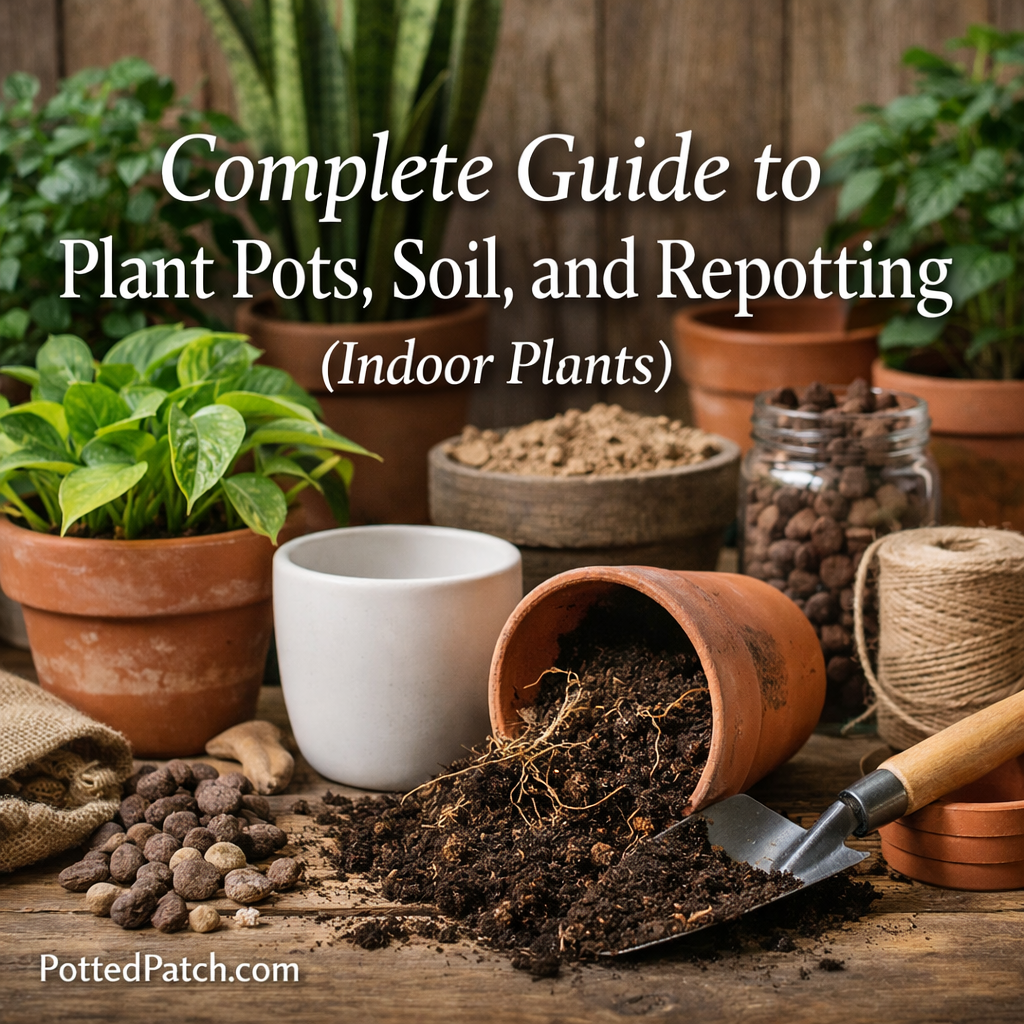
Choosing the right pot and soil is one of the most important parts of indoor plant care. Even if watering and light are correct, a poor container setup can lead to root problems, slow growth, and unhealthy plants.
The good news is that you don’t need complicated potting recipes or expensive containers to grow healthy houseplants. You mainly need to understand drainage, pot size, soil structure, and when a plant actually needs to be repotted.
If you’re completely new to plant care, start with the Beginner’s Guide to Indoor Plants (Start Here).
This guide focuses specifically on what is happening below the soil line and how pots, soil, roots, and watering all work together.
Why Pots and Soil Matter More Than You Think
The container setup affects:
- Drainage
- Root health
- Moisture retention
- Airflow around roots
- Watering frequency
- Overall plant stability
Roots need both moisture and oxygen.
When potting mix remains saturated for too long, the spaces that would normally contain air remain filled with water. That creates stressful conditions for many indoor plant roots and can eventually contribute to root rot.
On the other hand, a mix that dries almost immediately may require constant watering and can leave moisture-loving plants repeatedly stressed.
The goal isn’t simply to find “good soil.” It’s to create the right balance for the plant you’re growing.
In my experience, this is one reason plant problems sometimes continue even after someone changes their watering habits. If the pot is oversized or the soil is extremely dense, the root zone can still remain wet much longer than expected.
If your plant is already struggling, use the Complete Guide to Indoor Plant Problems (Diagnosis & Fixes) to evaluate the symptoms alongside its potting conditions.
Choosing the Right Pot
Not all pots behave the same way.
When choosing a container, consider:
- Drainage holes
- Pot size
- Material
- Depth and shape
- Plant stability
- Root structure
For most everyday houseplant care, drainage holes are the feature I consider most important.
They allow excess water to leave the container instead of accumulating around the roots.
Decorative pots without drainage can still be useful as outer covers. Keep the plant in a draining nursery pot inside the decorative container and remove any standing water after watering.
Terracotta vs. Plastic Pots
Both can work well.
Terracotta is porous and allows moisture to evaporate through the container itself. As a result, potting mix often dries faster.
This can be useful for plants that prefer a drier root zone, including many succulents and plants with lower water requirements.
Plastic and glazed containers lose less moisture through their walls, so potting mix generally remains moist longer.
That isn’t automatically bad. It simply means your watering habits need to match the container.
I’ve found it more useful to think of pot material as part of the watering system rather than deciding that one material is universally better.
For plant-specific examples, see Best Containers for a Monstera and Best Containers for a Snake Plant.
Understanding Pot Size
Pot size directly affects both root growth and moisture.
A container that is too small can eventually become crowded with roots.
A container that is dramatically too large creates the opposite problem: a small root system sits inside a large volume of potting mix that may take a long time to dry.
A useful general approach when repotting is to move up only modestly rather than jumping from a small pot to a very large one.
Why Oversized Pots Can Cause Problems
Imagine a plant with a relatively small root system sitting in a huge container.
After watering, all of that soil becomes moist. But there may not be enough roots to use the moisture efficiently.
The soil can remain wet around the roots for an extended period.
This is especially risky when combined with:
- Low light
- Cool temperatures
- Dense soil
- Frequent watering
That’s why “more room to grow” isn’t always beneficial.
For species-specific sizing considerations, see Best Pot Size for a Monstera and Best Pot Size for a Snake Plant.
If a plant grows slowly after you’ve ruled out container issues, its environment may also be responsible. The Where to Place Indoor Plants (Room-by-Room Guide) explains how light and placement influence growth.
Best Soil for Indoor Plants
There isn’t one perfect soil for every houseplant.
Indoor plants have different root systems and moisture requirements, so the best potting mix depends on what you’re growing.
In general, a useful indoor mix should:
- Hold enough moisture for the plant
- Drain excess water
- Maintain air spaces around roots
- Resist becoming extremely compacted
For many houseplants, commercial potting mix can serve as a base and be adjusted when necessary.
Materials commonly used in indoor potting mixes include:
- Potting mix or coco-based media
- Perlite or pumice for aeration
- Bark for structure and larger air spaces
- Other plant-specific amendments
The goal isn’t to add as many ingredients as possible.
A complicated mix isn’t automatically better than a simple one.
Different Plants Need Different Soil
A Monstera generally benefits from a loose, airy mix that provides both moisture and good drainage. See Best Soil for a Monstera for its complete care context.
Pothos is adaptable but still performs best when its roots aren’t sitting in dense, waterlogged soil. The Best Soil for a Pothos link now leads to the complete pothos care guide.
Peace lilies generally appreciate more consistent moisture than drought-tolerant houseplants, but their roots still need oxygen and drainage. See Best Soil for a Peace Lily.
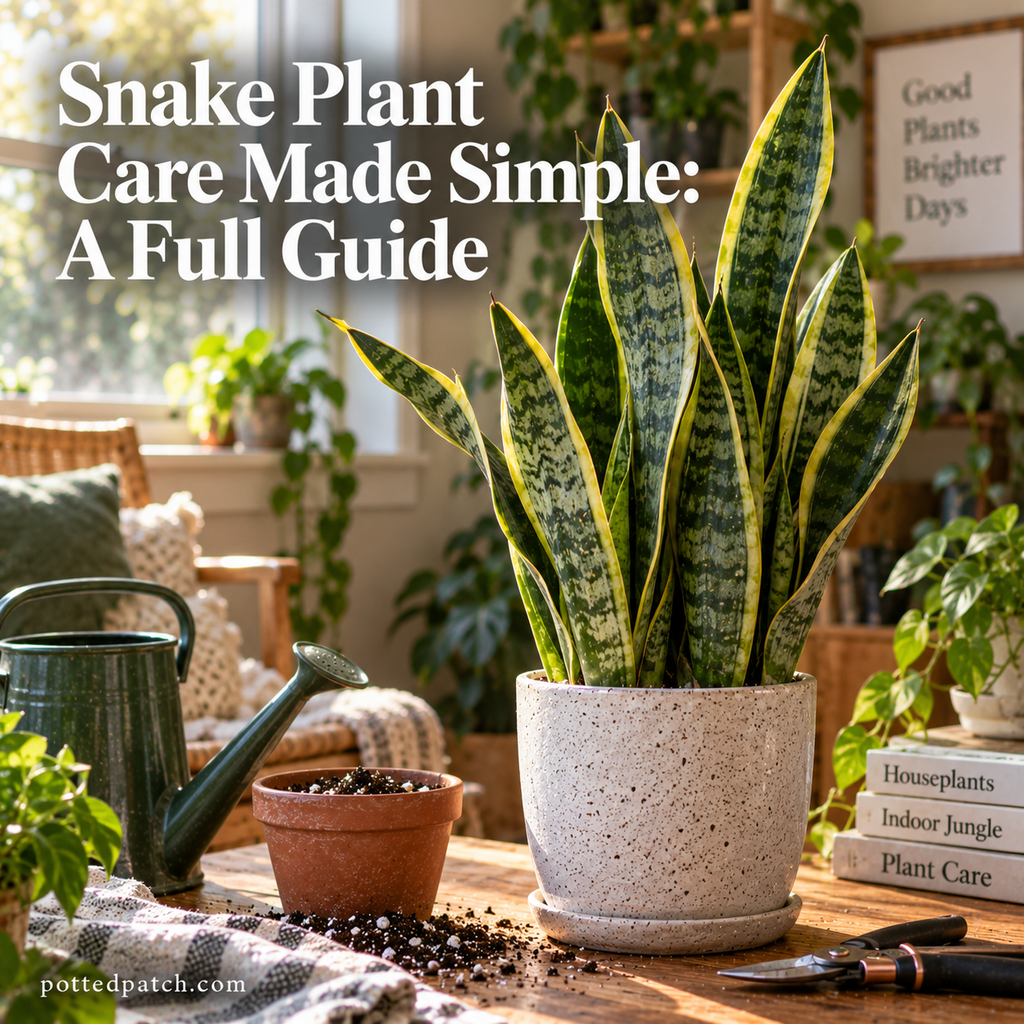
At the drier end of the spectrum, snake plants, aloe vera, many succulents, and cacti generally need mixes that allow excess moisture to escape readily.
This is why I avoid using the exact same soil recipe automatically for every plant in a collection.
For the bigger picture, the Complete Indoor Plant Care Guide (Beginner to Advanced) explains how soil interacts with light, watering, temperature, and other growing conditions.
How to Tell if Potting Soil Is Working
Don’t judge a potting mix only by what it looks like when you open the bag.
Watch how it behaves after watering.
A useful mix should generally absorb water while still allowing excess moisture to drain.
Pay attention if:
- Water immediately runs down gaps around the outside of extremely dry soil
- Water pools on the surface for a long time
- The mix stays saturated for many days
- The soil becomes hard and compacted
- The mix dries far faster than expected for the plant
Those patterns can tell you more than the words printed on a bag.
I’ve found drying time particularly useful. If a pot suddenly takes much longer to dry than it used to, I check the season, light, soil condition, pot size, and root health before automatically changing the watering schedule.
Signs Your Plant Needs Repotting
Repotting isn’t something that needs to happen simply because a certain amount of time has passed.
Look for evidence.
Possible signs include:
- Roots growing heavily through drainage holes
- Roots tightly circling the inside of the pot
- Soil drying unusually quickly
- The plant becoming unstable or top-heavy
- Potting mix breaking down or compacting
- Growth becoming restricted despite appropriate care
- Water having difficulty penetrating the root ball
Not every visible root means the plant urgently needs a new pot.
Some plants tolerate relatively snug containers, and occasionally a root finds a drainage hole even though plenty of usable space remains inside.
If you’re uncertain, gently slide the root ball from the pot and inspect it rather than automatically moving the plant into something larger.
For examples, see When and How to Repot a Monstera and When and How to Repot a Snake Plant.
When You Shouldn’t Repot
Repotting can be useful, but it also disturbs the roots.
You may not need to repot just because:
- You recently bought the plant
- One leaf turned yellow
- Growth temporarily slowed
- You dislike the nursery pot
- A small root is visible
If the nursery pot is appropriately sized, drains properly, and the potting mix is functioning well, leaving the plant alone while it acclimates can be perfectly reasonable.
This is something I’ve become more conservative about over time. Repotting immediately can feel like giving a new plant a “fresh start,” but sometimes the best thing you can provide is stability.
There are exceptions, of course. Severely compacted soil, poor drainage, active root problems, or an inappropriate container may justify earlier intervention.
How to Repot a Plant (Simple Method)
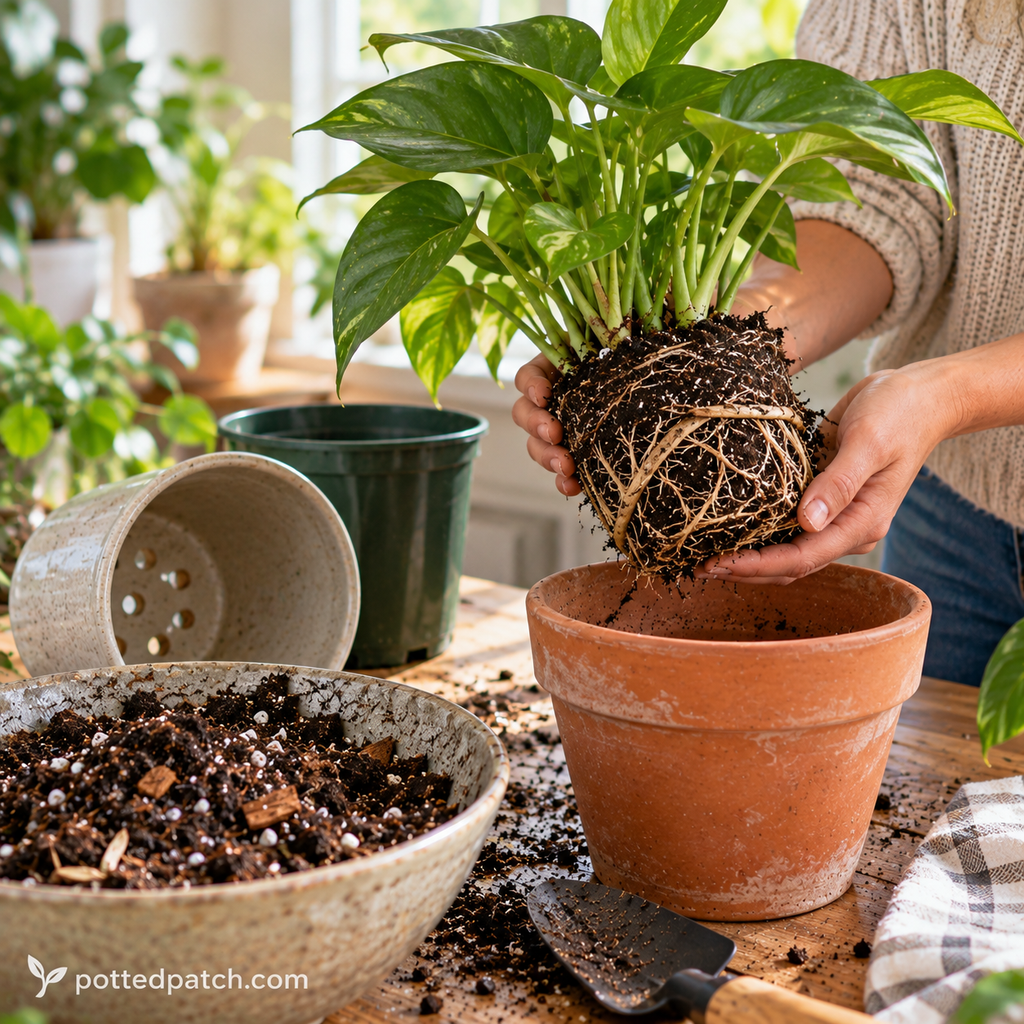
Repotting doesn’t have to be complicated.
1. Choose the New Container
Select a pot with drainage that is only moderately larger than the current root system.
2. Prepare Fresh Potting Mix
Use a mix appropriate for the species.
It helps to have everything ready before removing the plant so the roots aren’t left exposed longer than necessary.
3. Remove the Plant Gently
Support the plant near its base and ease the root ball from the container.
Avoid pulling hard on stems.
If the plant is stuck, gently squeeze a flexible nursery pot or work around the edges to loosen it.
4. Inspect the Roots
Healthy roots should generally feel firm.
Look for:
- Dead roots
- Mushy areas
- Severe circling
- Unusual odors
- Signs of rot
You don’t need to completely remove every piece of old soil from a healthy root ball.
5. Loosen Severely Compacted Roots if Necessary
If roots are tightly circling the pot, gently loosening the outer portion can help encourage them to grow into the fresh mix.
Avoid aggressively tearing apart a healthy root system.
6. Position the Plant
Place some potting mix in the new container and position the plant at approximately the same depth it was growing previously.
Avoid burying the stem substantially deeper unless that particular plant benefits from it.
7. Fill Around the Root Ball
Add fresh mix around the sides.
Firm it lightly enough to support the plant without compressing the soil into a dense block.
8. Water Appropriately
Watering after repotting helps settle fresh mix around the roots for many common houseplants, but the exact approach can vary by plant and the condition of the roots.
For a beginner-oriented walkthrough within a broader maintenance routine, see Beginner Guide to Repotting Plants Safely.
What to Expect After Repotting
Don’t expect explosive growth the next morning.
A recently repotted plant may spend time adjusting to the disturbance and developing roots into its new soil.
During this period:
- Keep its light appropriate and relatively stable
- Avoid repeatedly moving it
- Monitor moisture carefully
- Don’t assume every slight droop requires more water
- Watch new growth rather than expecting old damaged leaves to repair themselves
A larger pot may also dry differently from the old one.
That means your previous watering rhythm may no longer apply.
This is one of the most overlooked parts of repotting: the container changes, so watering may need to change too.
Common Pot and Soil Mistakes
Many root-zone problems begin with a few common mistakes.
Using Pots Without Drainage
Water can collect at the bottom where you can’t see it.
Use a draining inner pot if you want to keep a decorative outer container without holes.
Overpotting
Moving into a dramatically oversized container can leave the root system surrounded by wet soil for too long.
Increase pot size gradually.
Using Dense or Compacted Soil
Roots need oxygen as well as water.
A mix that remains heavy and saturated can create problems even when you’re trying to water carefully.
Assuming Every Plant Needs the Same Soil
A peace lily and a cactus don’t have identical moisture requirements.
Match the mix to the plant.
Repotting Too Frequently
Repeated root disturbance can create unnecessary stress.
Repot when conditions justify it.
Ignoring Root Health
Leaves can provide clues, but sometimes the actual problem is below the soil.
For example, widespread yellowing on a Monstera can have several causes. Use How to Fix Yellow Leaves on Monstera to evaluate the symptom in context.
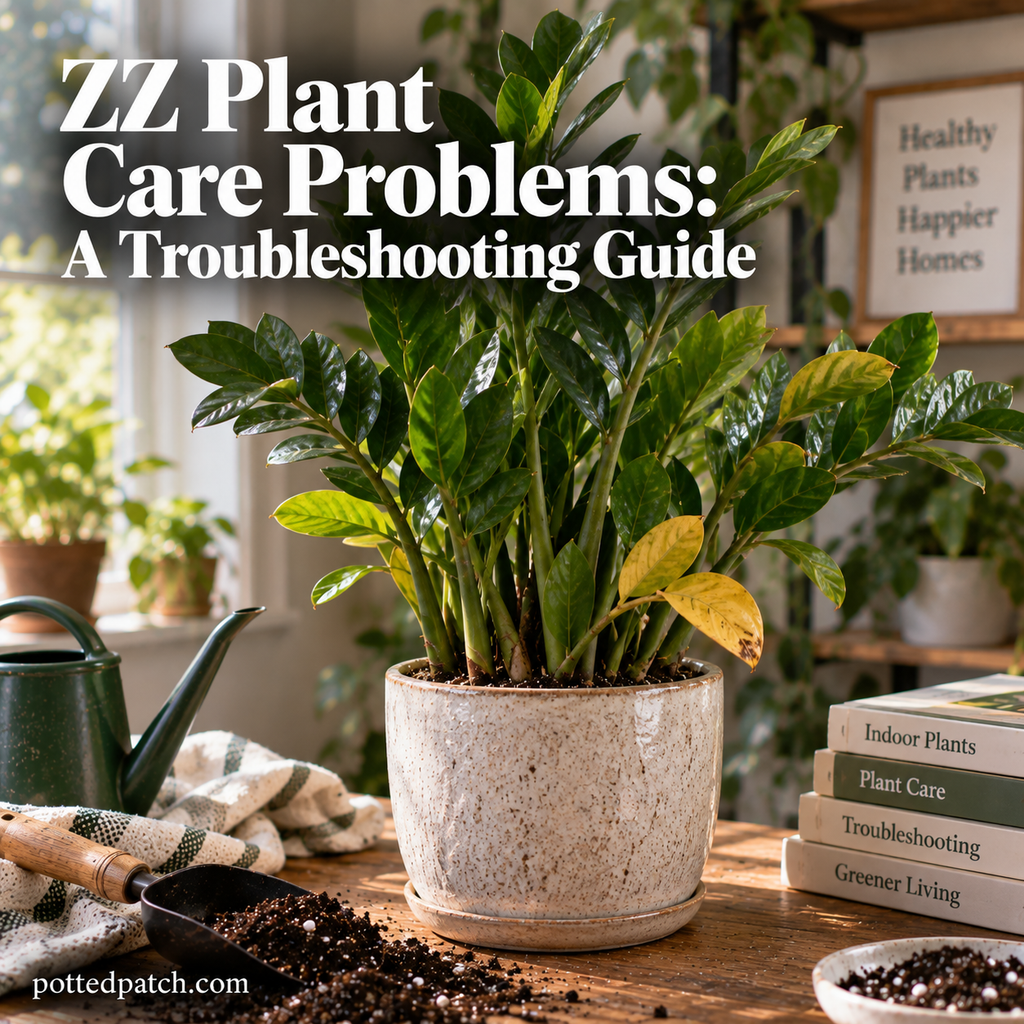
Similarly, a wilting ZZ plant isn’t automatically thirsty. How to Fix Wilting on ZZ Plant covers the possible causes, including root and moisture problems.
For general diagnosis, return to the Complete Guide to Indoor Plant Problems (Diagnosis & Fixes).
How Pots Affect Watering
Your pot directly influences how quickly the root zone dries.
As a general pattern:
- Small pots often dry faster
- Large pots generally hold more moisture
- Terracotta pots tend to dry faster
- Plastic and glazed pots tend to retain moisture longer
- Dense soil stays wet longer
- Airy soil generally drains and dries more quickly
But the pot isn’t the only variable.
Light, temperature, humidity, plant size, root density, season, and airflow all affect drying time too.
This is why fixed watering schedules are unreliable.
A Monstera growing vigorously beside a bright window may use moisture much faster than an identical plant in weaker light. See How Often to Water a Monstera for species-specific guidance.
The same principle applies to drought-tolerant plants. How Often to Water a Snake Plant explains watering in the context of its complete care requirements.
Reusing Pots and Potting Mix
Healthy pots can often be reused.
Before placing another plant into an old container:
- Remove old roots and debris
- Clean the container
- Make sure drainage holes remain open
- Inspect it for damage
Be more cautious with old potting mix.
Mix that has become compacted, broken down, contaminated, or associated with serious root problems isn’t something I automatically reuse for another indoor plant.
Fresh potting mix gives you a more predictable starting point, particularly when you’re dealing with plants that are sensitive to drainage.
Connecting Pot Care With Overall Plant Health
Potting, watering, light, and placement all work together.
Consider a plant in a large plastic pot with dense soil.
Put that plant in relatively low light and the soil may remain moist for a long time.
Move the same species into brighter appropriate light, an appropriately sized container, and a more aerated mix, and its watering needs may change substantially.
That is why diagnosing plants based on a single factor can be misleading.
The Complete Indoor Plant Care Guide (Beginner to Advanced) explains how these variables interact across everyday care.
Placement matters too. Use the Where to Place Indoor Plants (Room-by-Room Guide) when deciding whether a plant’s location may be influencing its growth and drying time.
A Simple Potting Checklist
Before potting or repotting an indoor plant, ask:
- Does the container have drainage?
- Is the new pot appropriately sized?
- Does the soil match the plant’s moisture requirements?
- Is the potting mix loose enough to maintain airflow?
- Are the roots healthy?
- Is there actually a reason to repot?
- Will the plant remain at roughly the same planting depth?
- Have I considered how the new container may change watering?
If those basics are right, you’ve already eliminated many of the most common container-related problems.
Final Thoughts
The right pot and soil setup makes indoor plant care easier, more predictable, and more successful.
Focus on three fundamentals: drainage, appropriate pot size, and a potting mix suited to the plant.
Don’t assume a bigger pot is automatically better. Don’t repot simply because a calendar says it’s time. And don’t treat soil as an isolated ingredient—the pot, roots, light, season, and watering habits all influence how that soil behaves.
In my experience, paying attention to how quickly a container dries is one of the simplest ways to understand what is happening below the surface. Sudden changes in drying time can reveal problems with light, root density, soil structure, pot size, or seasonal conditions before the plant becomes severely stressed.
When you do repot, move up gradually, inspect the roots, use fresh appropriate potting mix, and give the plant time to adjust afterward.
Healthy roots make almost every other part of indoor plant care easier.
Get the conditions below the soil right, and you’ll prevent many problems before they ever show up on the leaves.