A good beginner plant-care routine isn’t a calendar telling you when every plant gets water, fertilizer, or a larger pot. I would use a regular schedule to check plants, then let soil moisture, new growth, light, temperature, and the plant’s condition determine what actually needs to be done.
Start With a Routine You Can Actually Maintain
Most established houseplants don’t need daily intervention.
For a beginner collection, I would organize care into three levels:
- Daily: notice obvious changes as you walk past.
- Weekly: check soil, foliage, drainage, pests, and placement.
- Monthly or seasonally: clean leaves, inspect containers, reconsider light, and handle occasional jobs such as repotting or fertilizing when they’re actually needed.
The distinction that matters most is simple:
Schedule the inspection, not the watering.
If Sunday is your plant-care day, check every plant on Sunday. Some may need water. Others may not.
For a deeper explanation of the fundamentals behind this routine, use the Complete Indoor Plant Care Guide.
Learn How to Read Plant Care Tags
A care tag is a starting point, not a precise maintenance schedule.
Instructions such as “medium light” or “water weekly” can’t account for the conditions inside your particular home.
I would use the tag to identify:
- the plant;
- its general light preference;
- whether it prefers drying between waterings or more consistent moisture;
- basic temperature considerations; and
- any other species-specific requirements.
Then observe how the plant behaves in your home.
Be Careful With Watering Intervals
If a tag says “water every seven days,” don’t assume the plant needs water every seventh day.
Drying time changes with:
- available light;
- temperature;
- season;
- pot size;
- container material;
- soil;
- root density;
- humidity; and
- plant size.
The useful information isn’t the number seven.
It’s whether that species prefers to remain somewhat moist or dry to a certain degree before being watered again.
Understand the Light in Your Home
Light is one of the first things I would learn before building a larger plant collection.
Don’t judge a location only by whether the room looks bright to you.
Look at where the plant actually sits.
A plant beside a window and an identical plant several feet farther into the room can experience very different conditions.
Watch the Window Throughout the Day
Notice:
- whether direct sunlight reaches the location;
- approximately how long it lasts;
- whether trees or buildings block the window;
- whether blinds remain closed;
- how far the plant sits from the glass; and
- whether seasonal changes alter the light.
A location that works well during summer may become substantially dimmer during winter.
For specific room and window considerations, use the Where to Place Indoor Plants room-by-room guide.
Watch the Plant’s New Growth
New growth can tell you whether a location is working over time.
Depending on the plant, inadequate light may contribute to:
- increasingly stretched growth;
- smaller new leaves;
- wider spaces between leaves;
- strong leaning toward a window;
- reduced variegation;
- or unusually slow growth.
Don’t expect a plant to respond the morning after you move it.
Houseplants operate on a slower timeline.
Give a reasonable placement change time to affect future growth before deciding it failed.
Learn What Indoor Plant Soil Is Supposed to Do
Beginners sometimes focus on soil as though there is one perfect bag of potting mix for every houseplant.
There isn’t.
The useful question is how the root environment behaves.
A suitable mix should generally provide the plant with a workable balance of:
- moisture;
- drainage;
- and air around the roots.
A succulent that needs a fast-drying root environment shouldn’t necessarily be planted in the same mixture as a tropical foliage plant that prefers more consistent moisture.
Watch What Happens After Watering
I pay more attention to soil behavior than to what the bag looks like.
After watering, ask:
- Does excess water drain?
- Does the mixture remain dense and saturated for a long time?
- Has the soil become compacted?
- Is water running immediately around the edges instead of wetting the root zone?
- Has the plant’s normal drying time changed substantially?
Those observations can tell you when the root environment isn’t behaving normally.
How to Tell When an Indoor Plant Needs Water
Don’t begin with the watering can.
Begin with the pot.
For many common houseplants, inserting a finger into the upper portion of the potting mix gives you a basic idea of how much moisture remains.
How deeply the soil should dry depends on the plant.
Learn the Weight of the Pot
Pot weight is one of the more useful beginner observations because it improves with repetition.
Lift the container after you’ve watered and drained it.
Notice how heavy it feels.
Check it again as the soil dries.
You don’t need to calculate anything. After enough checks, the difference between a freshly watered container and a much drier one becomes surprisingly obvious.
Use soil condition together with pot weight rather than relying on either clue blindly.
Don’t Use Drooping as Your Only Watering Signal
A drooping plant may be thirsty.
It can also droop because its roots are sitting in overly wet soil or because another problem is interfering with water uptake.
Check the soil first.
If symptoms don’t make sense, work through the Complete Guide to Indoor Plant Problems before making several changes at once.
How to Water Properly
Once you’ve determined that a plant needs water, water the root zone thoroughly.
A practical routine is:
- Check that the plant actually needs water.
- Apply water across the potting mix rather than wetting one tiny area.
- Allow excess water to leave through the drainage holes.
- Let the container finish draining.
- Empty standing water from the saucer or decorative outer pot.
- Return the plant to its normal location.
Then leave it alone until its soil reaches the appropriate level of dryness again.
I wouldn’t give a plant small amounts of water every few days simply because I’m worried about letting it dry.
The better routine is to understand the moisture preference of that plant and check accordingly.
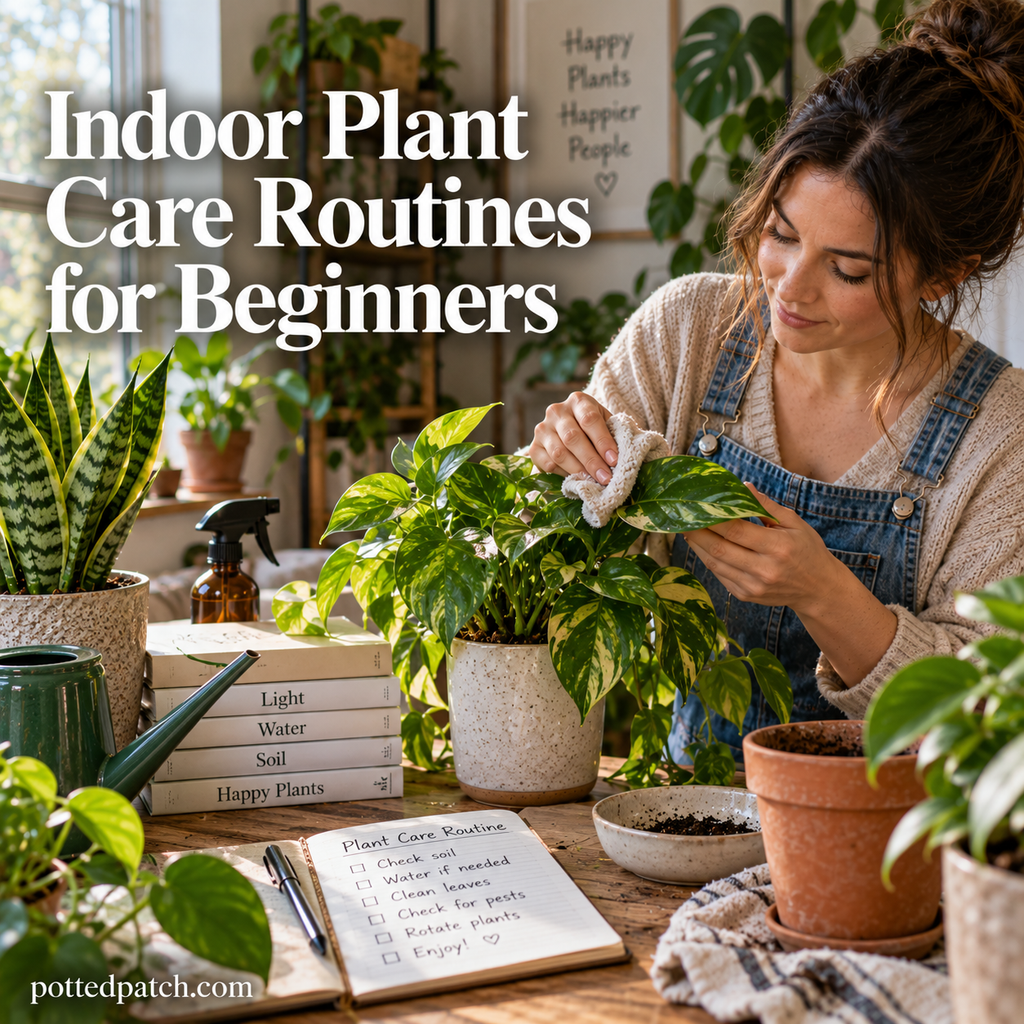
Your Simple Weekly Plant Care Routine
Once a week is a useful inspection rhythm for a small beginner collection.
Again, this doesn’t mean every plant gets watered once a week.
1. Check the Soil
Start with moisture.
Compare what you find with what that particular plant prefers.
Also notice drying time.
If a pot that normally becomes ready for water fairly predictably is suddenly staying wet much longer, don’t ignore that change.
Ask what changed.
2. Water Only the Plants That Need It
Two identical plants don’t necessarily need water on the same day.
One beside a bright window may dry substantially faster than another positioned farther into the room.
Plant size, roots, soil, container, temperature, humidity, light, and season all affect water use.
3. Look at the Leaves and New Growth
Don’t inspect plants expecting perfection.
Look for changes and patterns.
One old yellow leaf is different from several leaves yellowing at once.
A small tear is different from damage spreading across new growth.
I would pay more attention to:
- several leaves changing together;
- sudden leaf drop;
- repeated brown or black patches;
- significant curling;
- distorted new growth;
- unusual wilting;
- sticky residue; or
- fine webbing.
4. Check for Pests
Look underneath a few leaves and around new growth and stem joints.
Those protected areas are easy to overlook when you only view the plant from above.
If you find something suspicious, move the affected plant away from the rest of the collection while you identify the problem.
5. Remove Fallen Material
Pick up dead leaves sitting on the soil.
Completely dead or badly damaged foliage can be removed when appropriate using clean tools.
Don’t feel obligated to cut away every leaf with a tiny cosmetic flaw.
6. Look at the Plant’s Location
This takes seconds.
Check whether:
- blinds have started blocking its light;
- another plant is shading it;
- foliage is touching cold glass;
- a heating or cooling vent blows directly toward it;
- or the plant has started leaning strongly toward its light source.
Sometimes the care routine is fine and the environment has changed.
Temperature Changes Matter More Than a Perfect Number
For beginners, I would pay particular attention to rapid changes and localized extremes.
A room may feel comfortable while the plant itself is:
- pressed against cold winter glass;
- directly above a heater;
- beside an exterior door;
- in the path of an air-conditioning vent;
- or sitting near a very hot summer window.
Those microclimates matter.
If a previously stable plant begins struggling after the season changes, include temperature and placement in your diagnosis rather than looking only at watering.
Your Monthly Plant Check
Once a month, I would spend a little more time looking at things that don’t need weekly attention.
Clean Dusty Leaves
Broad, smooth leaves can generally be wiped gently with a damp, soft cloth when dust becomes noticeable.
Support larger leaves while wiping them so you don’t tear them.
I wouldn’t make leaf-shine products part of a basic beginner routine.
Check Drainage Holes
Look underneath containers.
One root appearing from a drainage hole doesn’t automatically mean you need to repot that afternoon.
Several signs together are more useful.
Check Saucers and Decorative Pots
Look for:
- standing water;
- moisture underneath containers;
- damaged saucers;
- mineral buildup;
- mold or algae; and
- cracked pots.
If a nursery pot sits inside a decorative cachepot, lift it occasionally and check the bottom.
Hidden standing water is easy to miss.
Check Supports
For climbing plants, make sure stakes, trellises, and ties remain secure.
Loosen ties that are beginning to press into growing stems.
When Should Beginners Repot Houseplants?
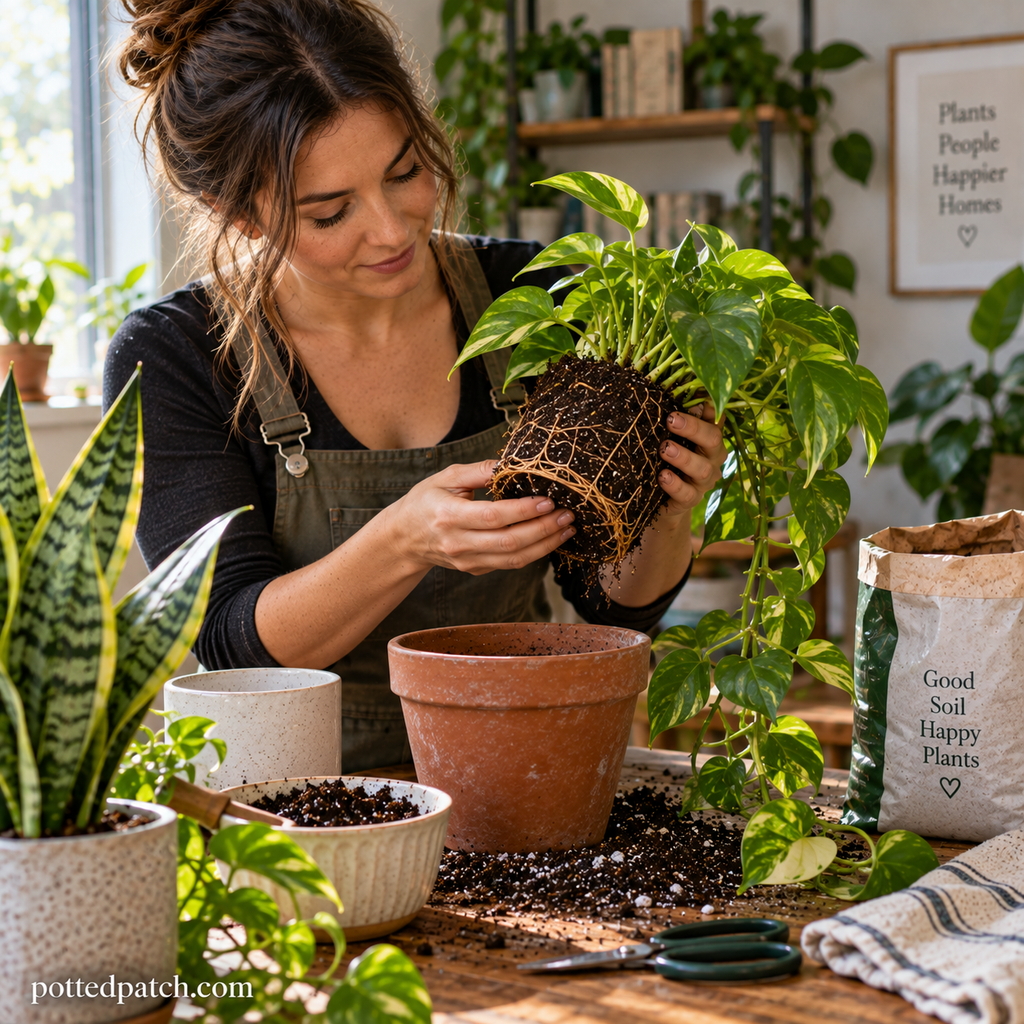
Repotting isn’t routine maintenance that must happen every spring or every year.
I would repot because the plant gives me a reason.
Possible reasons to investigate include:
- a heavily crowded root system;
- extensive roots repeatedly emerging from drainage holes;
- a plant becoming unstable in its container;
- badly compacted or deteriorated potting mix;
- unusual water movement through an extremely crowded root ball;
- unexpectedly rapid drying;
- or a root-health problem requiring intervention.
One visible root isn’t enough by itself.
How to Repot Without Making the Pot Too Large
If the plant genuinely needs more room, move up reasonably rather than jumping from a small container into an enormous one.
A large volume of unused potting mix surrounding a relatively small root system can stay wet longer than expected.
When repotting:
- Prepare the new container and appropriate potting mix.
- Remove the plant carefully.
- Inspect the roots.
- Remove clearly dead or rotten tissue when necessary.
- Gently loosen severe outer circling when appropriate for that plant.
- Position the plant at a similar depth.
- Fill around the root ball without aggressively packing the soil.
- Water according to the needs of the species and let excess water drain.
Afterward, give the plant time to adjust instead of immediately changing several other parts of its care.
Fertilizing Without Overcomplicating It
Fertilizer supplies nutrients that support plant growth. More isn’t automatically better.
Follow the directions for the fertilizer you’re using and the requirements of the plant.
Fertilizing generally makes more sense when a plant is actively growing than when it is barely growing under poor conditions.
If a plant is struggling, I wouldn’t reach for fertilizer first.
Check light, soil moisture, roots, pests, and recent environmental changes.
Fertilizer won’t correct rotten roots or inadequate light.
How Seasonal Changes Affect Your Routine
Your weekly inspection can stay on the calendar all year.
What you actually do during that inspection may change substantially.
Spring and Summer
As daylight increases, many indoor plants grow more actively and may use water faster.
This can be a useful period to:
- watch for new growth;
- reassess plants that need repotting;
- fertilize actively growing plants when appropriate;
- and check whether stronger sunlight is reaching locations that were previously shaded.
Don’t suddenly move a plant accustomed to indirect light into intense direct sun.
Increase exposure gradually when appropriate.
Fall and Winter
This is where an observation-based routine becomes particularly useful.
A plant can stay in exactly the same pot and location while its soil begins taking much longer to dry because available daylight has decreased.
If that happens, don’t keep watering at the summer interval.
Check the soil.
You may also need to:
- move plants closer to available light;
- protect foliage from cold windows;
- keep plants away from heating vents;
- and adjust fertilizer use as growth slows.
Dry winter air doesn’t automatically mean wet soil is needed.
Humidity and soil moisture aren’t the same thing.
How to Care for Indoor Plants While Traveling
Travel is easier when you already know how quickly your plants normally dry.
Don’t suddenly give every plant extra water because you’re leaving home.
Instead, a few days before the trip:
- Check which plants are approaching their normal watering point.
- Water those that genuinely need it.
- Let them drain properly.
- Leave plants in stable light and temperature conditions.
- Avoid unnecessary repotting or fertilizing immediately before leaving.
- Make arrangements for plants whose normal moisture needs won’t comfortably fit the length of the trip.
For a short absence, many established plants may need little or no special treatment.
The important part is knowing your plants’ normal patterns before departure rather than inventing a new routine the night before.
How to Handle a New Plant
A newly purchased plant is one situation where I would temporarily pay closer attention.
Inspect:
- leaf tops and undersides;
- stems;
- new growth;
- soil surface;
- and the container.
If possible, keep it somewhat separated from established plants while you continue checking it for pests.
Then resist the urge to immediately repot, fertilize, heavily prune, relocate repeatedly, and water without checking the soil.
Moving from a nursery or store into your home is already a significant environmental change.
Unless there’s a specific problem that requires intervention, let the plant settle.
What to Do When a Plant Looks Unhealthy
This is where a routine prevents panic.
A beginner sees yellowing and may water the plant, add fertilizer, repot it, move it to another window, and mist it—all in one afternoon.
Now there are too many variables to tell what helped or hurt.
I would troubleshoot in this order:
- Check the soil. Is it unusually wet or extremely dry?
- Check the light. Is the plant receiving appropriate usable light?
- Inspect for pests.
- Think about recent changes. Was it moved, repotted, fertilized, chilled, or exposed to stronger sun?
- Inspect the roots when the evidence points below the soil.
- Correct the strongest likely problem.
- Give the plant time to respond.
Don’t treat every symptom independently.
Look for combinations.
Yellowing plus persistently wet soil tells you more than yellowing alone.
Common Beginner Plant-Care Mistakes
Watering Because It’s Watering Day
Make it inspection day instead.
Reacting to Every Imperfect Leaf
Healthy plants still develop old leaves, small tears, blemishes, and occasional brown tips.
Look for patterns.
Keeping Plants Too Far From Useful Light
A room can look bright while a plant several feet from the window receives relatively little useful light.
Repotting New Plants Immediately
Unless there’s a reason to intervene, let the plant adjust first.
Choosing an Oversized Pot
More soil isn’t automatically better.
Ignoring Water Inside Cachepots
A draining nursery pot can still sit in standing water inside its decorative container.
Fertilizing a Struggling Plant
Diagnose the problem before adding nutrients.
Changing Too Many Things at Once
One logical correction followed by observation is more informative than five simultaneous changes.
How to Create a Simple Plant Care Schedule
You don’t need a detailed spreadsheet.
For most beginner collections, I would use something this simple:
During the week:
Notice major changes as you pass your plants.
Once a week:
Check soil moisture, water only what needs it, inspect foliage and new growth, look for pests, remove fallen material, empty standing water, and check placement.
Once a month:
Clean dusty foliage, inspect pots and drainage, look under saucers, check supports, and make note of ongoing problems.
As seasons change:
Reassess light, temperature, drying time, watering frequency, and active growth.
Only when needed:
Repot, prune substantially, treat pests, or make major placement changes.
A simple phone note is enough if your collection grows larger. Record information that is actually useful—plant name, location, repotting date, fertilizer notes, or an ongoing problem.
You don’t need to document every watering unless doing so helps you recognize a pattern.
The Routine Gets Easier as You Learn Your Plants
At first, you’ll consciously check everything.
Over time, patterns become familiar.
You’ll recognize which pot becomes noticeably lighter before watering, which location loses useful light during winter, which plant dries faster near a bright window, and which older leaf is simply reaching the end of its life.
That’s the point of a beginner plant-care routine.
You aren’t trying to memorize a giant collection of rules. You’re building a repeatable habit of checking first, understanding what changed, and intervening only when the plant actually needs something.