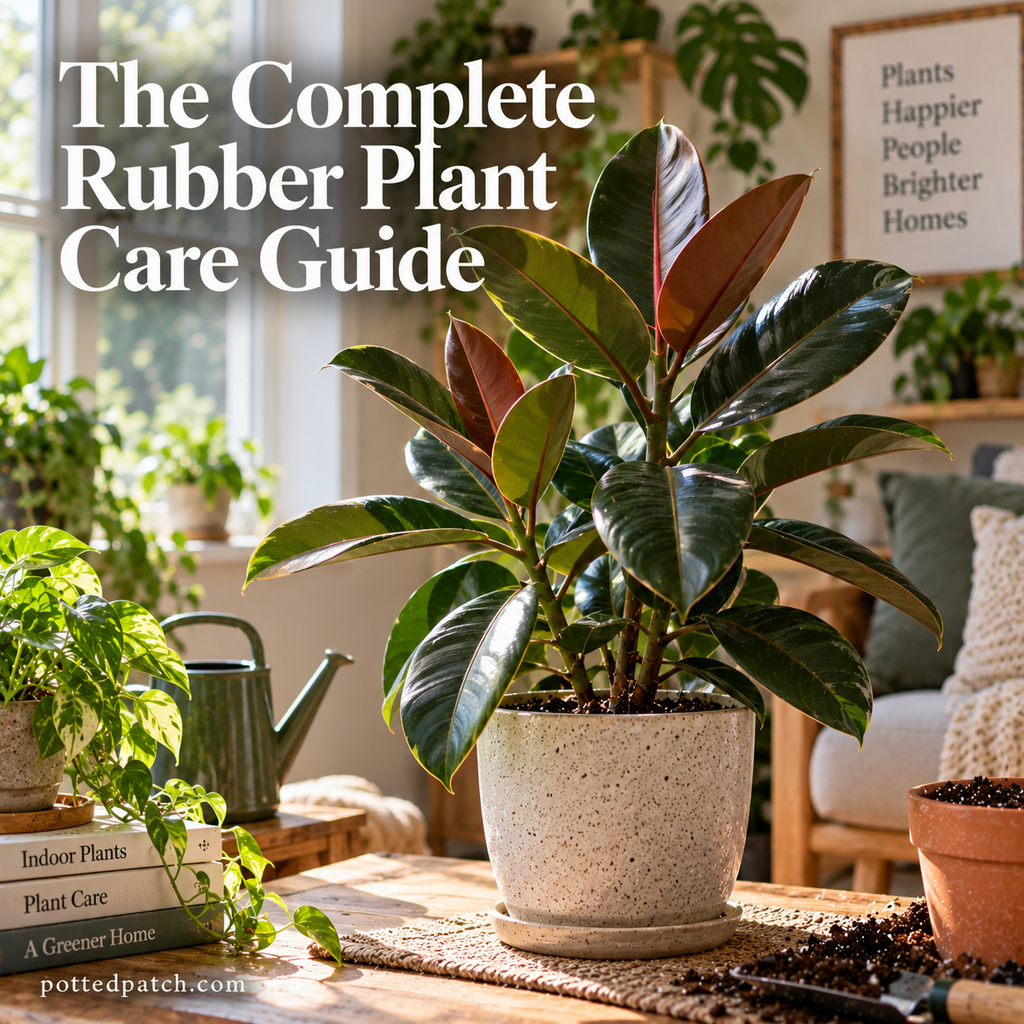
Rubber Plant (Ficus elastica) care gets much easier when you stop following a rigid schedule and watch what the plant is actually doing. Soil drying time, spacing between leaves, new-leaf size, root density, and the direction of new growth are the clues I would use to decide whether a Rubber Plant needs more light, water, root space, or simply time.
Rubber Plant Indoor Care Basics
A Rubber Plant can eventually become a substantial indoor tree, so I would think about its care differently from a small trailing houseplant.
The basic priorities are:
- bright, indirect light;
- thorough watering after the soil has partially dried;
- loose, well-aerated soil;
- a container with drainage;
- reasonably stable indoor temperatures;
- enough root space without dramatically oversizing the pot; and
- occasional pruning and rotation to manage its shape.
The plant’s size also changes how you care for it. A young Rubber Plant may fit comfortably on a table, while the same plant can eventually need floor space near a large window.
For broader principles that apply across houseplants, see the Complete Indoor Plant Care Guide.
Best Light for a Rubber Plant
Bright, indirect light is a useful starting point, but I pay more attention to new growth than to labels such as “low,” “medium,” or “bright” light.
A Rubber Plant receiving useful light should generally produce sturdy growth with reasonably sized leaves.
When light is inadequate, watch for:
- progressively smaller new leaves;
- increasingly long spaces between leaves;
- growth leaning strongly toward the window;
- slower growth; and
- weaker coloration in variegated plants.
Those clues are more useful than the fact that the plant is technically surviving in the room.
Can Rubber Plants Take Direct Sun?
Some direct sun can be tolerated when the plant has been gradually acclimated.
The important part is gradually.
I wouldn’t take a Rubber Plant that has spent months several feet from a window and suddenly expose it to hours of intense direct sunlight. A rapid increase can scorch or bleach foliage before the plant has adjusted.
Where to Place a Rubber Plant
Don’t choose a location by window direction alone.
A south-facing window blocked by trees or another building can provide less usable light than expected. Curtains, blinds, window size, distance from the glass, and season all change what reaches the plant.
I would also leave enough physical space for the plant’s future size. Constantly relocating a Rubber Plant as it gets bigger can introduce unnecessary environmental changes.
For specific room and window considerations, use the room-by-room guide to placing indoor plants.
How to Water a Rubber Plant
I wouldn’t water a Rubber Plant automatically every seven days.
Instead, use a schedule for checking the soil, not necessarily watering it.
Feel below the surface or use a wooden skewer to see whether moisture remains deeper in the pot. When the upper portion has dried and the plant needs water:
- Water slowly across the soil surface.
- Thoroughly moisten the root ball.
- Continue until excess water drains from the bottom.
- Let the container finish draining.
- Empty standing water from the saucer or decorative planter.
Then wait for the appropriate portion of the soil to dry again.
Pay Attention to Drying Time
Drying time tells me more than the number of days since the last watering.
A large Rubber Plant receiving strong light during active growth can use water considerably faster than the same plant during shorter winter days.
If a pot that normally dries predictably suddenly remains wet much longer, investigate what changed.
Possible reasons include lower light, cooler conditions, compacted soil, an oversized pot, or root trouble.
Likewise, a plant that begins drying unusually quickly may have developed a much denser root system.
That change is information.
Drainage for Rubber Plants
Good drainage isn’t simply a hole in the bottom of the pot.
It is the combination of:
- drainage holes;
- appropriate pot size;
- airy soil;
- healthy roots;
- suitable light; and
- sensible watering.
A drainage hole cannot compensate for a small root system sitting in a huge volume of dense, wet potting mix.
Decorative cachepots deserve attention too. If you keep the Rubber Plant in a nursery pot inside a decorative planter, remove it for watering or check afterward to make sure runoff isn’t collecting around the bottom.
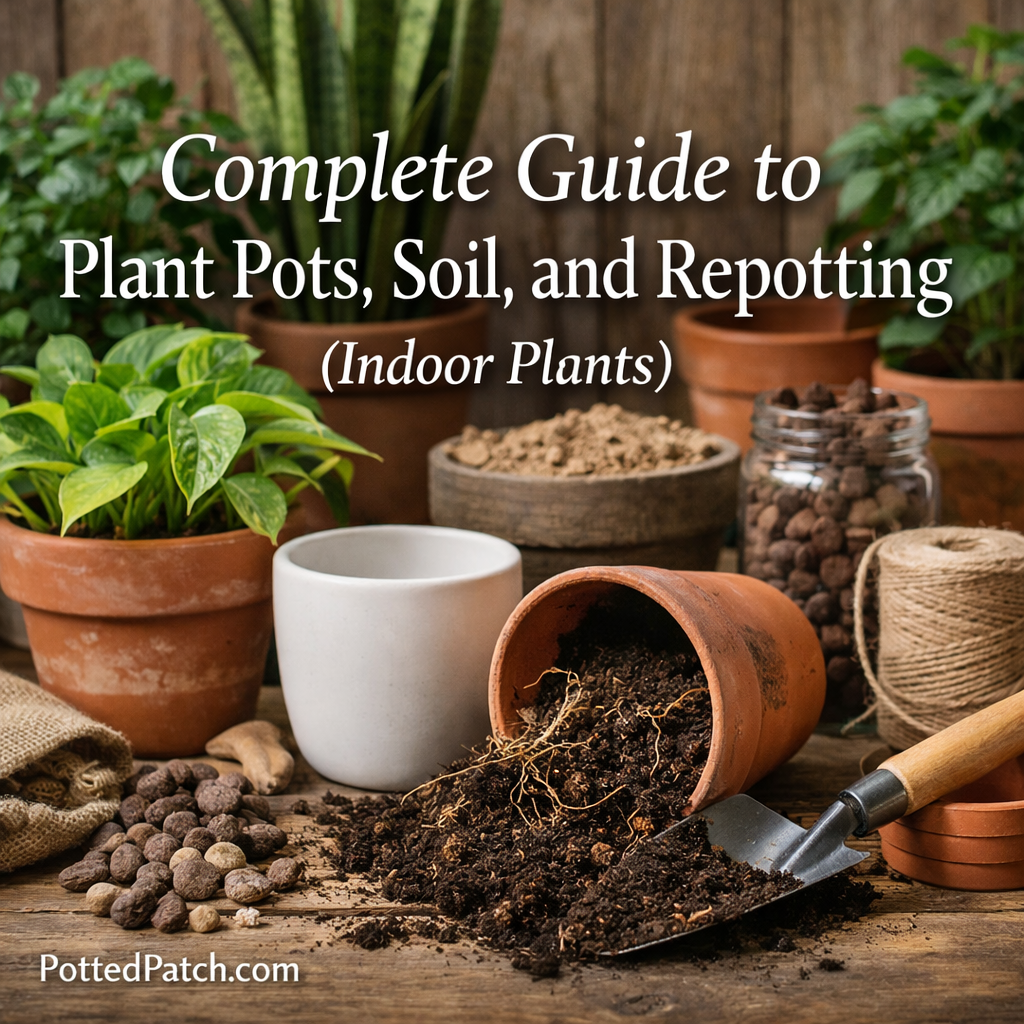
Best Soil for a Rubber Plant
Rubber Plant soil should hold enough moisture for the roots to use while still containing air after watering.
A practical starting mix is:
- 2 parts indoor potting mix
- 1 part perlite or pumice
- 1 part fine orchid bark
I treat that as a starting point rather than a mandatory formula.
Watch how the mixture behaves in your home.
If the root zone stays wet for an unusually long time, improving aeration may make more sense. If it dries extremely quickly despite appropriate pot size and healthy roots, slightly greater moisture retention may be useful.
The performance of the mix matters more than reproducing an exact recipe.
Best Containers for Rubber Plants
For routine indoor growing, I prefer a container with drainage holes.
A nursery pot placed inside a decorative outer container is also practical because you can lift the plant out, water thoroughly, let it drain, and put it back.
As Rubber Plants mature, container stability becomes more important.
A tall plant with substantial foliage can become top-heavy. At that point, the pot needs to support the physical plant as well as its roots.
Container material can also affect drying speed, so don’t assume that moving a plant into a different type of pot will leave its watering needs unchanged.
Choosing the Right Pot Size
Don’t match the pot to the height of the Rubber Plant.
Match it primarily to the root system.
A tall Rubber Plant can still have a root ball that doesn’t justify an enormous container. Excess unused potting mix can remain wet long after the roots have used the moisture immediately around them.
When repotting, I would move up gradually rather than jumping several container sizes.
Bigger isn’t automatically better.
Preventing a Root-Bound Rubber Plant
Rubber Plants can tolerate being somewhat snug, so a single root appearing through a drainage hole isn’t enough for me to declare the plant severely root-bound.
Look for several clues together:
- roots densely circling the container;
- a tightly packed root ball;
- extensive roots through drainage holes;
- soil drying substantially faster than before;
- very little usable potting mix remaining; or
- growth becoming restricted alongside severe root crowding.
Drying time is particularly useful here.
If you’ve changed nothing about the plant’s location but the pot suddenly needs water much sooner, check how much of the container is now occupied by roots.
How to Repot a Rubber Plant
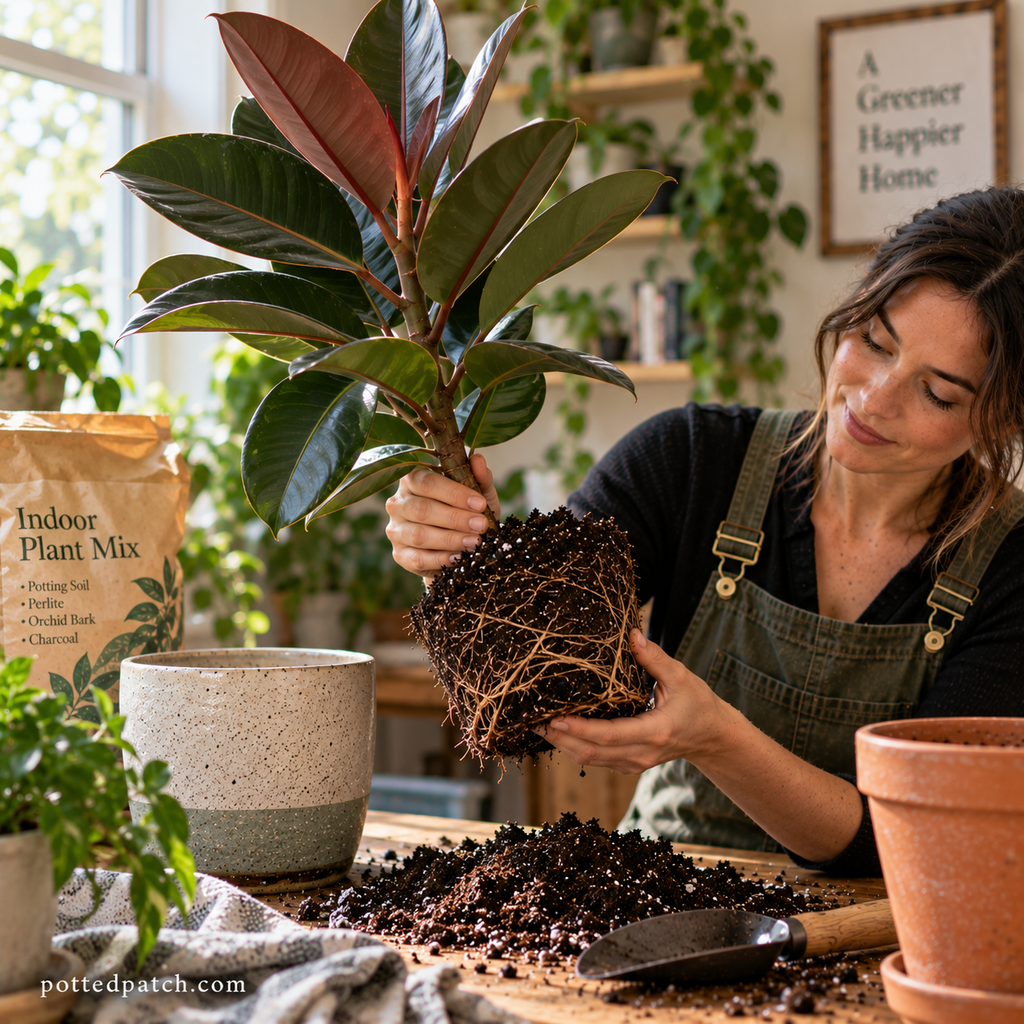
Repot because the root system or potting mix needs attention—not simply because another year has passed.
When repotting:
- Choose a container moderately larger than the existing root ball.
- Prepare fresh, airy potting mix.
- Carefully remove the plant from its container.
- Inspect the roots before adding new soil.
- Remove clearly dead or rotten roots if necessary.
- Gently loosen severely circling roots.
- Position the plant at roughly the same depth it was growing before.
- Fill around the root ball without heavily compacting the mix.
- Water thoroughly.
- Let excess water drain.
Large Rubber Plants can become surprisingly awkward once the stem is tall and the foliage is top-heavy. Supporting the plant while someone else handles the pot can make repotting considerably easier.
Afterward, keep conditions reasonably stable rather than immediately changing its light, fertilizer, watering approach, and location at the same time.
How to Encourage New Growth on a Rubber Plant
The newest part of the plant is one of the first places I look when judging its growing conditions.
Compare new leaves with the older healthy foliage.
Ask:
- Are new leaves maintaining a reasonable size?
- Is the spacing between leaves becoming longer?
- Is the stem growing strongly or stretching toward the window?
- Is growth occurring at all during a normally active period?
Progressively smaller leaves combined with longer stem spacing makes me question the available light before reaching for fertilizer.
Encouraging a Rubber Plant to Branch
Young Rubber Plants often concentrate their energy into one upright stem.
If you want a more branched plant, pruning the main growing stem can encourage buds below the cut to develop.
Choose where you want branching to begin, identify an appropriate point above a node, and make a clean cut with sanitized pruning shears.
Then provide good light and normal care.
Branching isn’t perfectly predictable. A cut may activate several buds or only one, so pruning creates an opportunity for branching rather than guaranteeing a perfectly symmetrical tree.
How to Prune a Rubber Plant
Pruning is particularly useful with Rubber Plants because an indoor specimen can eventually approach ceiling height.
Use pruning to:
- control height;
- correct an unbalanced shape;
- remove damaged growth; or
- encourage branching.
Before cutting, decide what you want the plant to look like afterward.
I wouldn’t remove the top simply because the plant is “too big” without first deciding where I want new branches to develop.
Watch for Rubber Plant Sap
Rubber Plants release a milky latex sap when stems or leaves are cut.
Avoid getting it in your eyes or mouth, wash it from your skin if it causes irritation, and protect nearby floors or furniture from drips.
That is one practical difference worth preparing for before pruning a large Rubber Plant indoors.
How to Rotate a Rubber Plant
Rubber Plants often reveal uneven light by leaning toward the strongest source.
Occasional rotation can help keep an upright plant more balanced when most of its light comes from one direction.
But I wouldn’t use rotation to disguise inadequate light.
If you rotate the plant and it repeatedly leans strongly back toward the window while producing stretched growth, the more useful question is whether the plant needs a brighter location.
Also consider the shape you’re intentionally creating. A large specimen positioned against a wall may have a deliberate front and back, so perfectly symmetrical rotation isn’t always necessary.
How to Fertilize a Rubber Plant
Fertilizer supports growth; it doesn’t create the conditions required for growth.
During active growth, use an appropriate houseplant fertilizer according to its label directions.
I would reduce feeding when growth slows substantially rather than maintaining the same fertilizer routine year-round.
More importantly, don’t use fertilizer as the first response to a struggling Rubber Plant.
If growth has stalled while leaves are yellowing or dropping, check light, soil moisture, roots, and other environmental conditions first. The Complete Guide to Indoor Plant Problems provides a broader troubleshooting process when several symptoms overlap.
Rubber Plant Maintenance
Rubber Plants have large leaves, which makes routine inspection relatively easy.
Every so often, I would check:
- the newest leaf and growing point;
- both sides of mature leaves;
- stem and leaf joints;
- soil moisture and drying time;
- roots visible around drainage holes;
- water collected inside a cachepot;
- the plant’s lean and overall balance; and
- dust accumulating on the foliage.
For dusty leaves, support each leaf with one hand and gently wipe it with a soft, damp cloth.
This isn’t just cosmetic. Cleaning a large Rubber Plant forces you to look closely at foliage you might otherwise ignore, making developing damage or pests easier to notice.
Commercial leaf-shine products aren’t necessary.
Year-Round Rubber Plant Care
Rubber Plant care shouldn’t remain identical throughout the year because the conditions inside your home don’t remain identical.
Spring and Summer
As light increases and growth becomes more active, watch for:
- faster soil drying;
- expanding new leaves;
- increased root growth;
- greater nutrient demand; and
- the need for pruning or repotting.
Respond to those changes rather than increasing water or fertilizer simply because the calendar says spring.
Fall and Winter
Winter can create an odd combination indoors: the air may become drier while the potting mix stays wet longer.
Shorter days can slow growth and water use, while indoor heating reduces humidity around the foliage.
During this period, I pay particular attention to soil drying time.
You may need to:
- water less frequently;
- maximize useful indirect light;
- move the plant away from heating vents;
- protect it from cold drafts; and
- reduce fertilizer as growth slows.
Don’t carry a summer watering schedule unchanged into winter.
Common Rubber Plant Care Mistakes
Watering on a Calendar
Checking every week is useful. Watering every week regardless of soil condition isn’t.
Let the root zone determine when water is needed.
Keeping the Soil Constantly Wet
Rubber Plant roots need oxygen as well as moisture.
If the soil stays saturated for unusually long periods, investigate the reason rather than simply reducing each watering to a small splash.
Giving It Too Little Light
A Rubber Plant may remain alive in mediocre light while gradually producing smaller leaves, longer stem spacing, weaker growth, and slower soil drying.
Survival isn’t the same as strong growth.
Suddenly Moving It Into Strong Sun
More light can help a poorly lit Rubber Plant, but a drastic jump into intense direct sunlight can damage foliage.
Increase exposure gradually.
Using an Oversized Pot
A large plant does not automatically require a huge root zone.
Choose the container according to the roots.
Fertilizing a Struggling Plant
If growth is poor, diagnose the growing conditions first.
Fertilizer won’t correct damaged roots or inadequate light.
Staking Without Asking Why the Plant Is Leaning
A tall Rubber Plant may occasionally need physical support, but first determine why it leans.
If the stem is stretched toward a window because the plant lacks light, a stake supports the symptom without correcting the cause.
Making Several Major Changes at Once
This is one of the easiest ways to lose track of what actually helped.
If a Rubber Plant starts declining, don’t automatically repot it, relocate it, fertilize it, prune it, and completely change its watering routine on the same day.
Identify the strongest clue, make the most justified correction, and watch how the plant responds.
A Practical Rubber Plant Care Routine
The routine I would use is simple:
Check the soil instead of watering by date.
Watch new leaves and stem spacing instead of judging light by room labels.
Use changes in drying time as a clue about roots, light, and season.
Repot according to the root system, not the height of the plant.
Prune deliberately when you want to control height or encourage branching.
Most importantly, pay attention to what changes.
A Rubber Plant producing firm new leaves with reasonable spacing while its soil dries predictably is giving you better information than an old damaged leaf ever could.