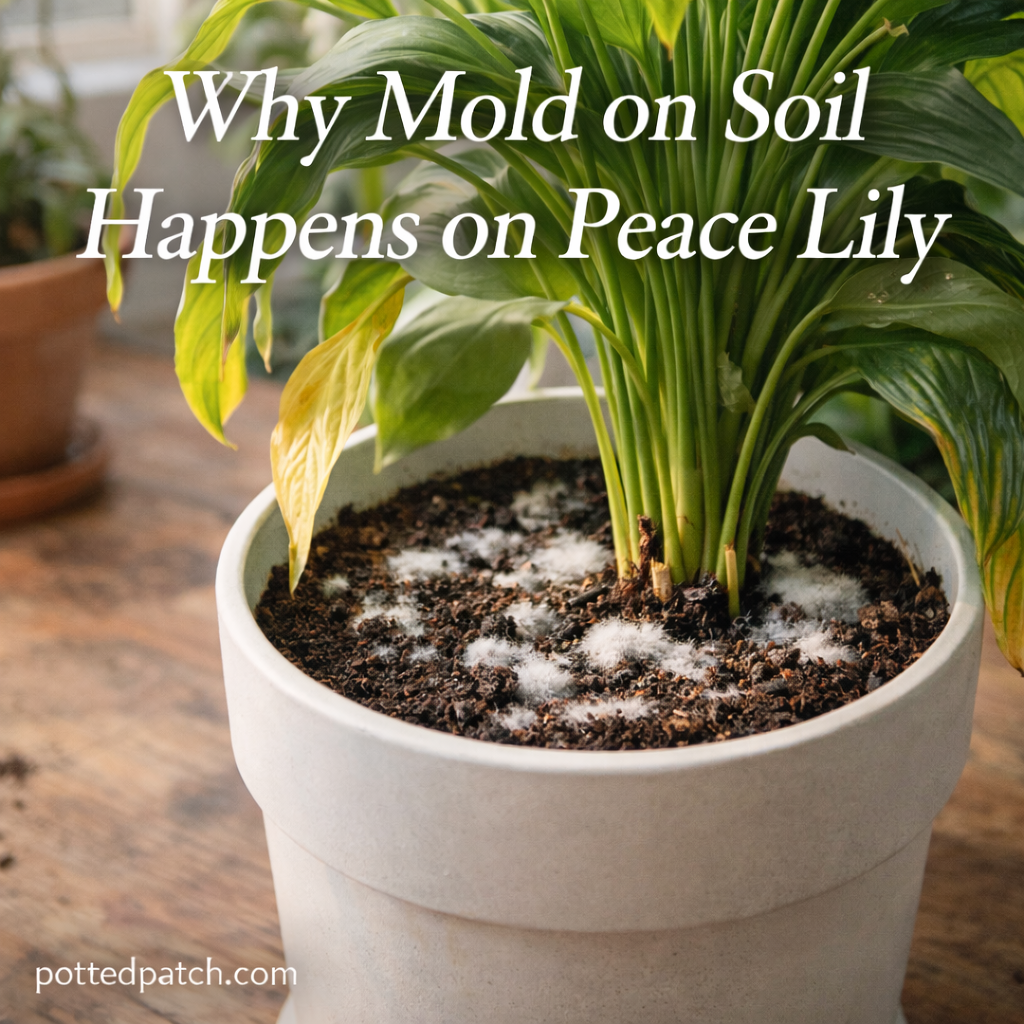
Noticing white, fuzzy mold on the soil of your peace lily can be alarming.
The good news? In most cases, soil mold is not directly harmful to the plant. However, it is a sign that growing conditions need adjustment.
Mold usually points to excess moisture, low airflow, or poor drainage. Fix the environment, and the problem typically disappears.
Let’s break down why mold happens and how to stop it.
What Does Mold on Peace Lily Soil Look Like?
Soil mold often appears as:
- White fuzzy patches
- Gray web-like growth
- Powdery film on the soil surface
- Thin white threads (fungal mycelium)
It may develop after watering and become more visible in humid conditions.
The Main Cause: Excess Moisture
Peace lilies like moist soil — but consistently wet soil creates the perfect environment for mold.
When soil stays damp for too long:
- Fungal spores activate
- Organic material begins breaking down
- Surface mold spreads
Mold thrives in wet, stagnant environments.
Overwatering Is the Most Common Trigger
If mold keeps appearing, overwatering is likely the cause.
Signs you may be watering too frequently:
- Soil feels damp several days after watering
- Pot feels heavy
- Leaves begin yellowing
- Stems feel soft
Allowing the top 1–2 inches of soil to dry before watering helps prevent fungal growth.
Poor Drainage Makes Mold Worse
Even if you water correctly, poor drainage traps moisture.
Common drainage problems include:
- Pots without drainage holes
- Decorative outer containers holding water
- Compacted, heavy soil
- Old soil that retains too much moisture
Water must be able to exit the pot freely.
Low Air Circulation Encourages Mold
Mold thrives in stagnant air.
Peace lilies placed in:
- Dark corners
- Crowded plant clusters
- Small, poorly ventilated rooms
are more likely to develop surface mold.
Increasing airflow reduces fungal growth.
Is Mold Harmful to the Peace Lily?
Surface mold is usually cosmetic.
However, it can signal deeper problems like:
- Root rot
- Overwatering
- Soil breakdown
If ignored, those conditions can harm the plant.
Address the environment before root issues develop.
How to Remove Mold from Peace Lily Soil
Follow these simple steps:
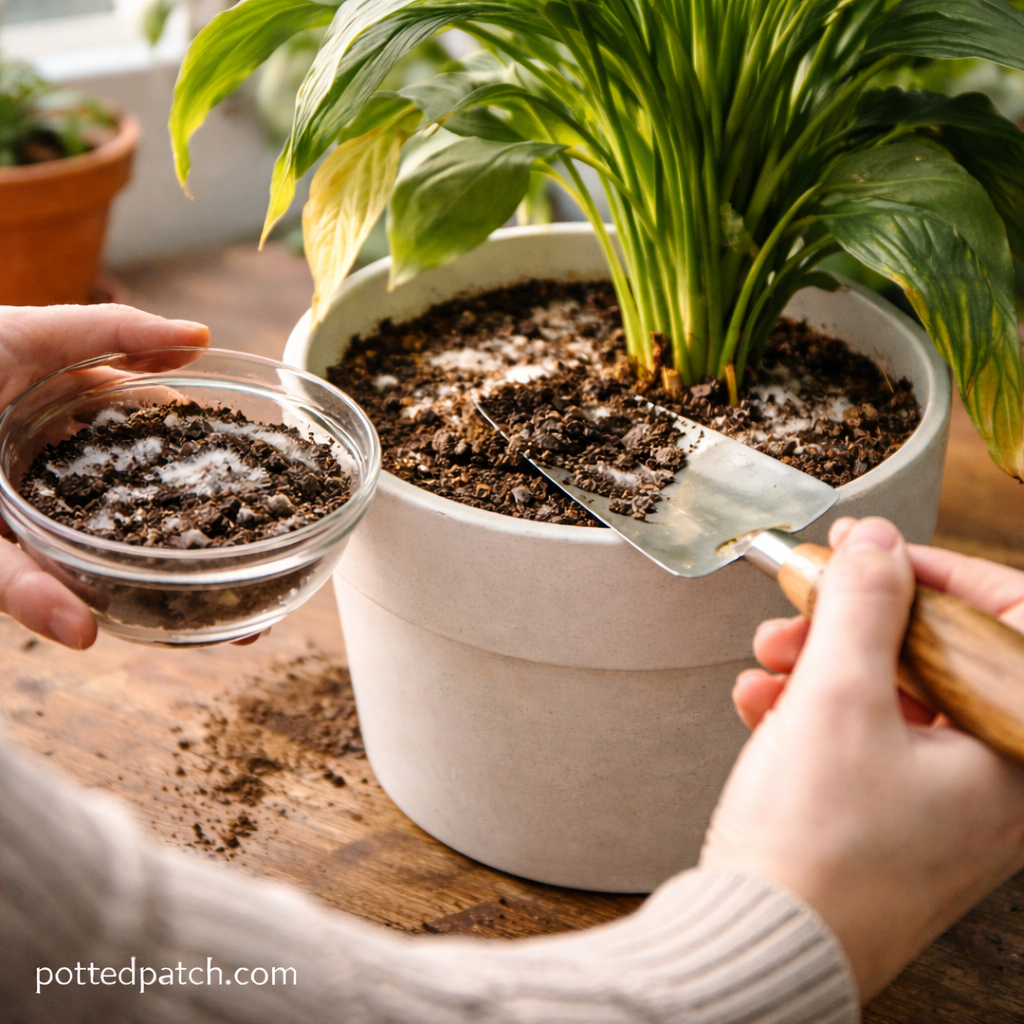
Step 1: Remove the Affected Top Layer
Scoop out the top 1–2 inches of moldy soil and discard it.
Replace with fresh, dry potting mix.
Step 2: Improve Drainage
Make sure:
- The pot has drainage holes
- Excess water drains fully
- The plant is not sitting in water
You can also mix in perlite to improve airflow.
Step 3: Adjust Watering
- Let soil partially dry between waterings
- Avoid watering on a strict schedule
- Check soil moisture before adding water
Consistency matters more than frequency.
Step 4: Increase Airflow and Light
Move the plant to:
- Bright, indirect light
- A room with better circulation
Avoid placing it in cold, damp corners.
Natural Remedies for Surface Mold
If mold persists, you can try:
- Sprinkling a light layer of cinnamon (natural antifungal)
- Lightly aerating the topsoil
- Using a diluted hydrogen peroxide solution (3% mixed 1:4 with water)
Always avoid over-saturating the soil during treatment.
When to Repot the Plant
If mold returns repeatedly, repotting may be necessary.
Repot if:
- Soil smells sour
- Roots appear black or mushy
- Mold spreads quickly after cleaning
Use fresh, well-draining indoor potting mix and a clean container.
Preventing Mold in the Future
To keep soil mold-free:
- Water only when the top layer is dry
- Provide bright, indirect light
- Use well-draining soil
- Ensure proper drainage
- Improve airflow in the room
Healthy roots thrive in breathable soil.
Final Thoughts
Mold on peace lily soil is usually a symptom — not the disease.
Excess moisture and poor airflow are the real causes.
Fix the environment, adjust watering, and improve drainage. Once the soil conditions are balanced, mold rarely returns.
Your peace lily prefers moist — not wet — soil.