Rubber plants are strong, resilient houseplants — but even the healthiest one will eventually outgrow its pot.
If your plant’s growth has slowed, roots are circling the bottom, or water runs straight through the pot, it may be time to repot.
In this guide, you’ll learn when to repot a rubber plant, how to do it properly, and how to help it adjust afterward.
When Should You Repot a Rubber Plant?
Rubber plants typically need repotting every 1–2 years.
The best time to repot is:
- Early spring
- Early summer
This is when the plant enters its active growing phase and can recover more quickly from root disturbance.
Avoid repotting in late fall or winter unless absolutely necessary.
Signs Your Rubber Plant Needs Repotting
Look for these clear indicators:
- Roots growing out of drainage holes
- Roots circling tightly at the bottom of the pot
- Soil drying out extremely fast
- Water pooling on top without absorbing
- Slowed growth during spring and summer
- The plant becoming top-heavy
If you gently slide the plant out and see more roots than soil, it’s ready for a larger home.
Choosing the Right Pot
When repotting, only size up slightly.
Choose a pot that is:
- 1–2 inches larger in diameter
- Equipped with drainage holes
- Made of breathable material (terracotta helps with moisture control)
Going too large can lead to excess soil staying wet, which increases the risk of root rot.
Best Soil for Repotting
Rubber plants prefer a well-draining, airy mix.
A simple blend:
- 2 parts indoor potting soil
- 1 part perlite
- 1 part orchid bark
This combination keeps roots oxygenated while still retaining enough moisture.
Avoid heavy, dense garden soil.
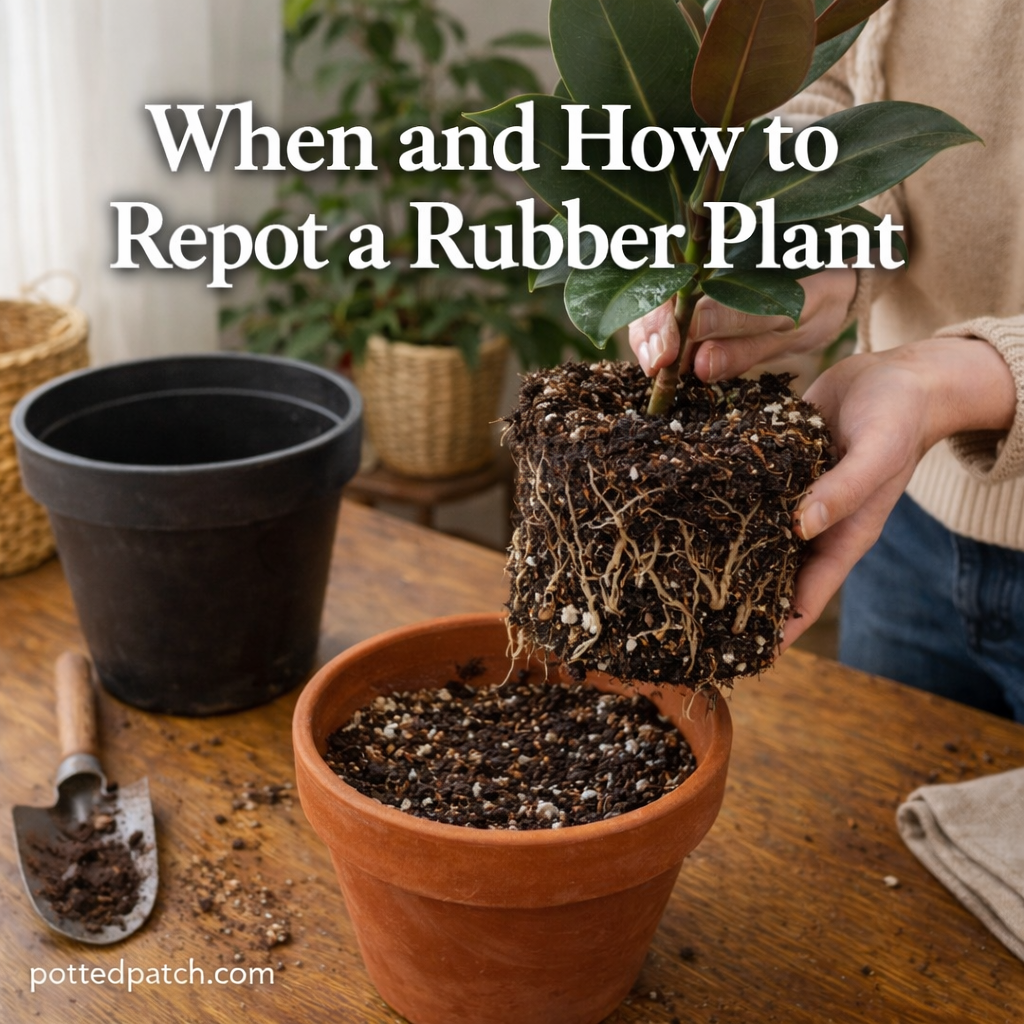
Step-by-Step: How to Repot a Rubber Plant
Step 1: Water the Plant Lightly
Water the plant a day before repotting.
Slightly moist soil helps reduce transplant shock.
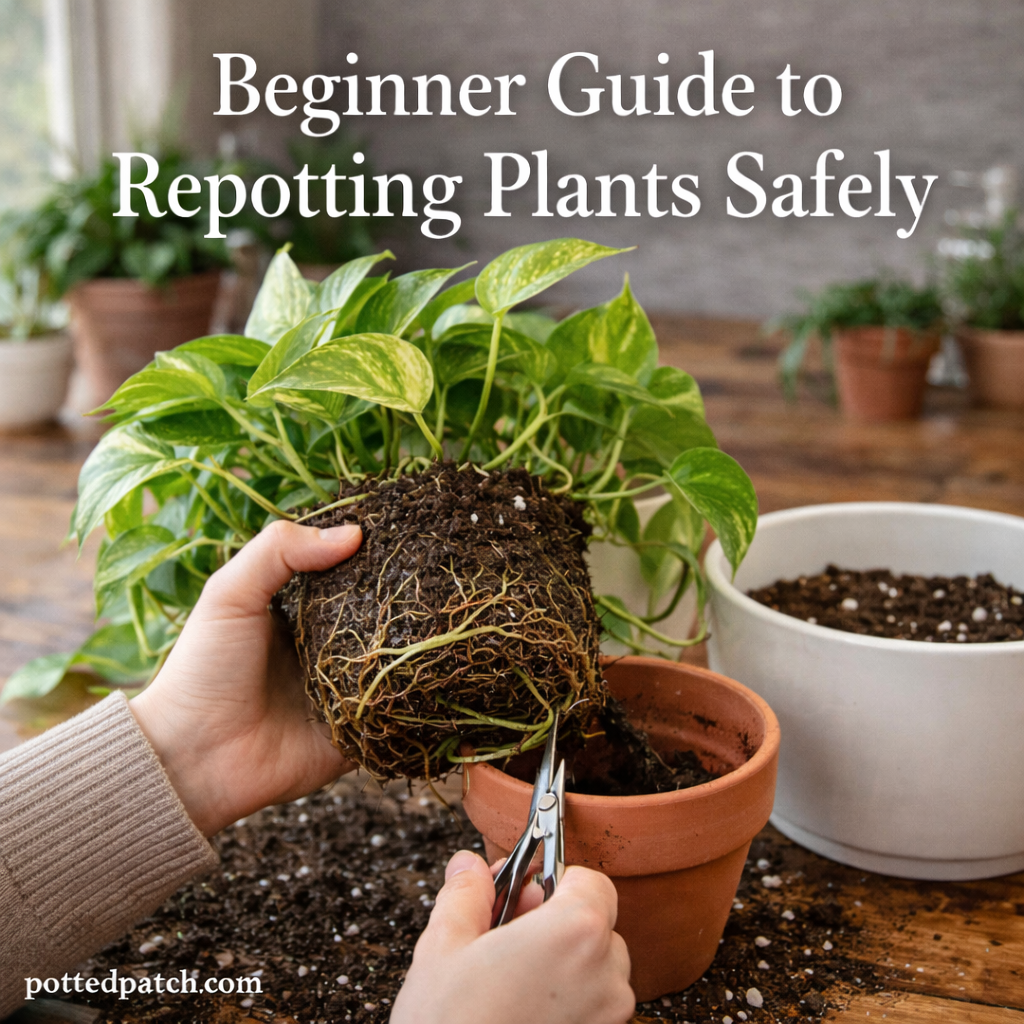
Step 2: Remove the Plant Gently
Tilt the pot sideways and support the base of the stem.
Tap the sides to loosen the root ball.
If roots are stuck, gently squeeze the plastic pot or run a knife around the inner edge.
Step 3: Loosen the Roots
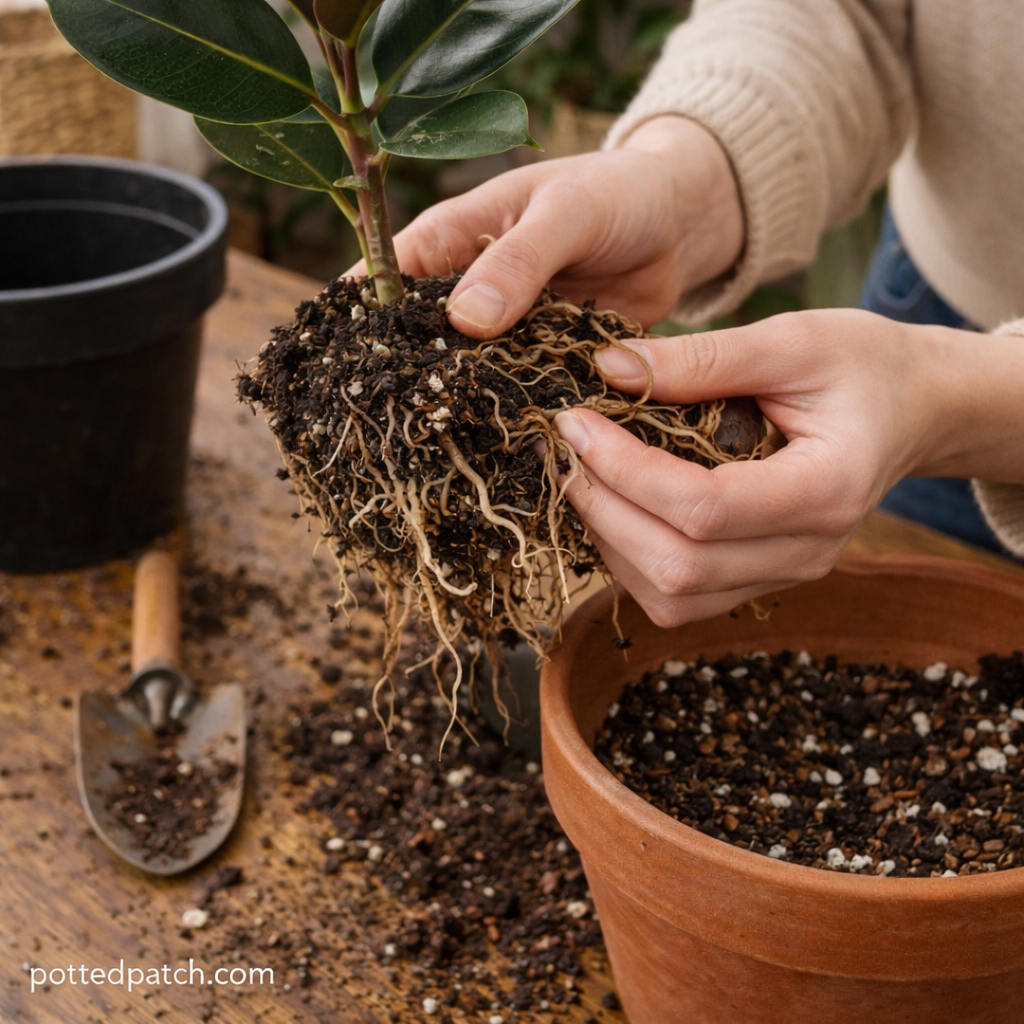
If roots are tightly circling:
- Gently tease them apart
- Trim any mushy, black, or rotten roots
Healthy roots should be light-colored and firm.
Step 4: Add Fresh Soil to the New Pot
Place a layer of fresh soil at the bottom.
Set the plant in the center and ensure:
- The root ball sits about 1 inch below the rim
- The plant stands upright and stable
Fill around the sides with fresh soil and lightly press to secure.
Step 5: Water Thoroughly
After repotting:
- Water until excess drains from the bottom
- Empty the saucer
This helps settle the soil around the roots.
How to Reduce Repotting Stress
Rubber plants may drop a leaf or two after repotting. This is normal.
To minimize stress:
- Keep the plant in bright, indirect light
- Avoid fertilizing for 6–8 weeks
- Maintain consistent watering (not too wet)
- Avoid moving it frequently
Give it time to adjust before expecting new growth.
Can You Just Refresh the Top Soil Instead?
If your plant isn’t root-bound but the soil looks compacted, you can:
- Remove the top 1–2 inches of soil
- Replace with fresh mix
This refreshes nutrients without disturbing roots.
Final Thoughts
Repotting a rubber plant is simple when done at the right time and with the right materials.
Repot every 1–2 years during spring or early summer, choose a slightly larger pot, and use well-draining soil.
With proper care after repotting, your rubber plant will continue growing taller and producing those bold, glossy leaves for years to come.
Healthy roots build strong plants — and repotting keeps them thriving.