Pothos plants are famously easygoing, but even the most low-maintenance houseplant needs a little extra care from time to time. Repotting is one of the most important steps in keeping a pothos healthy, full, and actively growing.
If you’ve ever wondered when to repot your pothos, how often it actually needs it, or how to do it without stressing the plant, this guide walks you through the process step by step.
Why Repotting Matters for Pothos
Repotting isn’t just about giving your pothos a bigger container. Over time, soil breaks down, nutrients get depleted, and roots can outgrow their space. When that happens, growth slows and the plant becomes more vulnerable to stress.
Repotting helps by:
- Refreshing old, compacted soil
- Giving roots room to grow
- Improving drainage and airflow
- Supporting healthier leaf growth
Done at the right time, repotting actually boosts pothos resilience rather than disrupting it.
When to Repot a Pothos
Timing matters more than frequency when it comes to repotting.
Signs Your Pothos Needs Repotting
Your plant will usually tell you when it’s ready. Look for these common indicators:
- Roots growing out of the drainage holes
- Soil drying out much faster than usual
- Slowed or stalled growth during the growing season
- Water running straight through the pot without absorbing
- The plant becoming top-heavy or unstable
Seeing one or two of these signs doesn’t mean immediate action is required, but multiple signs together usually mean it’s time.
Best Time of Year to Repot
The ideal time to repot a pothos is spring through early summer.
Why this window works best:
- The plant is entering its active growth phase
- Roots recover faster from disturbance
- New soil nutrients support fresh growth
Avoid repotting in late fall or winter unless absolutely necessary, as pothos grows more slowly during cooler months.
How Often Pothos Needs Repotting
Most pothos plants need repotting every 1 to 2 years, depending on growth speed and pot size.
General guidelines:
- Young, fast-growing pothos: every 12 months
- Mature pothos: every 18–24 months
- Hanging pothos: often slightly less frequent
If your plant still looks healthy and isn’t root-bound, there’s no need to repot just because a year has passed.
Choosing the Right Pot
Pot selection plays a huge role in post-repotting success.
Pot Size
Choose a pot that is 1–2 inches wider than the current one. Going bigger than that can cause excess moisture to sit in the soil, increasing the risk of root rot.
A gradual size increase keeps watering predictable and roots healthy.
Drainage Is Non-Negotiable
Always use a pot with drainage holes.
Good drainage:
- Prevents waterlogged soil
- Allows oxygen to reach roots
- Reduces fungal issues
If you love decorative pots without holes, use them as cache pots and keep the pothos in a plastic nursery pot inside.
The Best Soil for Pothos
Pothos prefers loose, well-draining soil that holds some moisture without becoming compacted.
An ideal pothos soil mix includes:
- High-quality indoor potting soil
- Added perlite or pumice for drainage
- Optional orchid bark for airflow
Avoid heavy garden soil or mixes designed for succulents alone—they either retain too much water or dry out too quickly.
How to Repot a Pothos Step by Step
Repotting doesn’t need to be stressful for you or the plant. Follow these steps for a smooth transition.
Step 1: Water the Plant First
Water your pothos lightly a day before repotting.
Moist soil:
- Reduces root shock
- Makes removal easier
- Keeps fine roots from tearing
Avoid repotting a completely dry plant.
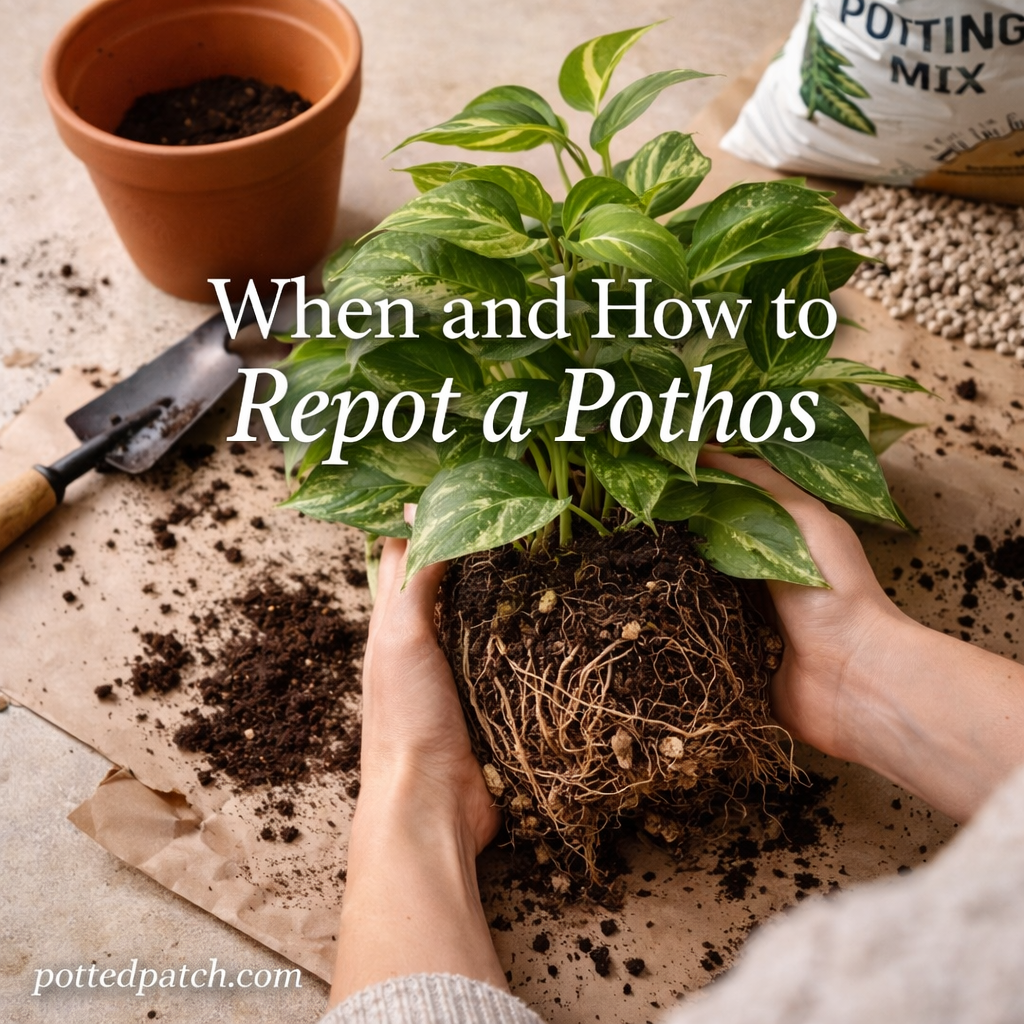
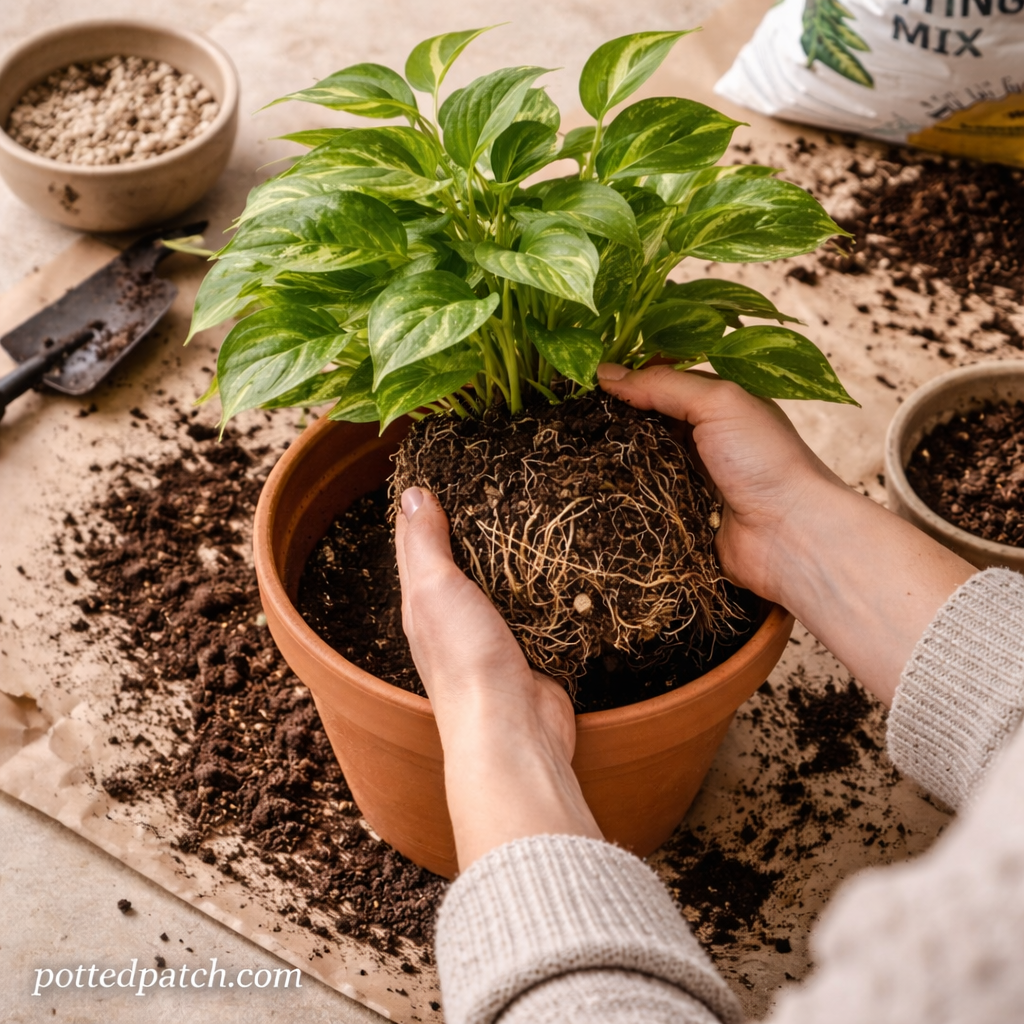
Step 2: Remove the Plant Gently
Turn the pot on its side and support the base of the plant as you slide it out. If it’s stuck, gently squeeze the pot or tap the sides.
Avoid pulling by the vines or leaves.
Step 3: Inspect and Loosen the Roots
Once the plant is out:
- Gently loosen the outer roots with your fingers
- Remove any tightly circling roots
- Trim mushy, black, or damaged roots if present
Healthy roots should be light-colored and firm.
Step 4: Add Fresh Soil to the New Pot
Add a layer of fresh soil to the bottom of the new pot so the plant sits at the same height as before. The base of the stems should not be buried deeper than it was previously.
Step 5: Position and Fill
Place the pothos in the center and fill around the sides with soil. Lightly press down to remove air pockets, but don’t compact the soil.
Roots need airflow as much as moisture.
Step 6: Water Thoroughly
After repotting:
- Water until excess drains from the bottom
- Let the pot fully drain
- Avoid fertilizing for 4–6 weeks
This allows roots to settle without added stress.
Aftercare: What to Expect Post-Repotting
It’s normal for pothos to pause growth briefly after repotting.
Common short-term reactions include:
- Slight leaf droop for a few days
- Temporary slowdown in new growth
Keep care consistent:
- Bright, indirect light
- Regular watering once the top soil dries
- No fertilizer until the plant stabilizes
Most pothos bounce back quickly and show fresh growth within a few weeks.
Common Repotting Mistakes to Avoid
Even hardy plants can struggle if repotted incorrectly.
Avoid these common issues:
- Using a pot that’s too large
- Skipping drainage holes
- Packing soil too tightly
- Repotting during winter dormancy
- Fertilizing immediately after repotting
Simple adjustments make a big difference in long-term health.
Can You Repot and Propagate at the Same Time?
Yes—repotting is a great opportunity to propagate pothos.
If your plant is long and trailing:
- Trim healthy vine sections with nodes
- Root them in water or soil
- Add them back into the pot for a fuller look
This refreshes the plant visually and encourages bushier growth.
Final Thoughts
Repotting a pothos doesn’t have to be complicated. When done at the right time and with the right setup, it’s one of the easiest ways to keep your plant thriving for years.
Pay attention to growth signals, choose a properly sized pot, and focus on gentle handling. With minimal effort, your pothos will reward you with stronger roots, healthier leaves, and steady growth. 🌿