Boston ferns are fast growers when they’re happy. Over time, their roots can outgrow their container, leading to crowded soil, poor drainage, and reduced growth.
Knowing when and how to repot a Boston fern keeps the plant healthy, lush, and full. Repotting isn’t complicated, but timing and technique matter.
This guide walks you through the signs, best season, and step-by-step method for repotting successfully.
When to Repot a Boston Fern
Most Boston ferns need repotting every 1–2 years. However, growth rate and environment can speed that up.
Signs Your Fern Needs Repotting
Look for these indicators:
- Roots growing out of drainage holes
- Soil drying out very quickly
- Stunted or slowed growth
- Water running straight through the pot
- Visible root crowding at the surface
If you notice two or more of these signs, it’s likely time to repot.
Best Time of Year to Repot
The ideal time to repot a Boston fern is:
Early spring
This is when the plant enters its active growing phase. Repotting during this period allows roots to recover quickly and adjust to fresh soil.
Avoid repotting:
- Late fall
- Winter (unless emergency root rot is present)
During colder months, growth slows, and recovery takes longer.
Choosing the Right Pot
When selecting a new container:
- Go 1–2 inches wider than the current pot
- Ensure there are drainage holes
- Avoid oversized pots
A pot that’s too large holds excess moisture, which increases the risk of root rot.
Terracotta pots can help regulate moisture, while plastic pots retain more water. Choose based on your watering habits.
Step-by-Step: How to Repot a Boston Fern
Follow these steps for a smooth repotting process.
1. Prepare Fresh Soil
Use a well-draining, peat-based mix with added perlite and pine bark.
The soil should be:
- Light and airy
- Moist but not soaking
- Slightly acidic
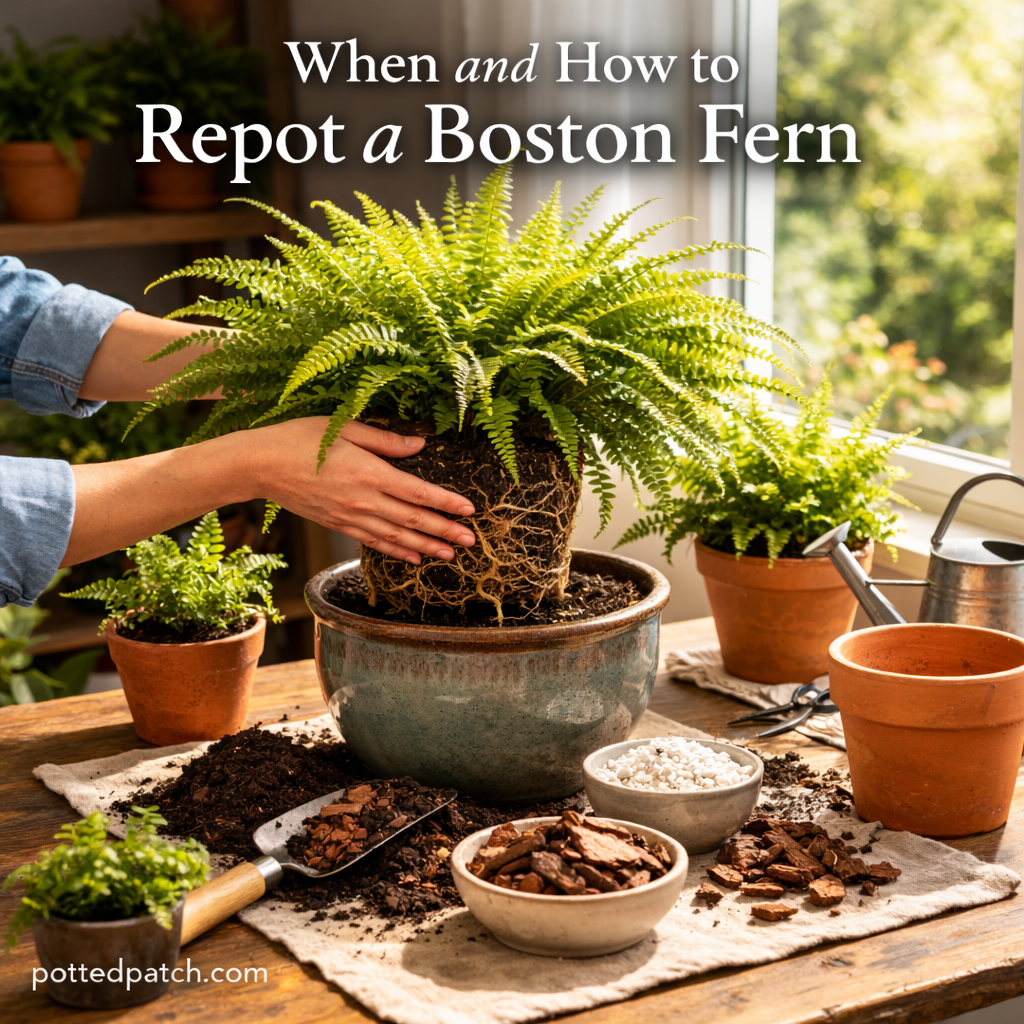
2. Gently Remove the Plant
- Water the fern lightly the day before repotting.
- Turn the pot sideways and support the base.
- Gently slide the plant out.
If roots are tightly bound, tap the sides of the container to loosen them.
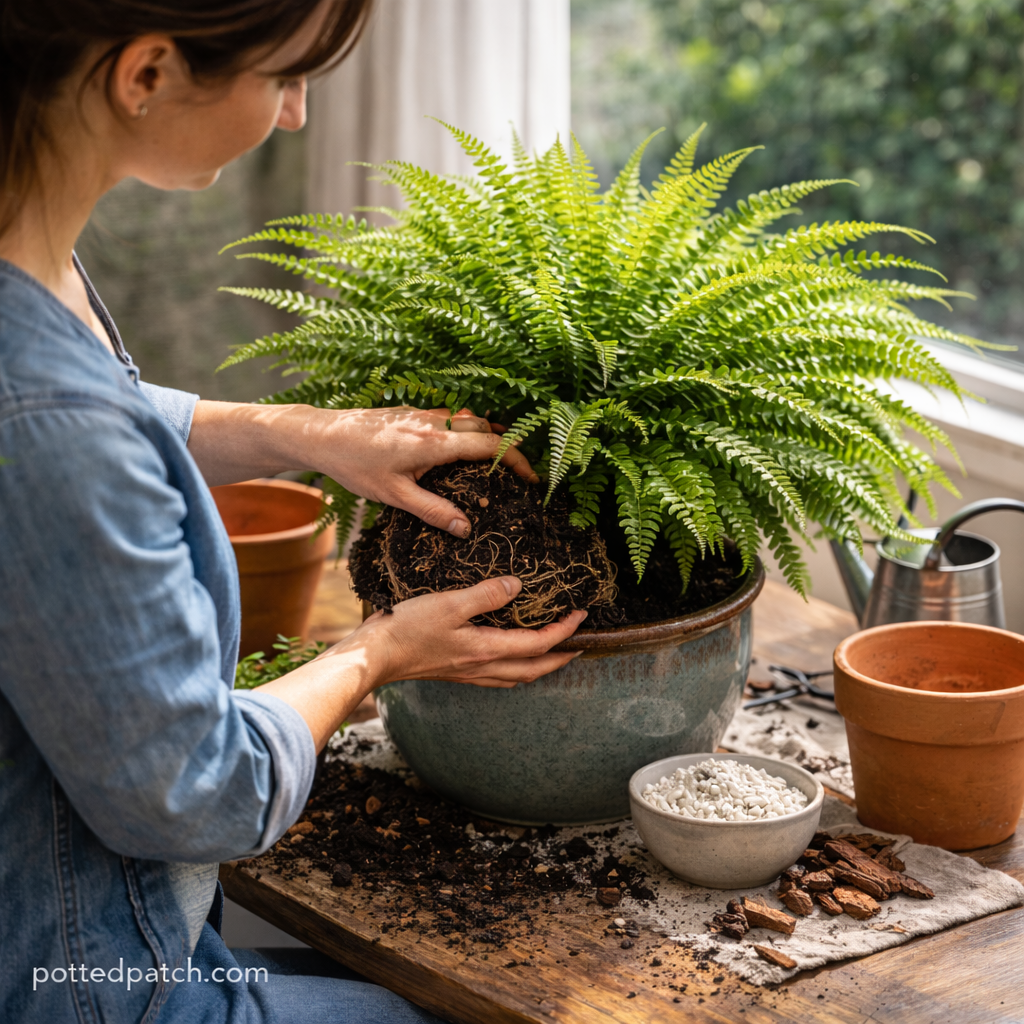
3. Loosen Root Ball
If the roots are circling tightly:
- Gently tease them apart with your fingers
- Trim excessively long or damaged roots if necessary
Do not aggressively break apart healthy roots.
4. Position in the New Pot
- Add a layer of fresh soil to the bottom.
- Place the fern at the same depth it was previously growing.
- Fill around the sides with soil.
Avoid packing the soil tightly. Roots need airflow.
5. Water Thoroughly
After repotting:
- Water until excess drains from the bottom.
- Empty the saucer so the plant isn’t sitting in water.
Place the fern back in bright, indirect light.
Aftercare Following Repotting
Repotting can stress a plant temporarily. To help it recover:
- Keep light consistent and indirect
- Maintain moderate humidity
- Avoid fertilizing for 4–6 weeks
- Monitor soil moisture carefully
You may notice minor drooping for a few days. This is normal and usually resolves quickly.
Can You Divide a Boston Fern While Repotting?
Yes. Boston ferns can be divided if they’re large and crowded.
To divide:
- Remove the plant from its pot.
- Gently separate the root mass into sections.
- Ensure each section has healthy roots and foliage.
- Repot each division individually.
Division is a great way to propagate and control size.
Common Repotting Mistakes to Avoid
Avoid these errors:
- Using garden soil
- Choosing a pot that’s too large
- Overwatering immediately after repotting
- Compacting soil too firmly
- Repotting during dormancy
Keeping the process gentle and gradual ensures success.
Final Thoughts
Repotting a Boston fern at the right time keeps it vigorous and full.
If roots are crowded or growth has slowed, early spring is the best moment to refresh the soil and give the plant room to expand.
With proper timing, a well-draining mix, and careful handling, your Boston fern will bounce back quickly and continue producing lush, arching fronds for years to come.