ZZ plants (Zamioculcas zamiifolia) are incredibly forgiving, but poor drainage is one mistake they won’t tolerate for long. Even if you water infrequently, compacted soil or a poorly draining pot can trap moisture around the roots and lead to rot.
If your ZZ plant has yellowing leaves, soft stems, or soil that stays wet for days, improving drainage is the fastest way to restore its health.
Why Drainage Matters for ZZ Plants
ZZ plants store water in thick underground rhizomes. These act like reservoirs, allowing the plant to survive drought—but they also make the plant extremely sensitive to sitting in wet soil.
Poor drainage leads to:
- Oxygen-starved roots
- Root and rhizome rot
- Wilting despite wet soil
- Leaf yellowing and collapse
Good drainage allows excess water to escape quickly and lets roots breathe between waterings.
Signs Your ZZ Plant Has Poor Drainage
Look for these warning signs:
- Soil remains wet more than 5–7 days after watering
- Water pools on the soil surface
- Yellowing leaves starting at the base
- Soft or mushy stems near the soil line
- Foul smell from the pot
If you notice more than one of these, drainage needs immediate improvement.
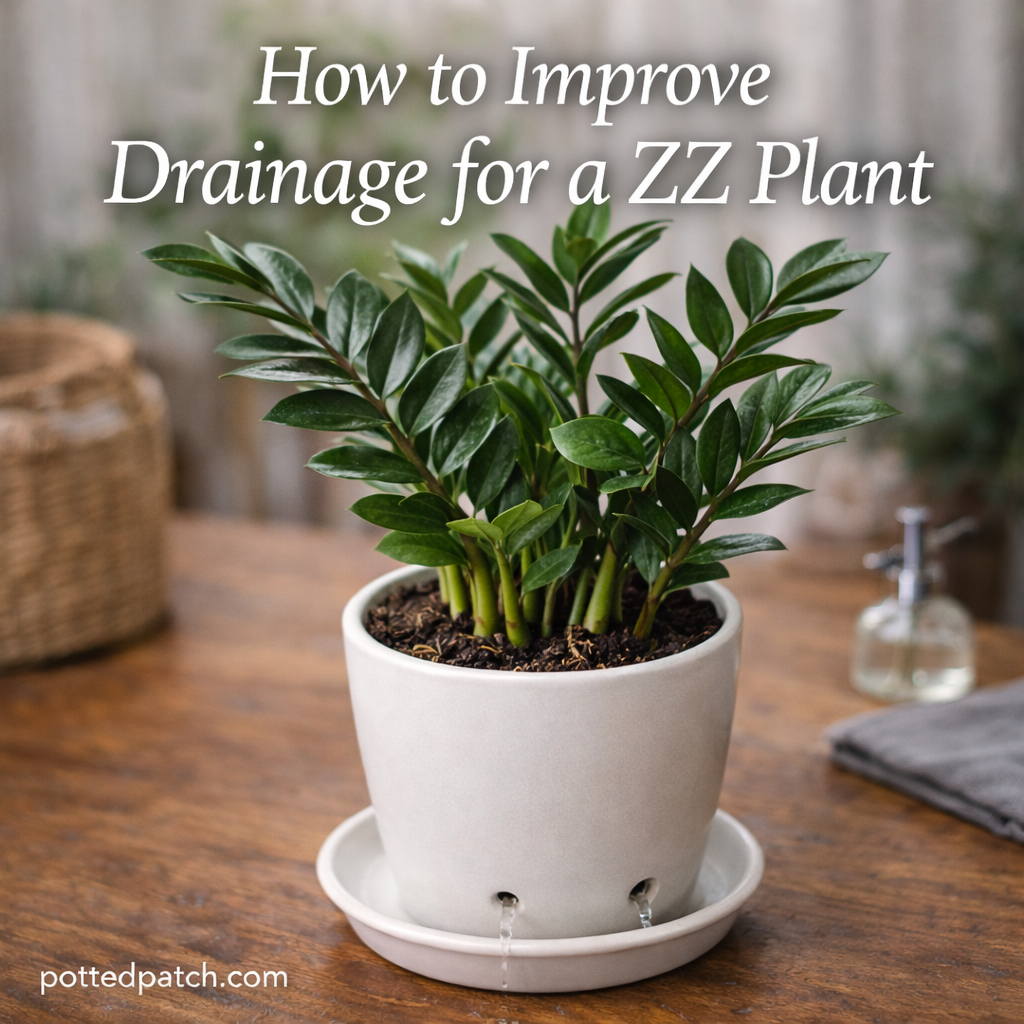
Step 1: Use a Pot With Drainage Holes
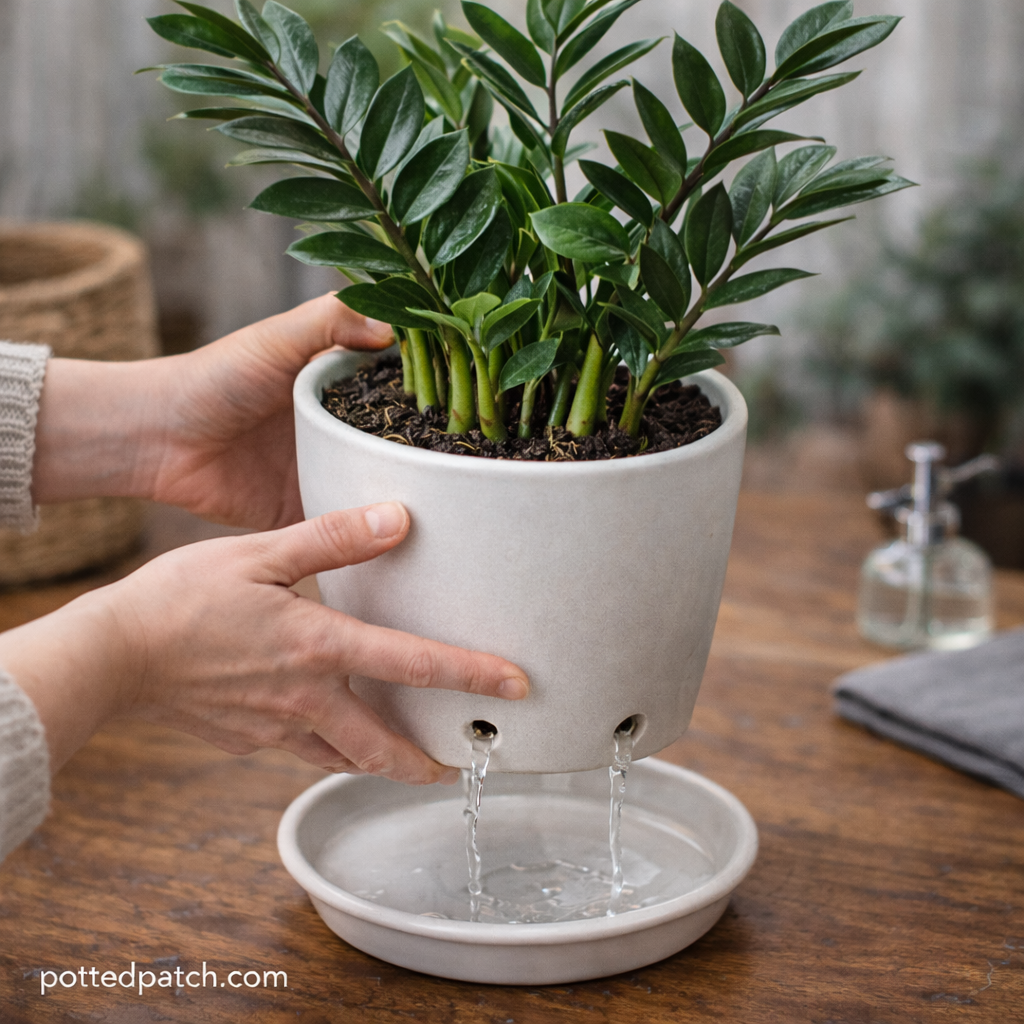
The single most important drainage fix is using the right pot.
What to Look For
- At least one drainage hole at the bottom
- Multiple holes for larger pots
- No sealed or decorative-only containers
What to Avoid
- Pots with no holes
- Glass or metal containers without drainage
- Decorative cachepots used without removing excess water
If you love decorative pots, keep the plant in a nursery pot inside the outer container and remove it to water.
Step 2: Switch to a Fast-Draining Soil Mix
Standard potting soil holds too much moisture for ZZ plants.
Ideal ZZ Plant Soil Mix
Use one of the following:
- Cactus or succulent soil
- Indoor potting soil amended with drainage materials
DIY Drainage Mix
Combine:
- 2 parts regular potting soil
- 1 part perlite or pumice
- 1 part coarse sand or orchid bark
This blend prevents compaction and allows water to flow freely.
Step 3: Avoid Drainage Myths That Don’t Work
Some common drainage “tricks” actually make problems worse.
Skip These Methods
- Gravel or rocks at the bottom of the pot
- Broken pottery shards as a base layer
- Activated charcoal layers for drainage
These create a perched water table, trapping moisture higher in the pot where roots sit.
Drainage comes from soil structure and exit holes—not layers at the bottom.
Step 4: Choose the Right Pot Size
Oversized pots hold excess moisture that ZZ plants don’t use quickly.
Pot Size Guidelines
- Choose a pot only 1–2 inches wider than the root ball
- Avoid deep pots unless the plant is very large
- Repot only every 2–3 years or when severely rootbound
Too much empty soil equals too much trapped water.
Step 5: Check Drainage After Watering
Once changes are made, test the drainage.
After watering:
- Water should flow out within seconds
- Soil surface should not stay muddy
- Pot should feel lighter within a few days
If water doesn’t drain freely, reassess soil and pot choice.
Step 6: Adjust Your Watering Habits
Even with perfect drainage, watering too often can still cause issues.
Best practices:
- Water only when soil is fully dry
- Never water on a fixed schedule
- Reduce watering in low light and winter months
- Empty saucers immediately after watering
Drainage and watering habits must work together.
When to Repot to Improve Drainage
Repot your ZZ plant if:
- Soil stays wet despite infrequent watering
- Roots show signs of rot
- The plant has been in the same soil for 3+ years
- You’re switching from a non-draining pot
Always repot into dry soil and wait 7–10 days before watering.
Can You Improve Drainage Without Repotting?
Temporary improvements include:
- Letting soil dry completely between waterings
- Increasing airflow and light
- Tilting the pot briefly to help excess water escape
However, these are short-term solutions. Long-term health requires proper soil and drainage holes.
Quick Drainage Checklist
- Pot has drainage holes
- Soil drains freely and doesn’t compact
- No standing water in saucers
- Pot size matches the root system
- Watering happens only after full dry-out
If all five are met, drainage is no longer a risk.
Final Thoughts
Improving drainage for a ZZ plant is less about watering less and more about giving excess water somewhere to go. With the right pot, soil mix, and habits, ZZ plants thrive with minimal effort and remain one of the easiest houseplants to care for.
When in doubt, prioritize airflow, dryness, and simplicity—your ZZ plant will do the rest. 🌿