Proper drainage is one of the most important factors in keeping a philodendron healthy. While these tropical plants enjoy consistent moisture, they do not tolerate sitting in soggy soil.
Poor drainage can quickly lead to yellow leaves, drooping stems, and root rot.
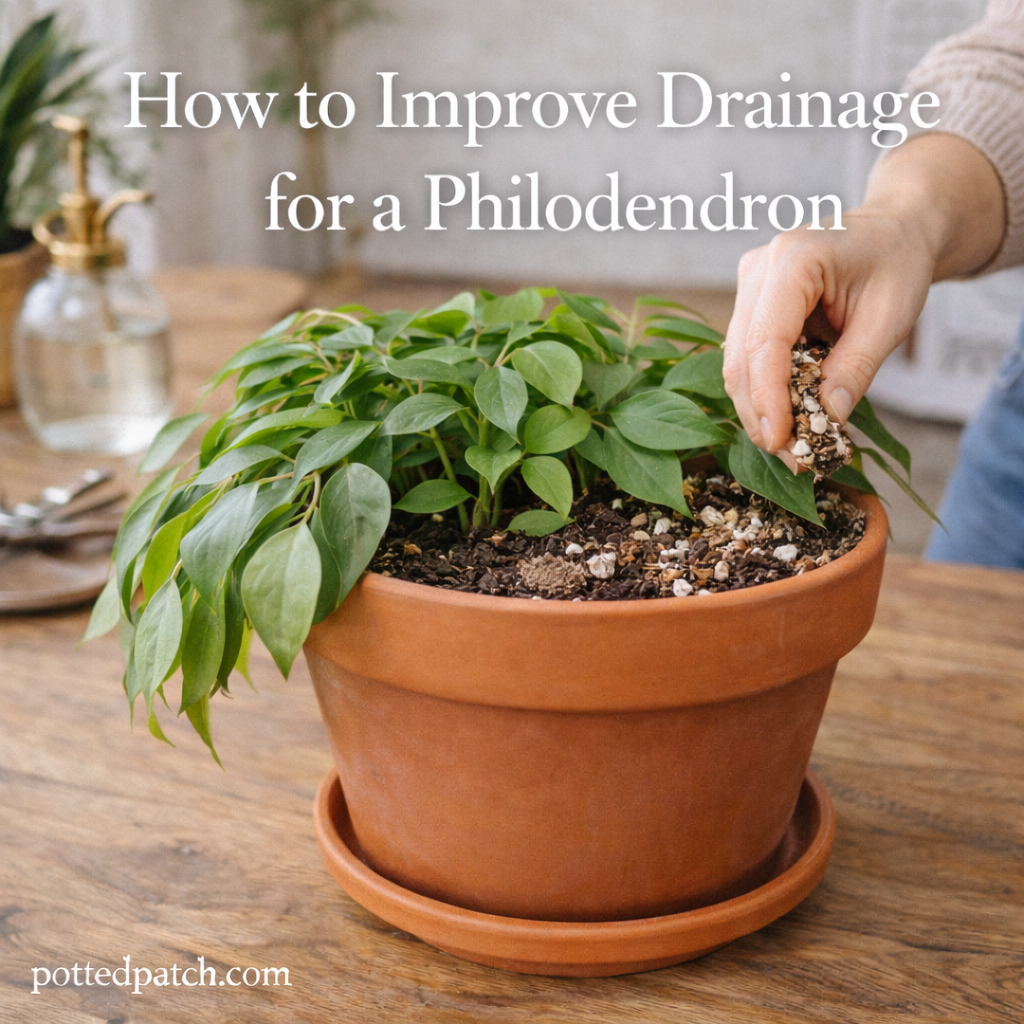
If your philodendron’s soil stays wet for too long, here’s how to improve drainage and protect your plant.
Why Drainage Matters
Philodendrons prefer soil that is:
- Moist but not waterlogged
- Airy and well-aerated
- Able to dry slightly between waterings
When excess water can’t escape, roots become deprived of oxygen. Over time, this leads to root rot — one of the most common indoor plant problems.
Improving drainage prevents this issue before it starts.
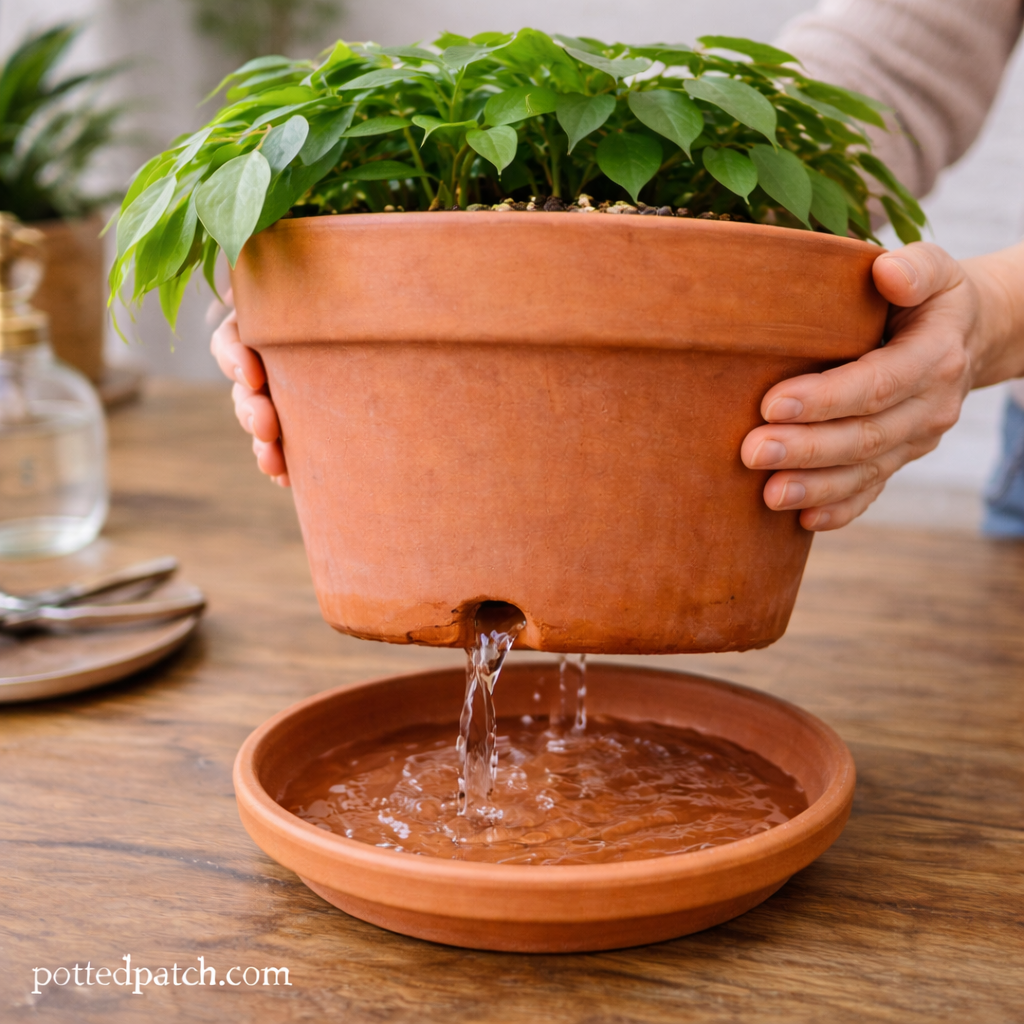
Step 1: Use a Pot With Drainage Holes
This is non-negotiable.
If your philodendron is planted in a pot without holes, water has nowhere to escape.
What to Do
- Repot into a container with at least one drainage hole
- If using a decorative pot, keep the plant in a nursery pot inside it
- Always empty the saucer after watering
Even perfect soil won’t fix drainage if the pot traps water.
Step 2: Upgrade to a Well-Draining Soil Mix
Standard potting soil alone often retains too much moisture.
Philodendrons prefer a chunky, airy mix.
Ideal Drainage Mix Recipe
- 2 parts high-quality indoor potting soil
- 1 part perlite or pumice
- 1 part orchid bark
This blend improves airflow and allows water to move through the soil more efficiently.
Avoid dense, compacted soil that feels heavy or muddy.
Step 3: Add Drainage Amendments
If you don’t want to completely replace your soil, you can amend it.
Materials That Improve Drainage
- Perlite
- Pumice
- Coarse sand (sparingly)
- Orchid bark
Mix amendments evenly throughout the soil, not just at the bottom.
Important: Adding rocks only to the bottom of a pot does not improve drainage. It can actually create a perched water table, trapping moisture higher in the soil.
Step 4: Choose the Right Pot Material
Pot material affects how quickly soil dries.
Terracotta
- Porous and breathable
- Allows moisture to evaporate
- Best for preventing overwatering
Plastic
- Retains moisture longer
- Better for dry environments
If your philodendron struggles with soggy soil, switching to terracotta can help significantly.
Step 5: Adjust Your Watering Technique
Even with good drainage, overwatering can overwhelm the soil.
Follow these watering best practices:
- Water only when the top 1–2 inches of soil are dry.
- Water thoroughly until it drains out the bottom.
- Allow excess water to drain completely.
- Never let the pot sit in standing water.
Proper watering supports proper drainage.
Step 6: Check for Root Compaction
Over time, roots can compact soil, reducing airflow and slowing drainage.
Signs of compaction include:
- Water pooling on top of soil
- Soil shrinking from the edges
- Roots circling tightly inside the pot
If this happens, gently loosen the root ball and repot with fresh, airy soil.
Signs Drainage Has Improved
After improving drainage, you should notice:
- Soil drying evenly within 7–10 days
- Healthier, firmer leaves
- Reduced yellowing
- No musty odor
Good drainage creates stronger roots and steady growth.
Final Thoughts
Improving drainage for a philodendron is one of the simplest ways to prevent root rot and promote long-term health.
Use a pot with drainage holes, upgrade your soil mix, add airy amendments, and adjust watering habits. With proper drainage, your philodendron will grow fuller, stronger, and more resilient indoors.