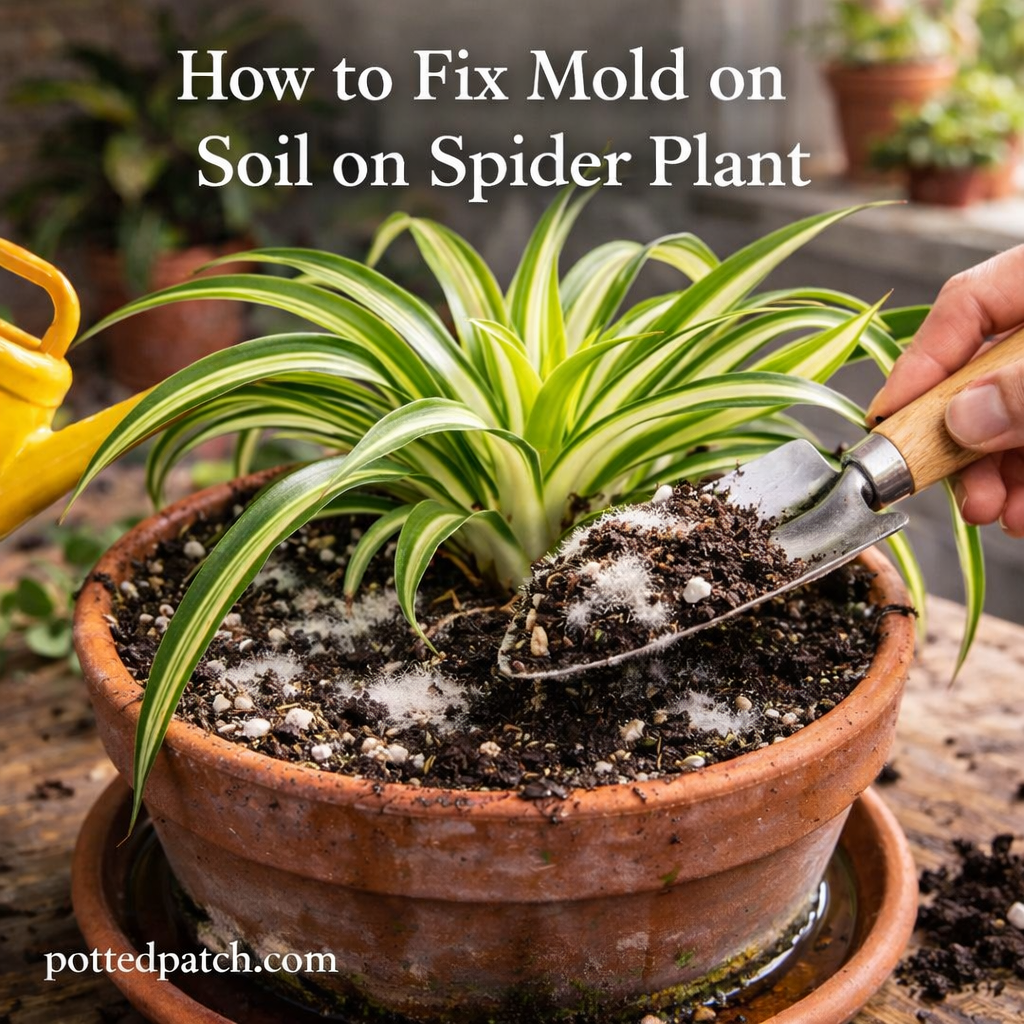
White, fuzzy mold on your spider plant’s soil can look alarming — but it’s usually easy to fix.
In most cases, mold is caused by excess moisture, poor drainage, or low airflow. Once you correct the underlying conditions, the mold disappears and your plant stays healthy.
Here’s exactly how to fix mold on spider plant soil step by step.
Step 1: Remove the Moldy Top Layer
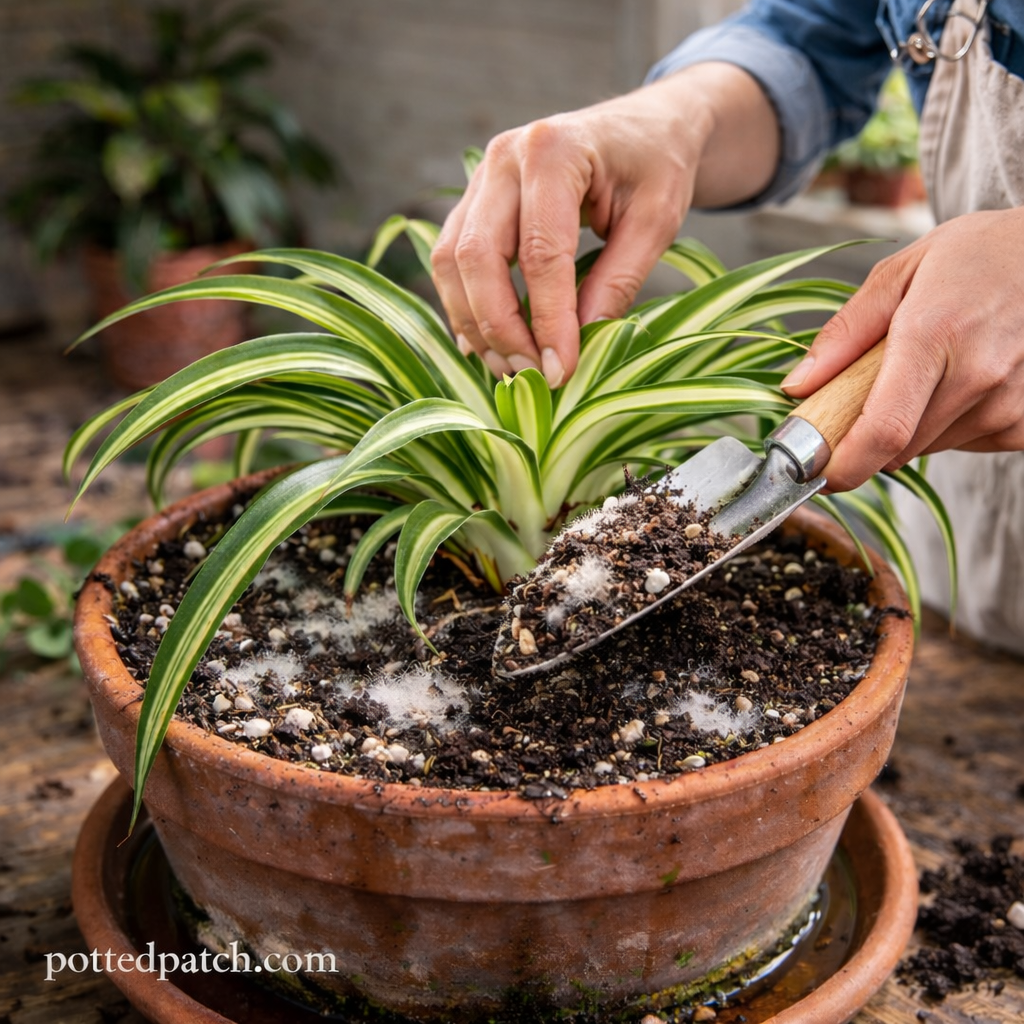
Start by removing the visible mold.
- Use a spoon or small trowel.
- Remove the top 1–2 inches of affected soil.
- Discard it completely — do not reuse it.
Be careful not to damage the roots near the surface.
Replacing the top layer removes most fungal growth immediately.
Step 2: Replace With Fresh, Dry Soil
Add fresh, well-draining potting mix to replace what you removed.
For spider plants, a better soil blend includes:
- Standard indoor potting mix
- Perlite (for drainage)
- Coarse sand or orchid bark
This improves airflow and prevents moisture buildup.
Avoid heavy, compacted soils that stay wet too long.
Step 3: Adjust Your Watering Routine
Mold almost always points to overwatering.
From now on:
- Water only when the top 1–2 inches of soil feel dry.
- Never water on a strict schedule without checking moisture.
- Empty the drainage saucer after watering.
Spider plants prefer drying slightly between waterings.
Letting soil dry properly is the most important fix.
Step 4: Improve Drainage
If mold keeps returning, drainage may be the problem.
Check that:
- The pot has drainage holes.
- Water flows freely out the bottom.
- Soil is not compacted or dense.
If needed, repot into a container with proper drainage.
Good drainage prevents recurring mold.
Step 5: Increase Light and Airflow
Low light slows soil drying.
Move your spider plant to:
- Bright, indirect sunlight
- A well-ventilated area
Avoid dark corners where moisture lingers.
Improved airflow helps suppress fungal growth naturally.
Step 6: Use a Natural Antifungal (Optional)
If mold is persistent, you can try natural remedies.
Lightly sprinkle cinnamon on the soil surface. Cinnamon has mild antifungal properties.
You can also:
- Increase room airflow
- Reduce humidity levels
Avoid harsh chemical fungicides indoors unless absolutely necessary.
Step 7: Inspect the Roots (If Problem Persists)
If mold returns quickly, the issue may extend below the surface.
Remove the plant and inspect the roots.
Healthy roots are:
- Firm
- White or light tan
- Odor-free
If roots are brown and mushy, root rot may be present. In that case:
- Trim damaged roots.
- Replace all soil.
- Repot in fresh, well-draining mix.
Early action prevents serious damage.
When Mold Is a Bigger Warning Sign
Take immediate action if you notice:
- Yellowing leaves
- Soft stems
- Fungus gnats
- Persistent musty smell
These symptoms suggest excess moisture affecting the root system.
Prevention Checklist
Once the mold is gone, keep it from coming back:
- Water only when soil is partially dry.
- Use pots with drainage holes.
- Improve soil aeration with perlite.
- Keep plant in bright, indirect light.
- Remove debris from soil surface.
Balanced watering and airflow are the key to long-term success.
Final Thoughts
Fixing mold on spider plant soil is usually simple: remove the affected soil, improve drainage, and adjust watering habits.
Mold is a symptom — not the main problem. Correct the moisture imbalance, and your spider plant will stay healthy and mold-free.
Spider plants are resilient. With small care adjustments, they bounce back quickly.