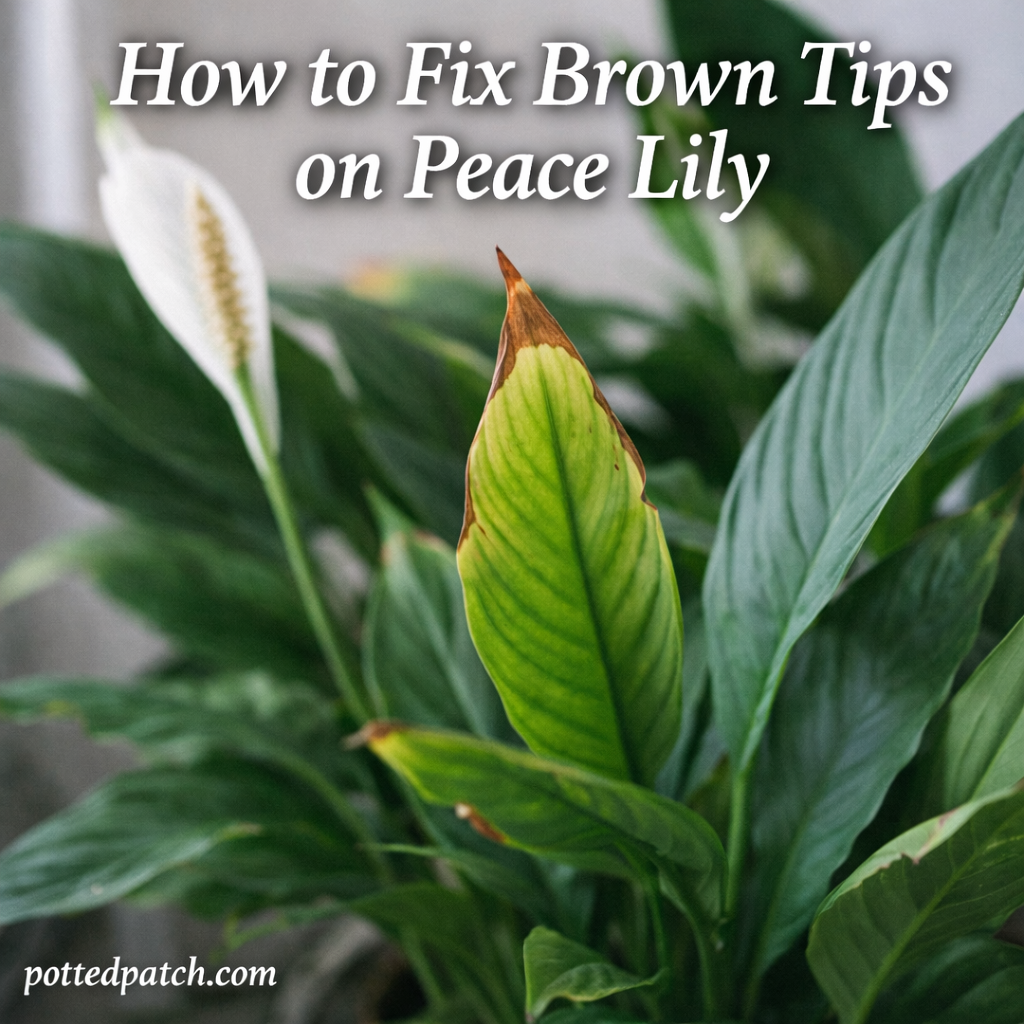
Brown tips on a peace lily are one of the most common plant problems indoor growers face. The good news? It’s usually easy to fix once you identify the cause.
If your peace lily leaves are developing dry, crispy, or yellow-brown edges, this guide will walk you through the exact steps to restore healthy, vibrant foliage.
Why Peace Lily Leaves Get Brown Tips
Brown tips typically signal stress. Peace lilies are resilient, but they’re sensitive to changes in water, humidity, and soil conditions.
The most common causes include:
- Inconsistent watering
- Low humidity
- Fluoride or chemicals in tap water
- Salt buildup in soil
- Overfertilizing
- Root issues
Let’s break down how to fix each one.
Step 1: Check Your Watering Routine
Peace lilies like evenly moist soil — not soggy and not bone dry.
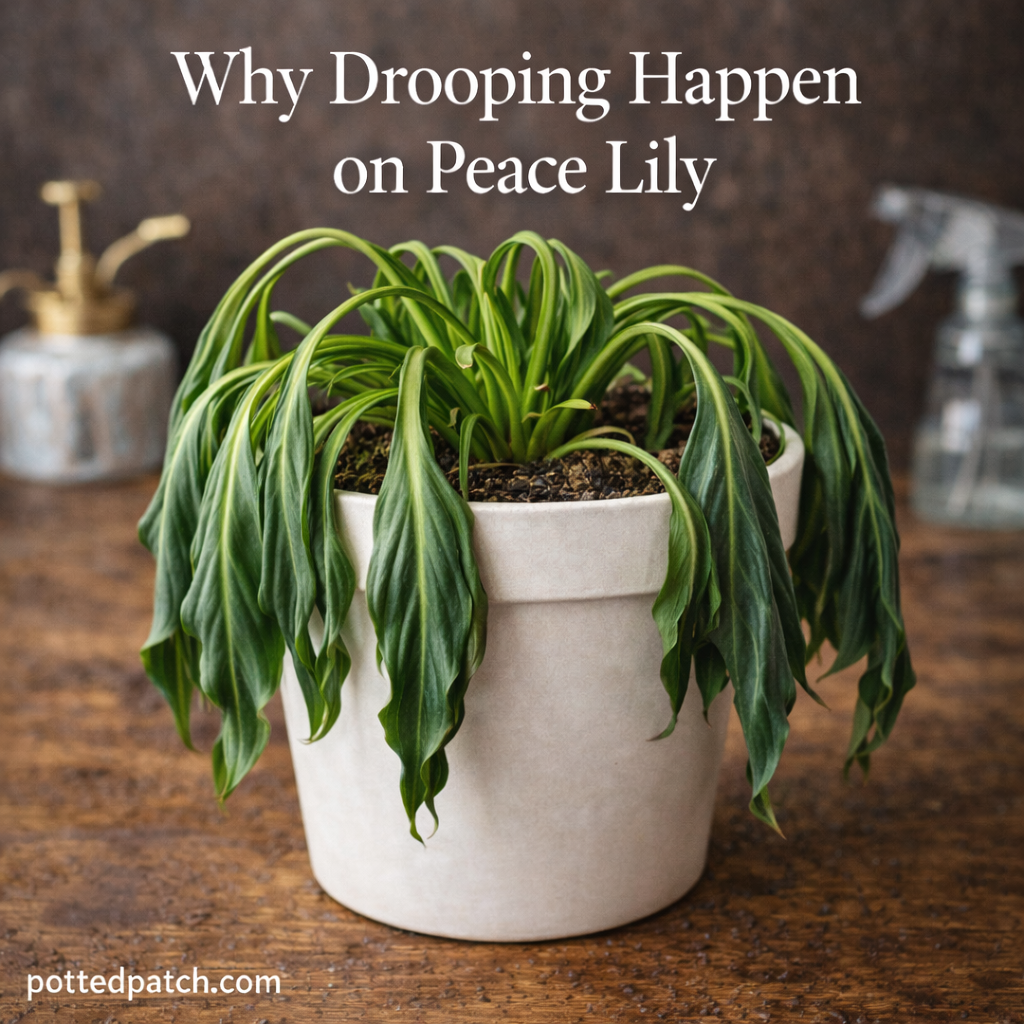
Signs of Underwatering
- Drooping leaves
- Crispy brown tips
- Soil pulling away from the pot edges
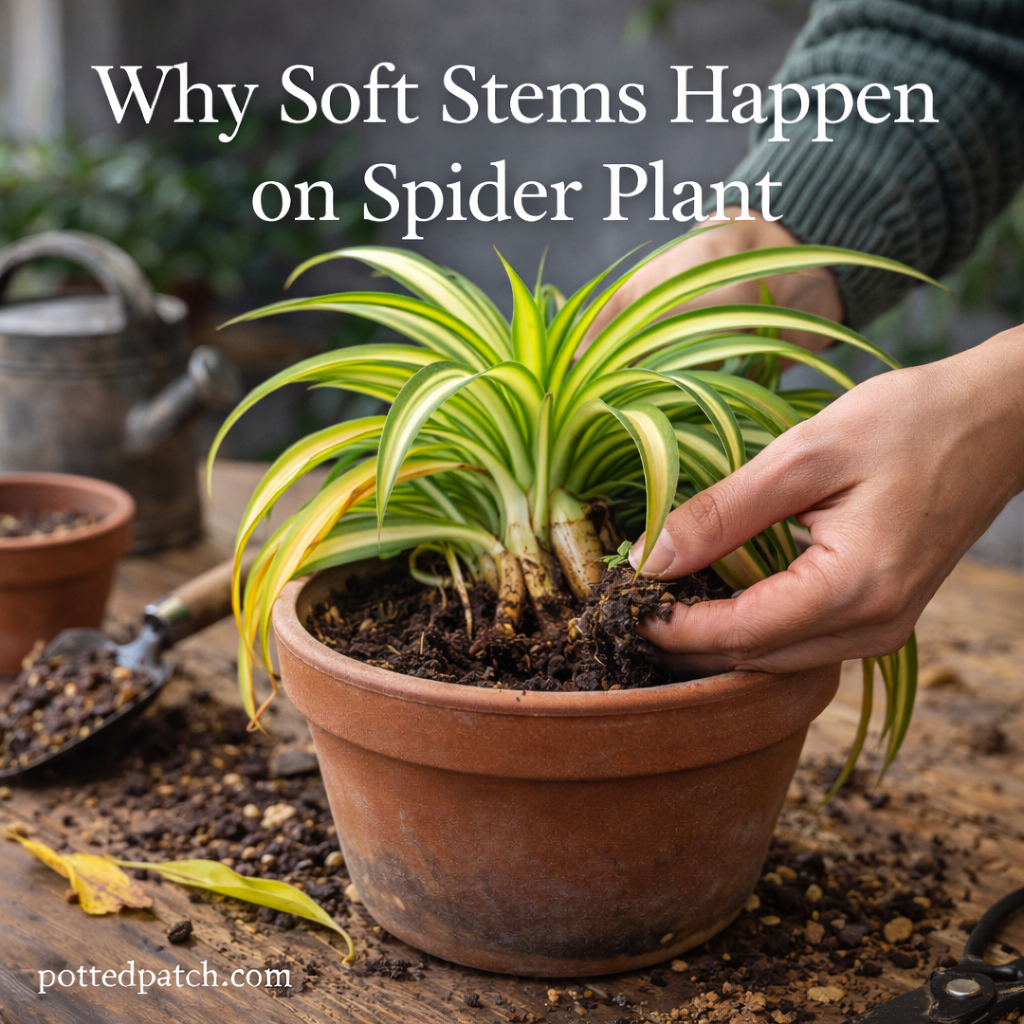
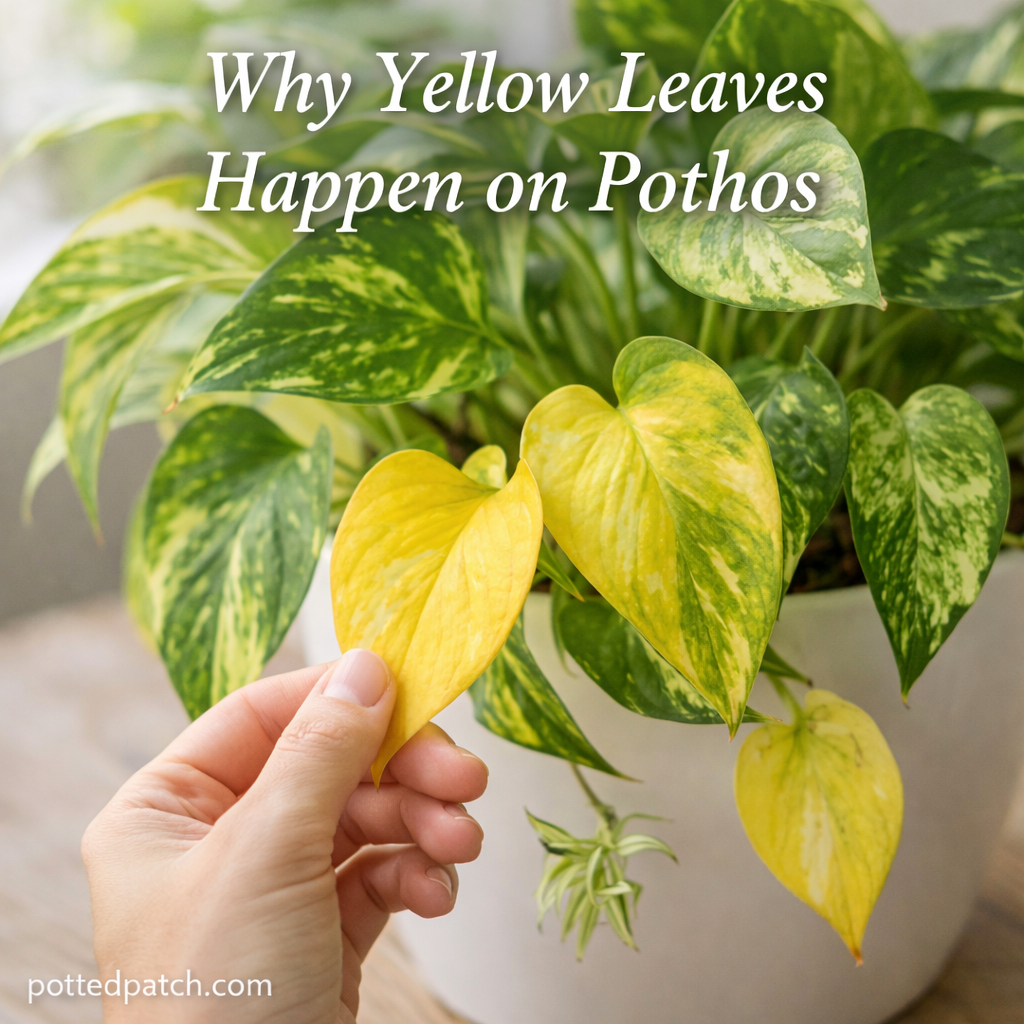
Signs of Overwatering
- Yellowing leaves
- Soft stems
- Musty soil smell
How to Fix It
- Stick your finger 1–2 inches into the soil.
- Water only when the top layer feels slightly dry.
- Ensure excess water drains completely.
Consistency is key. Avoid letting the plant fully dry out repeatedly.
Step 2: Improve Humidity Levels
Peace lilies are tropical plants. Dry indoor air is a major cause of brown tips, especially in winter.
Ways to Increase Humidity
- Place a humidifier nearby
- Group plants together
- Set the pot on a pebble tray with water
- Move it away from heating vents
Aim for moderate to high humidity for best results.
Step 3: Switch to Filtered or Distilled Water
Peace lilies are sensitive to chemicals like fluoride and chlorine found in tap water. Over time, these build up in the soil and cause leaf tip burn.
What to Do
- Use distilled water
- Use filtered water
- Let tap water sit out overnight before watering
This simple change often stops brown tips from spreading.
Step 4: Flush the Soil to Remove Salt Buildup
Fertilizer salts accumulate over time and damage roots.
How to Flush the Soil
- Take the plant to a sink or bathtub.
- Slowly run room-temperature water through the soil for 1–2 minutes.
- Allow it to drain fully.
Repeat every few months if you fertilize regularly.
Step 5: Check Fertilizer Habits
Too much fertilizer causes chemical burn, which shows up as brown edges.
Fix Overfertilization
- Stop fertilizing for 1–2 months.
- Resume feeding at half strength.
- Fertilize only during active growing seasons (spring and summer).
Peace lilies do not need heavy feeding.
Step 6: Trim the Brown Tips Properly

Once tips turn brown, they won’t turn green again. Trimming improves appearance and prevents further stress.
How to Trim
- Use clean, sharp scissors.
- Cut just above the brown area.
- Follow the natural shape of the leaf.
Avoid cutting into healthy green tissue.
When to Repot
If brown tips continue despite correcting watering and humidity, the plant may be root-bound or sitting in poor soil.
Repot if you notice:
- Roots circling the bottom
- Water running straight through without absorbing
- Compacted soil
Use fresh, well-draining indoor potting mix when repotting.
How Long Until You See Improvement?
After correcting the issue, new growth should appear healthy within a few weeks.
Remember:
- Old damaged tips won’t heal
- Focus on preventing new damage
- Stability matters more than drastic changes
Peace lilies respond well to consistent care.
Quick Fix Checklist
If you want a fast action plan:
- Water consistently, not excessively
- Increase humidity
- Use distilled or filtered water
- Flush soil occasionally
- Fertilize lightly
- Trim damaged tips
Final Thoughts
Brown tips on a peace lily are usually caused by water quality, humidity, or inconsistent care — not disease. With a few small adjustments, your plant can quickly return to lush, glossy green leaves.
Peace lilies are forgiving. Once you dial in the right routine, they reward you with steady growth and beautiful blooms.