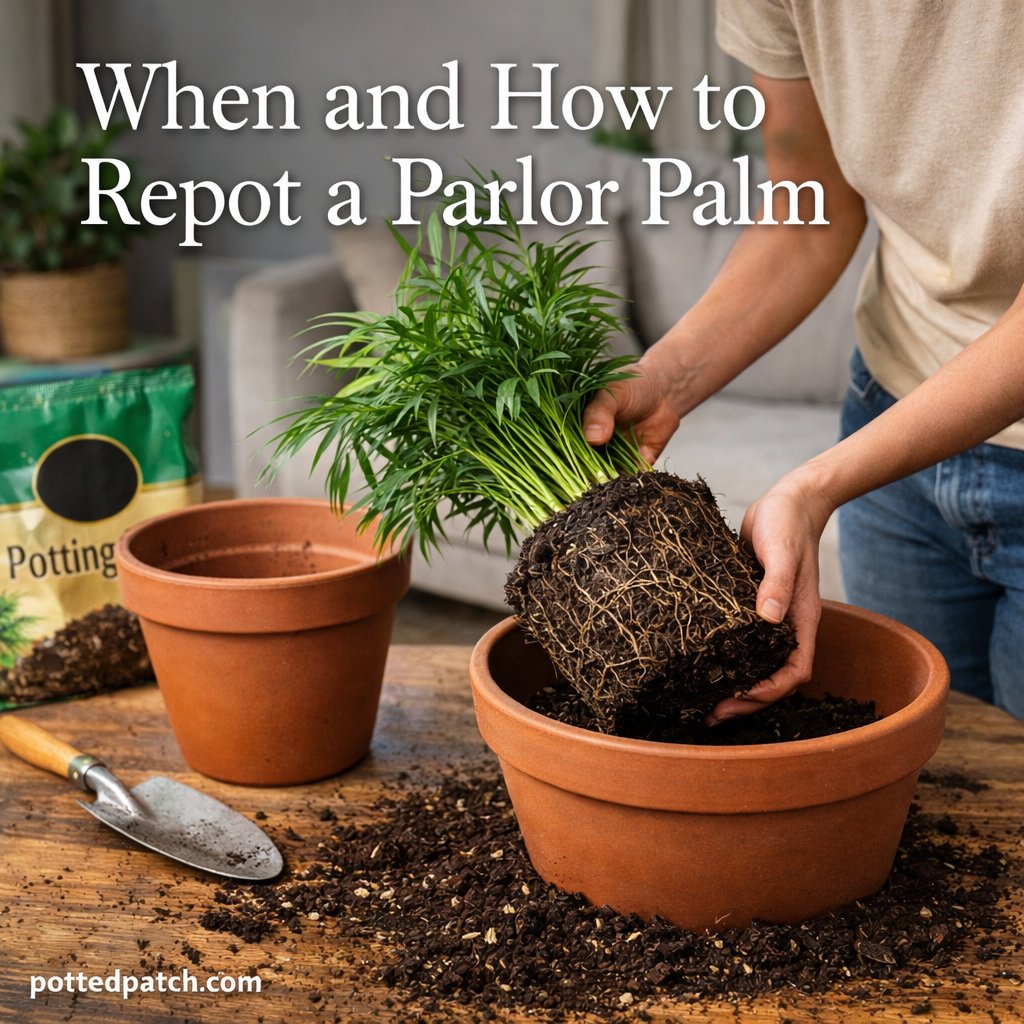
Repotting a Parlor Palm isn’t something you’ll need to do often — and that’s a good thing. These elegant, slow-growing plants actually prefer being slightly root-bound. But when the time comes, repotting the right way makes a big difference in long-term health.
In this guide, you’ll learn exactly when to repot your Parlor Palm and the safest, step-by-step method to do it without stressing the plant.
How Often Should You Repot a Parlor Palm?
Parlor Palms (Chamaedorea elegans) grow slowly indoors. Most only need repotting every:
- 2 to 3 years
- Sometimes even longer if growth is minimal
Frequent repotting can actually shock the plant. Only repot when there’s a clear reason.
Signs Your Parlor Palm Needs Repotting
Look for these indicators before disturbing the roots:
1. Roots Are Growing Out of Drainage Holes
If roots are poking out of the bottom of the pot, it’s likely root-bound.
2. Water Runs Straight Through
If water drains immediately without soaking in, the soil may be compacted or root-heavy.
3. Soil Dries Out Extremely Fast
When roots take up most of the pot, there’s less soil to retain moisture.
4. Slowed Growth Despite Good Care
If lighting, watering, and fertilizing are correct but growth has stalled, the plant may need more space.
Best Time of Year to Repot
Spring is ideal.
This is when the plant enters its active growing season, making it better equipped to recover from transplant stress.
Avoid repotting in:
- Late fall
- Winter
- During periods of low light
Repotting during dormancy increases the risk of shock.
Choosing the Right Pot
When upgrading pots:
- Choose one only 1–2 inches wider in diameter
- Always use a pot with drainage holes
- Avoid oversized pots (they hold too much moisture)
Parlor Palms prefer snug conditions. A slightly tight fit is healthier than excess space.
Best Soil for Repotting
Use a well-draining, airy mix. A good blend includes:
- 2 parts indoor potting soil
- 1 part perlite
- 1 part coco coir or peat moss
Optional:
- A small amount of orchid bark for added aeration
Avoid heavy, dense soil that traps moisture.
Step-by-Step: How to Repot a Parlor Palm
Follow this method for minimal stress.
Step 1: Water the Plant the Day Before
Moist soil holds together better and reduces root damage during removal.
Step 2: Gently Remove from the Pot
- Tip the pot sideways
- Support the base of the plant
- Gently slide it out
If stuck, lightly squeeze plastic pots or tap the sides.
Step 3: Inspect the Roots
Healthy roots should be:
- Firm
- Light tan or white
- Not mushy or foul-smelling
Trim only clearly rotted roots with clean scissors.
Do not aggressively untangle roots — Parlor Palms dislike heavy disturbance.
Step 4: Add Fresh Soil to New Pot
Place a layer of soil at the bottom so the root ball sits at the same height as before.
Never bury the stem deeper than it was originally planted.
Step 5: Position and Fill
- Center the plant
- Fill around sides with fresh soil
- Gently press to remove air pockets (don’t compact tightly)
Step 6: Water Thoroughly
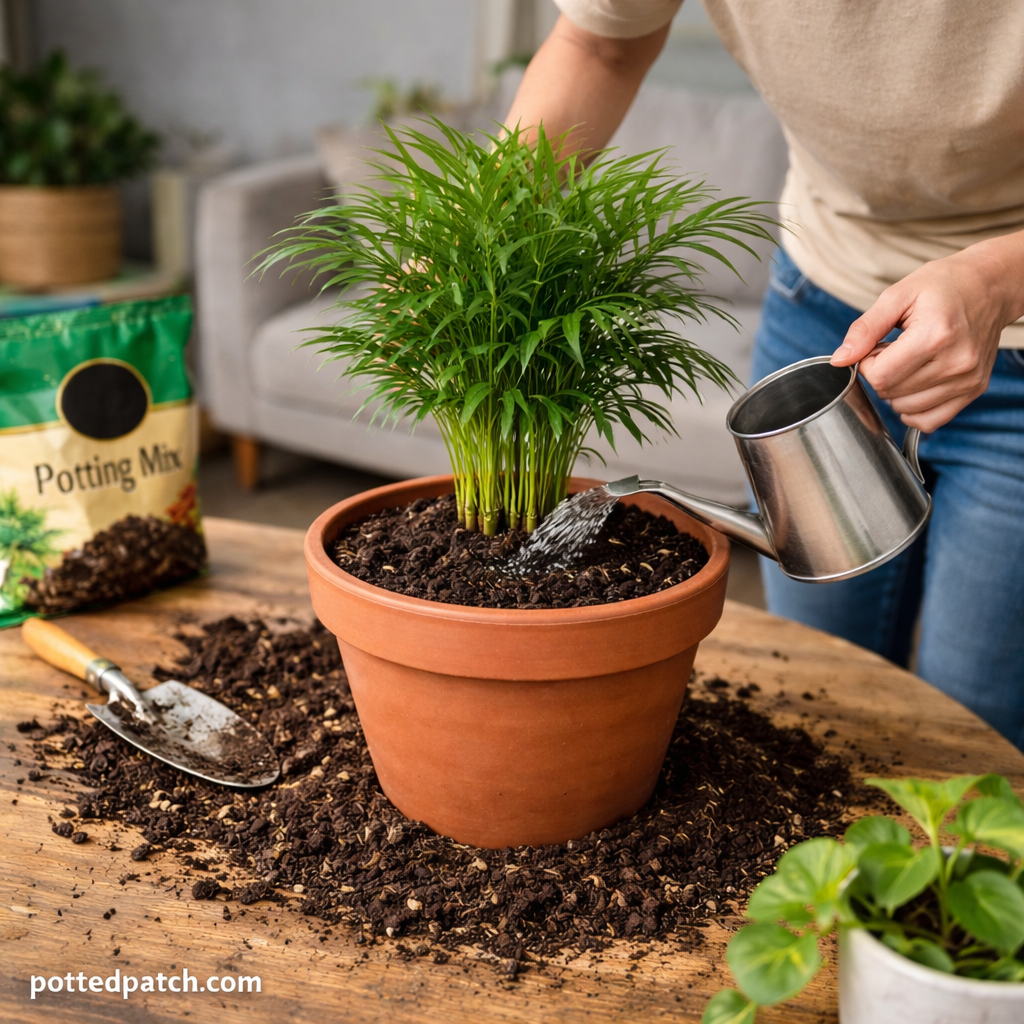
Water until it drains from the bottom.
Discard excess water from the tray.
Aftercare Tips
For the first few weeks:
- Keep in bright, indirect light
- Avoid fertilizing for 4–6 weeks
- Water only when the top inch of soil dries
- Expect slight drooping — this is normal adjustment
Most plants bounce back within a couple of weeks.
Should You Ever Divide a Parlor Palm?
Many Parlor Palms are sold as multiple small plants in one pot.
While division is possible, it’s risky. The roots are delicate and intertwined.
Only divide if:
- The plant is severely overcrowded
- You’re experienced with root separation
Otherwise, leave clusters intact.
Common Repotting Mistakes to Avoid
- Choosing a pot that’s too large
- Using heavy garden soil
- Breaking apart the root ball
- Repotting too frequently
- Fertilizing immediately after transplant
Gentle handling is key.
Final Thoughts
Repotting a Parlor Palm is about patience and restraint. These plants thrive when slightly root-bound and don’t need frequent disturbance.
If you notice clear signs of crowding or compacted soil, upgrade the pot modestly, use well-draining soil, and handle the roots carefully.
Do it right, and your Parlor Palm will continue adding soft, tropical elegance to your indoor space for years.