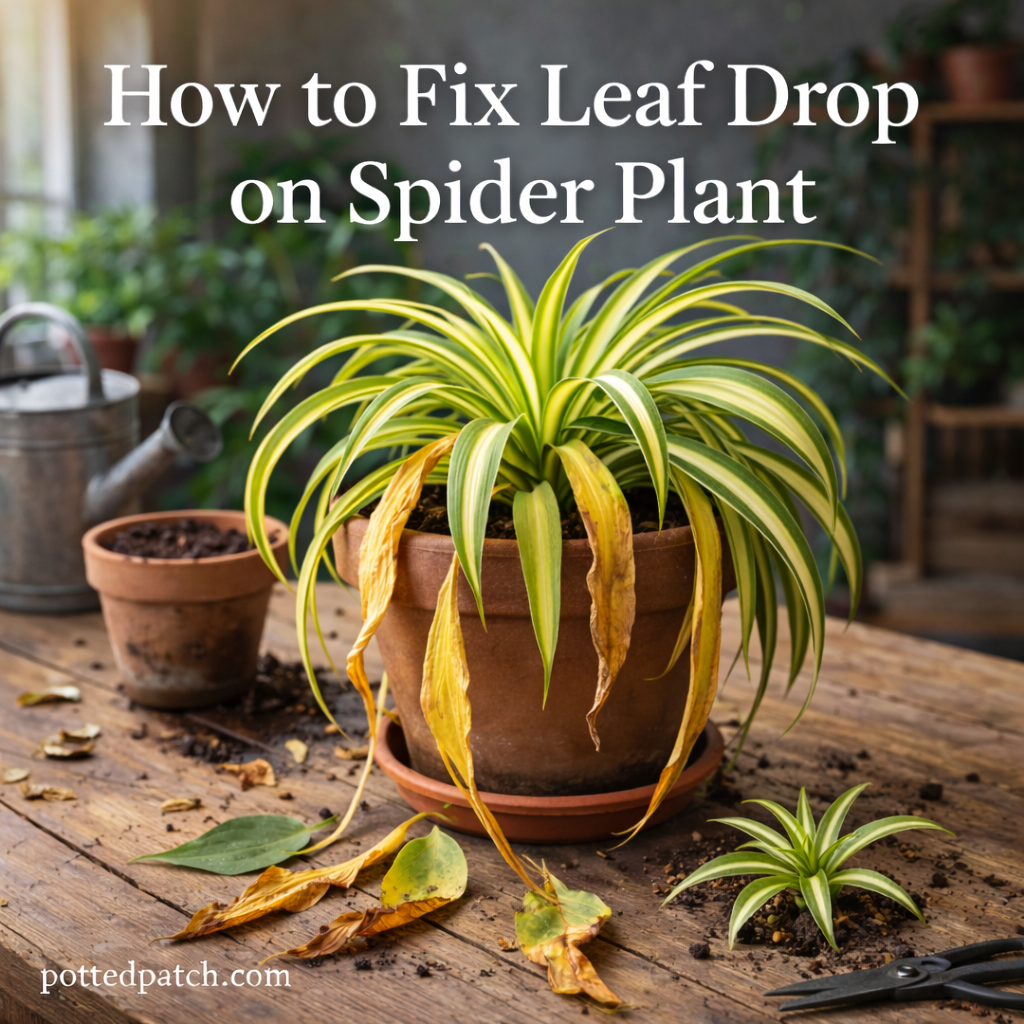
Spider plants are resilient, fast-growing houseplants. But when leaves start dropping, it’s a clear sign something isn’t right.
The good news? In most cases, leaf drop is completely reversible.
This guide walks you through exactly how to fix leaf drop on a spider plant and restore healthy growth.
Step 1: Identify the Cause First
Before you try to “treat” the plant, figure out what’s causing the problem.
Leaf drop is usually linked to:
- Overwatering
- Underwatering
- Sudden environmental changes
- Poor lighting
- Root-bound stress
- Fertilizer buildup
The fix depends on the root cause — so start with a quick diagnosis.
Step 2: Check the Soil Moisture
Improper watering is the most common reason spider plants drop leaves.
If the soil is soggy:
- Let it dry out almost completely before watering again.
- Make sure the pot has drainage holes.
- Empty the saucer after watering.
- Consider repotting into fresh, well-draining soil if roots are mushy.
Soggy soil suffocates roots and leads to rot.
If the soil is bone dry:
- Water thoroughly until excess drains out.
- Rehydrate slowly if soil is extremely dry (water in stages).
- Create a consistent watering routine moving forward.
Spider plants prefer drying slightly between waterings — not staying wet or completely parched.
Step 3: Inspect the Roots
If leaf drop continues even after adjusting watering, check the roots.
Healthy roots should be:
- Firm
- White or light tan
- Odor-free
If roots are brown, mushy, or smell sour, root rot is likely.
How to fix root rot:
- Remove the plant from the pot.
- Trim away damaged roots with clean scissors.
- Repot in fresh, well-draining soil.
- Reduce watering frequency.
Early intervention makes a big difference.
Step 4: Adjust the Lighting
Spider plants thrive in bright, indirect light.
Leaf drop can happen if:
- Light is too low (weak, thinning growth)
- Light is too harsh (leaf scorch before drop)
Move the plant to:
- Near an east-facing window
- A few feet back from a south or west window
- Bright but filtered light
Avoid sudden drastic changes — gradual adjustment works best.
Step 5: Stabilize the Environment
Spider plants dislike sudden shifts.
Leaf drop often occurs after:
- Moving to a new room
- Repotting
- Exposure to cold drafts
- Heat vents blowing directly on the plant
Keep temperatures between 65–80°F and avoid placing the plant near doors, vents, or drafty windows.
Consistency reduces stress.
Step 6: Flush Out Fertilizer Buildup
Too much fertilizer can burn roots and trigger leaf shedding.
If you notice:
- Brown tips
- White crust on soil
- Leaf drop after feeding
Flush the soil thoroughly with distilled or filtered water. Let excess drain completely.
Reduce feeding to once monthly during spring and summer only. Skip fertilizing in fall and winter.
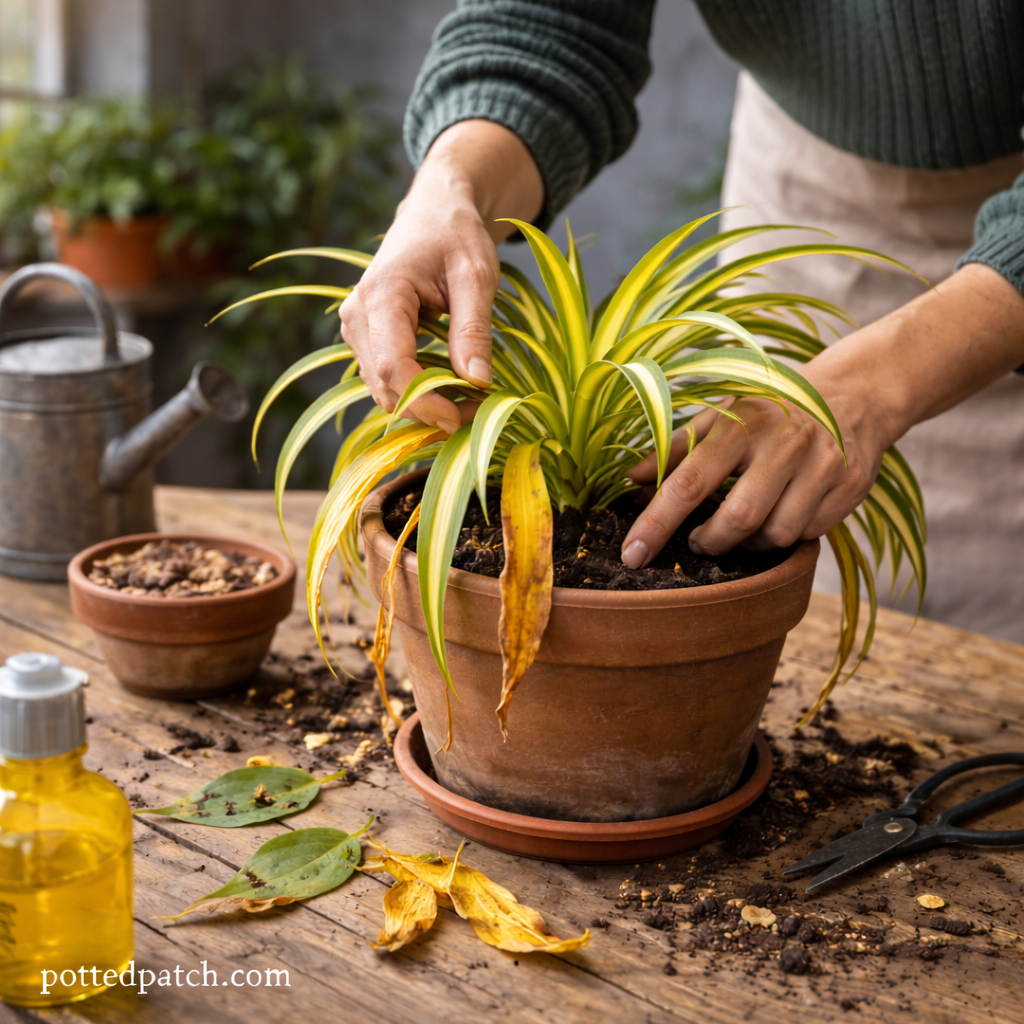
Step 7: Prune Damaged Leaves
Once you’ve corrected the underlying issue, remove severely damaged leaves.
Pruning helps:
- Redirect energy to healthy growth
- Improve appearance
- Prevent further stress
Use clean, sharp scissors and cut at the base of the damaged leaf.
Avoid removing too many at once — never cut more than 25–30% of the plant at one time.
How Long Does Recovery Take?
After correcting the problem, spider plants usually show improvement within 2–4 weeks.
Signs of recovery include:
- New green growth from the center
- Fewer leaves dropping
- Improved firmness
Patience matters. Once stabilized, spider plants bounce back quickly.
When Leaf Drop Is Serious
Immediate action is needed if:
- More than half the leaves fall rapidly
- The base feels soft
- There’s a strong odor from the soil
- Leaves are dropping while still fully green
These are signs of advanced root damage.
Repotting and root inspection should not be delayed in these cases.
Quick Fix Checklist
If you want a simple action plan:
- Check soil moisture.
- Inspect roots if needed.
- Improve drainage.
- Adjust light exposure.
- Stabilize temperature.
- Pause fertilizer.
- Prune damaged leaves.
Address the cause, not just the symptom.
Final Thoughts
Leaf drop on a spider plant is almost always a care-related issue — not a death sentence.
With proper watering, good drainage, bright indirect light, and stable conditions, your spider plant will recover and continue producing healthy, vibrant foliage.
The key is early detection and consistent care.