Spider plants are known for being tough and beginner-friendly. But even resilient plants can struggle if their roots sit in soggy soil for too long.
If your spider plant is wilting, yellowing, or smelling musty at the base, root rot could be the problem. The good news? If you catch it early, you can absolutely save it.
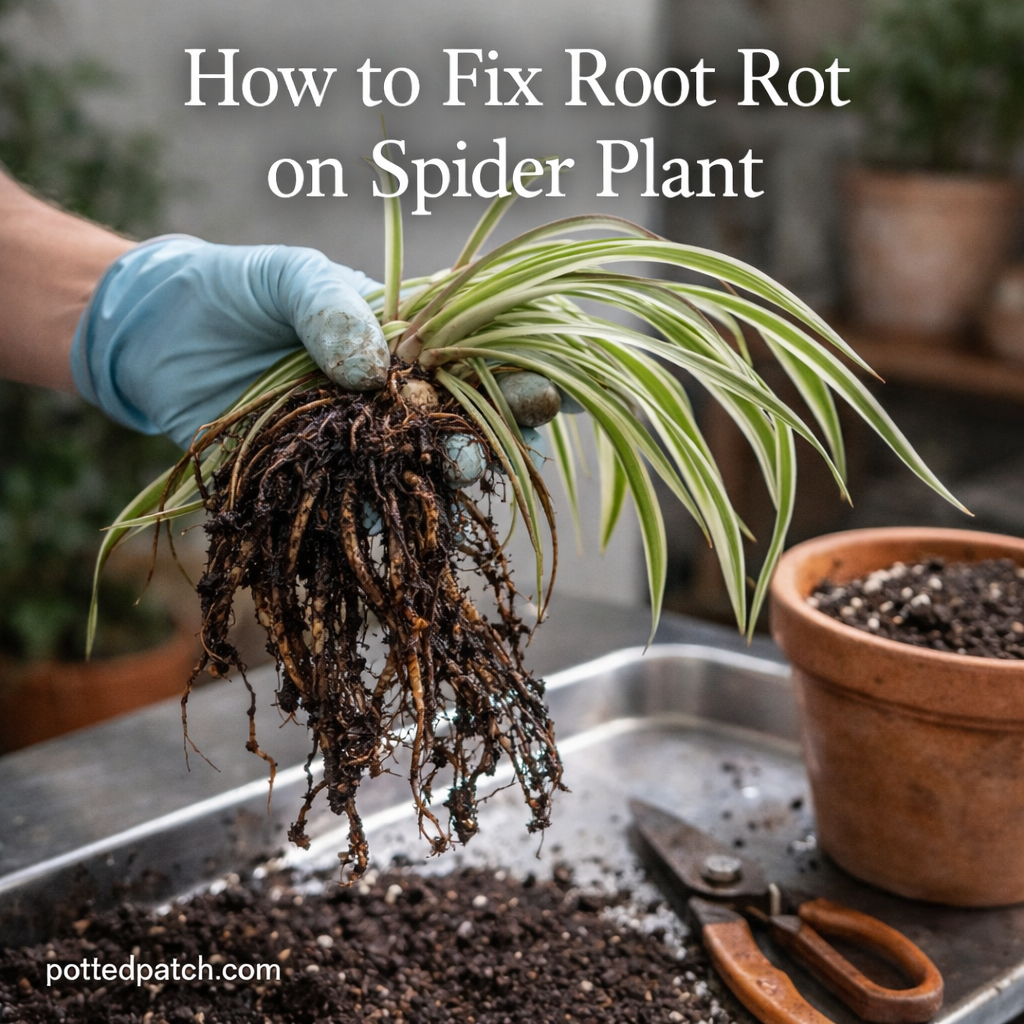
This guide walks you step-by-step through how to fix root rot on a spider plant and prevent it from happening again.
What Causes Root Rot in Spider Plants?
Root rot is almost always caused by excess moisture combined with poor drainage.
Spider plants prefer evenly moist soil — but they do not like sitting in water.
Common causes include:
- Overwatering
- Pots without drainage holes
- Heavy, compacted soil
- Letting water collect in the saucer
- Cold, damp conditions
When roots stay wet for too long, they begin to suffocate and decay. Once rot starts, it spreads quickly if untreated.
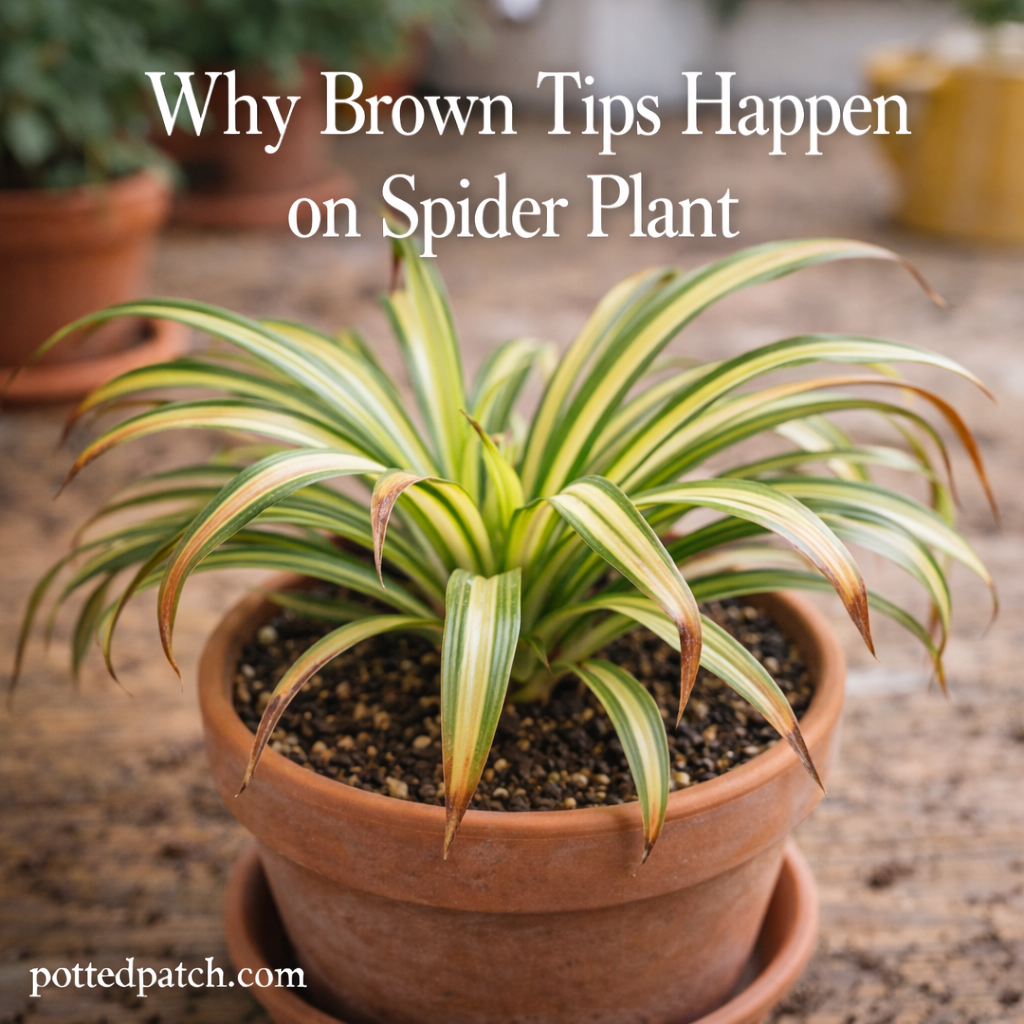
Signs Your Spider Plant Has Root Rot
Early detection is critical.
Look for:
- Yellowing leaves (especially lower ones)
- Soft, drooping foliage
- Mushy or blackened roots
- A foul smell from the soil
- Soil that stays wet for days
Healthy spider plant roots are firm and white or cream-colored. Rotting roots are brown, black, soft, or slimy.
If you notice these signs, act immediately.
Step-by-Step: How to Fix Root Rot
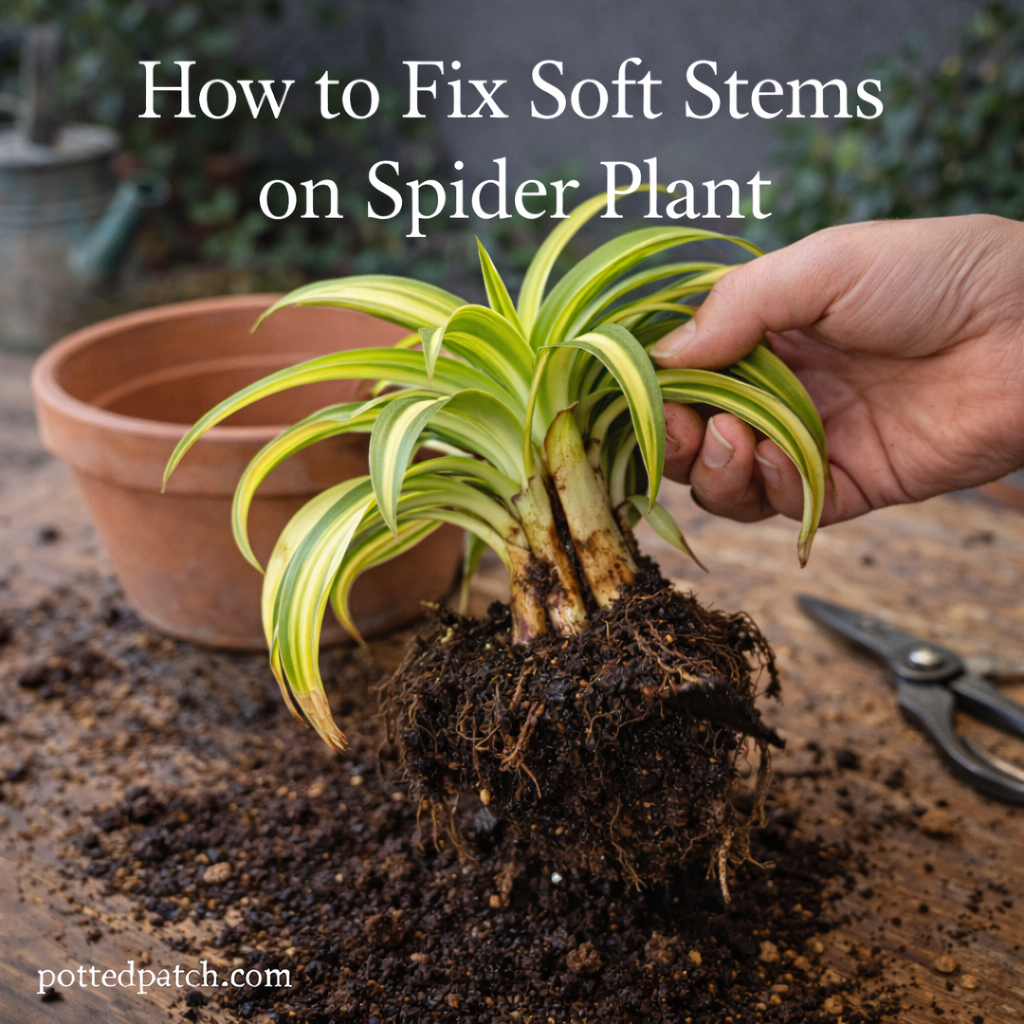
Step 1: Remove the Plant from the Pot
Gently tip the pot sideways and slide the plant out.
If it resists, squeeze the sides of the pot or run a knife along the inner edge to loosen it.
Be careful not to pull forcefully on the leaves.
Step 2: Inspect the Roots
Shake off loose soil and examine the root system closely.
You’re looking for:
- Firm, light-colored roots (healthy)
- Dark, mushy, or slimy roots (rotted)
Don’t worry if you need to remove a large portion — spider plants are resilient.
Step 3: Trim Away All Rotten Roots

Using clean, sharp scissors or pruning shears:
- Cut away every soft or dark root
- Trim back to healthy tissue only
If rot has spread upward into the base, trim that area as well.
Disinfect your tools afterward to prevent spreading disease.
Step 4: Rinse the Remaining Roots
Rinse the healthy roots under lukewarm water to remove lingering bacteria and fungus.
Optional: You can dip roots in a diluted hydrogen peroxide solution (1 part peroxide to 2 parts water) for extra sanitation.
Let roots air-dry for 15–30 minutes before repotting.
Step 5: Repot in Fresh, Well-Draining Soil
This step is crucial.
Use:
- Fresh indoor potting mix
- Added perlite or pumice for drainage
- A clean pot with drainage holes
Choose a pot that fits the trimmed root system — not one that’s oversized.
Fill the pot loosely and do not compact the soil.
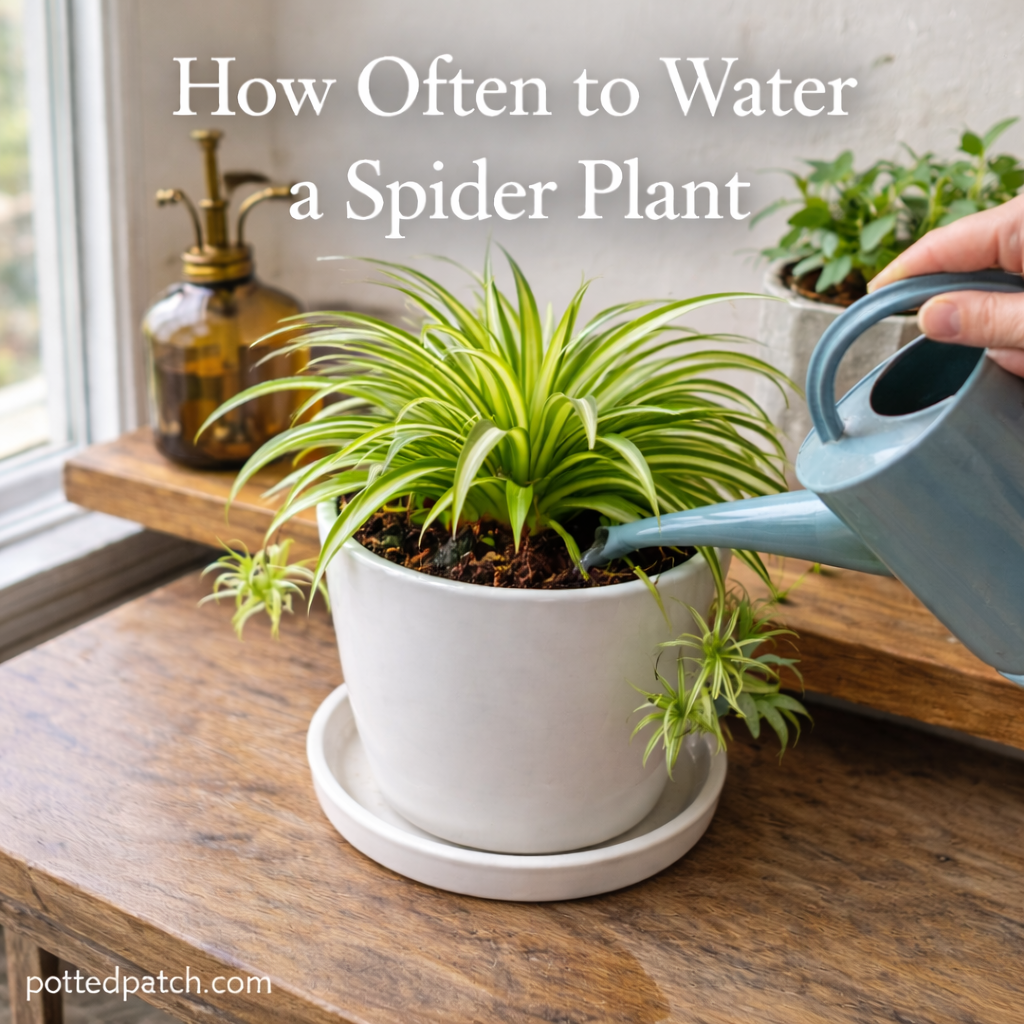
Step 6: Water Lightly
After repotting:
- Water lightly to settle soil
- Do not soak the plant
- Allow the top inch of soil to dry before watering again
Your plant needs time to rebuild its root system.
Aftercare: Helping Your Spider Plant Recover
Recovery takes patience.
For the next few weeks:
- Place in bright, indirect light
- Avoid fertilizing
- Keep soil slightly moist, not wet
- Monitor closely for new growth
Some leaves may continue to yellow — that’s normal while the plant adjusts.
New healthy growth is your sign that recovery is working.
Can You Save a Severely Rotting Spider Plant?
If most of the roots are gone, propagation may be your best option.
Spider plants produce “babies” (spiderettes) on long stems. If the parent plant is beyond saving:
- Cut off healthy spiderettes
- Root them in water or moist soil
- Start fresh
This ensures you don’t lose the plant entirely.
How to Prevent Root Rot in the Future
Prevention is easier than treatment.
Follow these simple rules:
- Always use pots with drainage holes
- Empty saucers after watering
- Use airy, well-draining soil
- Water only when the top inch feels dry
- Avoid watering on a strict schedule — check soil instead
Spider plants prefer slightly drying out between waterings rather than staying consistently soggy.
Common Mistakes to Avoid
- Repotting into the same contaminated soil
- Using oversized pots
- Fertilizing immediately after trimming roots
- Ignoring drainage
Even one of these can restart the cycle.
Final Thoughts
Root rot may look alarming, but spider plants are surprisingly forgiving.
If you:
- Remove all rotten roots
- Repot in fresh, well-draining soil
- Adjust your watering habits
Your plant has a strong chance of making a full recovery.
Pay attention to moisture levels, and your spider plant will reward you with fresh green leaves and healthy growth once again.