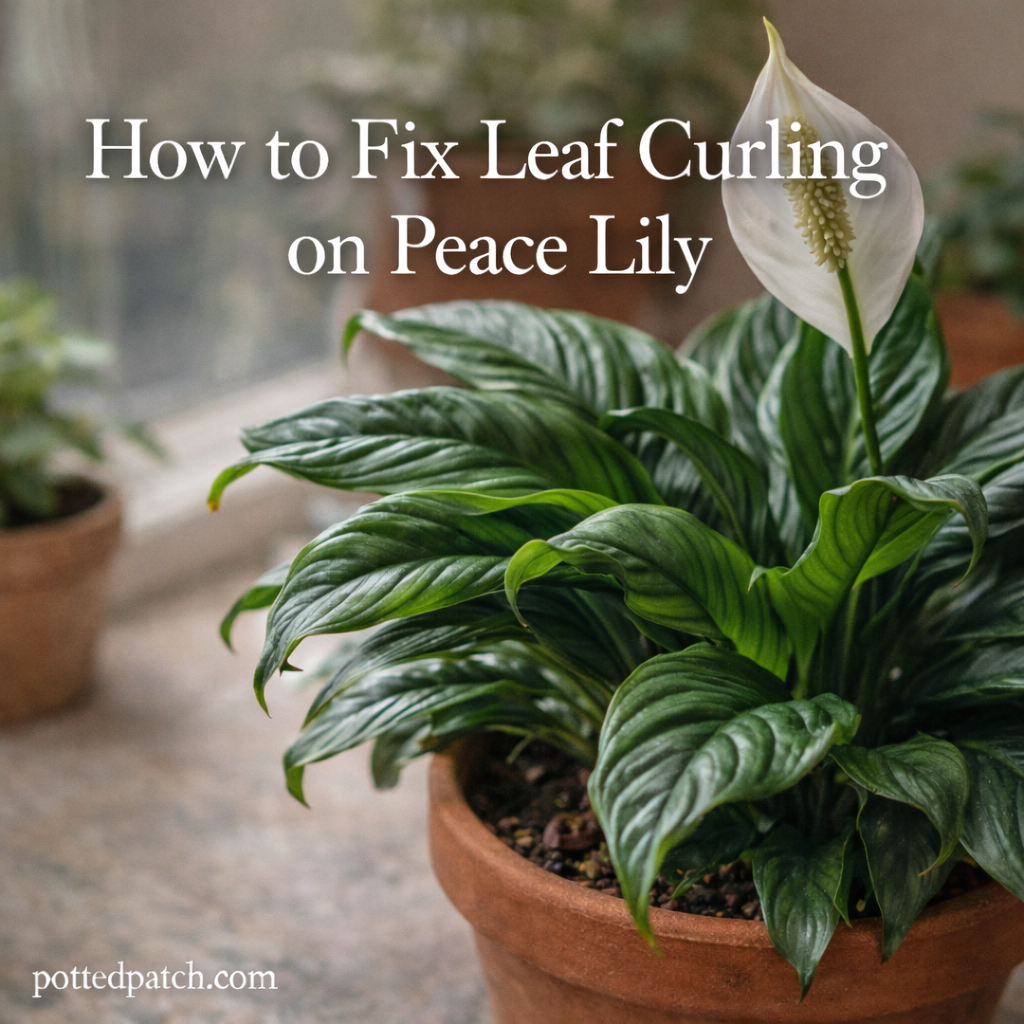
If your Peace Lily has leaves that are curling inward, folding, or twisting, it’s usually a sign of stress — not disease.
The good news? Leaf curling is almost always fixable once you identify the cause.
This guide walks you through exactly how to diagnose and fix leaf curling on a Peace Lily step by step.
Step 1: Check the Soil First
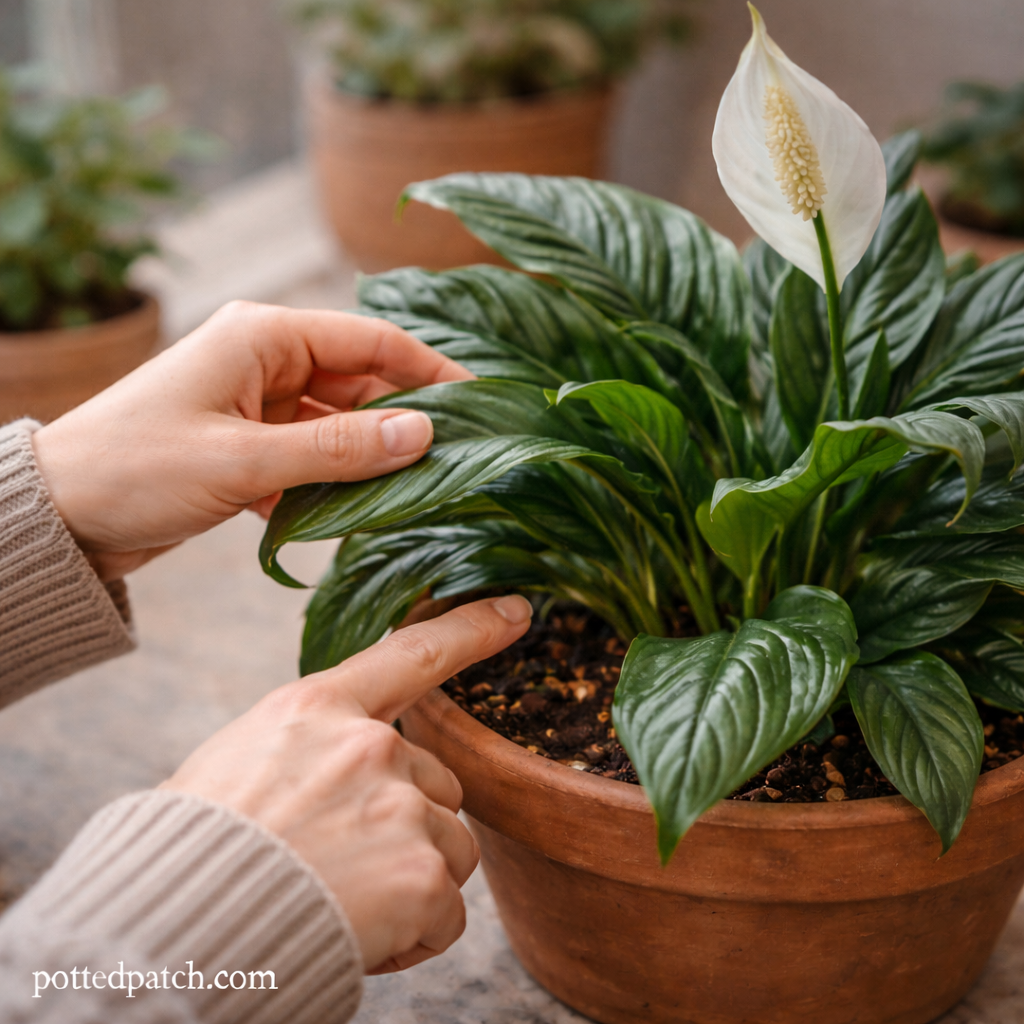
Watering issues are the most common cause of curling.
If the Soil Is Dry
Symptoms:
- Leaves curling and drooping
- Soil pulling away from pot edges
- Plant looks limp
Fix:
- Water thoroughly until water drains from the bottom.
- Empty the saucer.
- Resume consistent watering when the top 1–2 inches dry out.
Peace Lilies prefer evenly moist soil — not bone dry.
If the Soil Is Soggy
Symptoms:
- Yellowing leaves
- Soft or mushy stems
- Musty smell from soil
- Curling combined with droop
Fix:
- Let the soil dry slightly before watering again.
- Ensure the pot has drainage holes.
- If roots smell rotten or appear brown and mushy, repot into fresh, well-draining soil.
Overwatering damages roots, which prevents proper water uptake — causing curling.
Step 2: Adjust Light Exposure
Peace Lilies thrive in bright, indirect light.
Too much direct sun can cause:
- Leaf curling
- Faded foliage
- Brown edges
Fix:
- Move the plant a few feet away from harsh windows.
- Use sheer curtains to filter sunlight.
- Place near an east-facing window for gentle light.
Avoid direct afternoon sun through glass.
Step 3: Increase Humidity
Peace Lilies are tropical plants. Dry indoor air — especially in winter — often causes leaf edges to curl inward.
Signs of low humidity:
- Brown tips
- Crispy edges
- Curling without yellowing
Fix:
- Run a humidifier nearby.
- Group plants together.
- Place the pot on a pebble tray with water (without sitting directly in water).
Bathrooms and kitchens naturally provide better humidity.
Step 4: Stabilize Temperature
Sudden temperature swings can shock the plant.
Peace Lilies prefer:
- 65–80°F
- Consistent indoor conditions
Keep away from:
- Heating vents
- Air conditioners
- Drafty windows or doors
Even small cold drafts can cause curling.
Step 5: Flush Out Fertilizer Buildup
Too much fertilizer can burn roots and cause leaf curling.
Signs:
- White crust on soil surface
- Brown edges
- Curling after recent feeding
Fix:
- Flush the soil thoroughly with distilled or filtered water.
- Reduce feeding to once every 6–8 weeks during growing season.
- Avoid fertilizing in fall and winter.
Less fertilizer is safer than too much.
Step 6: Inspect for Pests
While less common, pests like spider mites or thrips can distort leaves.
Check for:
- Fine webbing
- Speckled or stippled leaves
- Sticky residue
Fix:
- Wipe leaves with damp cloth.
- Use insecticidal soap if needed.
- Isolate the plant until resolved.
Early detection prevents spreading.
Quick Troubleshooting Checklist
Use this simple guide:
Dry soil + drooping → Underwatering
Wet soil + yellowing → Overwatering
Brown tips + dry air → Low humidity
Curling after moving plant → Light stress
Recently fertilized → Fertilizer burn
Correcting the underlying cause usually shows improvement within 1–2 weeks.
Will Curled Leaves Go Back to Normal?
Sometimes.
- Mild curling from underwatering often improves quickly.
- Severe curling from root damage may not fully uncurl.
- New growth should appear healthy once the issue is fixed.
Focus on improving conditions rather than forcing damaged leaves to recover.
Preventing Leaf Curling in the Future
Follow these care basics:
- Keep soil evenly moist
- Provide bright, indirect light
- Maintain moderate humidity
- Avoid temperature extremes
- Use light fertilizer sparingly
Consistency is the key to keeping Peace Lily leaves smooth and glossy.
Final Thoughts
Leaf curling on a Peace Lily is usually a care-related issue — not a permanent problem.
Start with water, then evaluate light, humidity, and placement. Small adjustments often bring fast results.
Once you understand your plant’s signals, keeping it healthy becomes much easier.