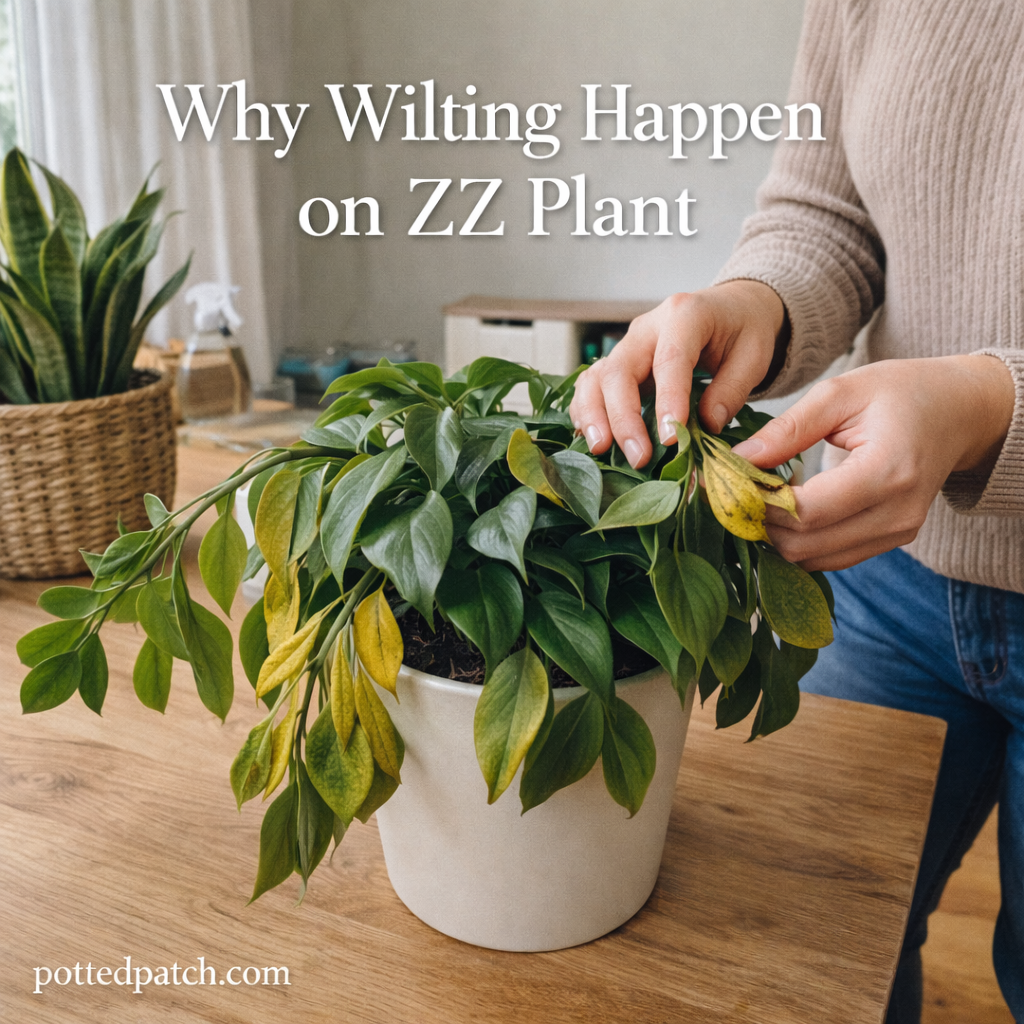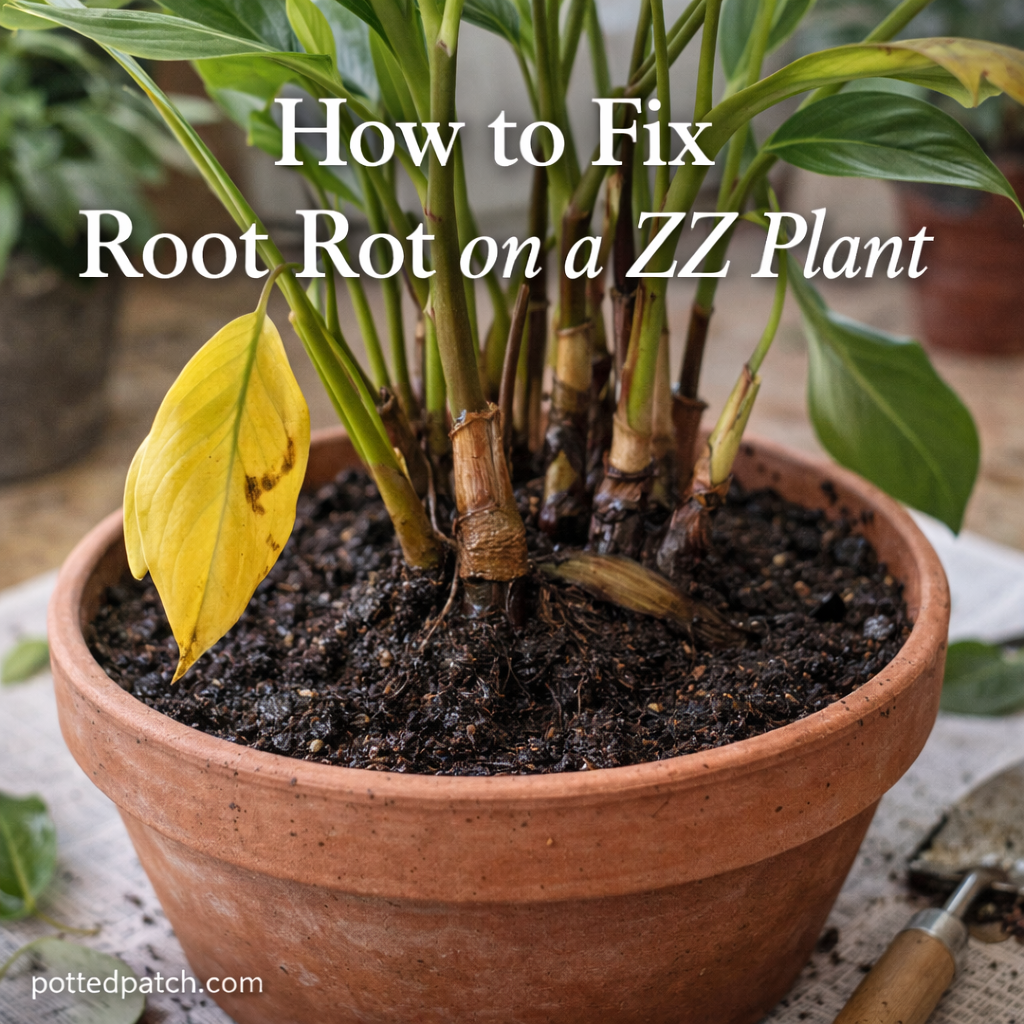
The ZZ plant (Zamioculcas zamiifolia) is known for being tough and low-maintenance. But even this resilient plant can suffer from root rot if it’s kept too wet for too long.
If your ZZ plant has yellowing leaves, soft stems, or constantly soggy soil, don’t panic. Root rot can often be fixed — especially if caught early.
Here’s exactly how to diagnose, treat, and prevent root rot on a ZZ plant.
What Causes Root Rot on a ZZ Plant?
Root rot happens when roots sit in wet soil without enough oxygen. Over time, they begin to decay.
The most common causes are:
- Overwatering
- Pots without drainage holes
- Dense, moisture-retaining soil
- Low light combined with frequent watering
- Cold indoor temperatures
Because ZZ plants store water in thick rhizomes, they are especially sensitive to excess moisture.
Step 1: Confirm It’s Root Rot
Before treating the plant, confirm the problem.
Common Signs of Root Rot
- Yellowing lower leaves
- Mushy or wrinkled stems
- Soft, squishy rhizomes
- Foul smell from the soil
- Soil that stays wet for more than 10 days
If you notice several of these at once, it’s time to inspect the roots.
Step 2: Remove the Plant From the Pot
Gently slide the plant out of its container.
If it’s stuck:
- Tilt the pot sideways
- Tap the bottom
- Gently squeeze plastic pots
Avoid pulling forcefully on stems.
Once removed, shake off loose soil to expose the roots and rhizomes.
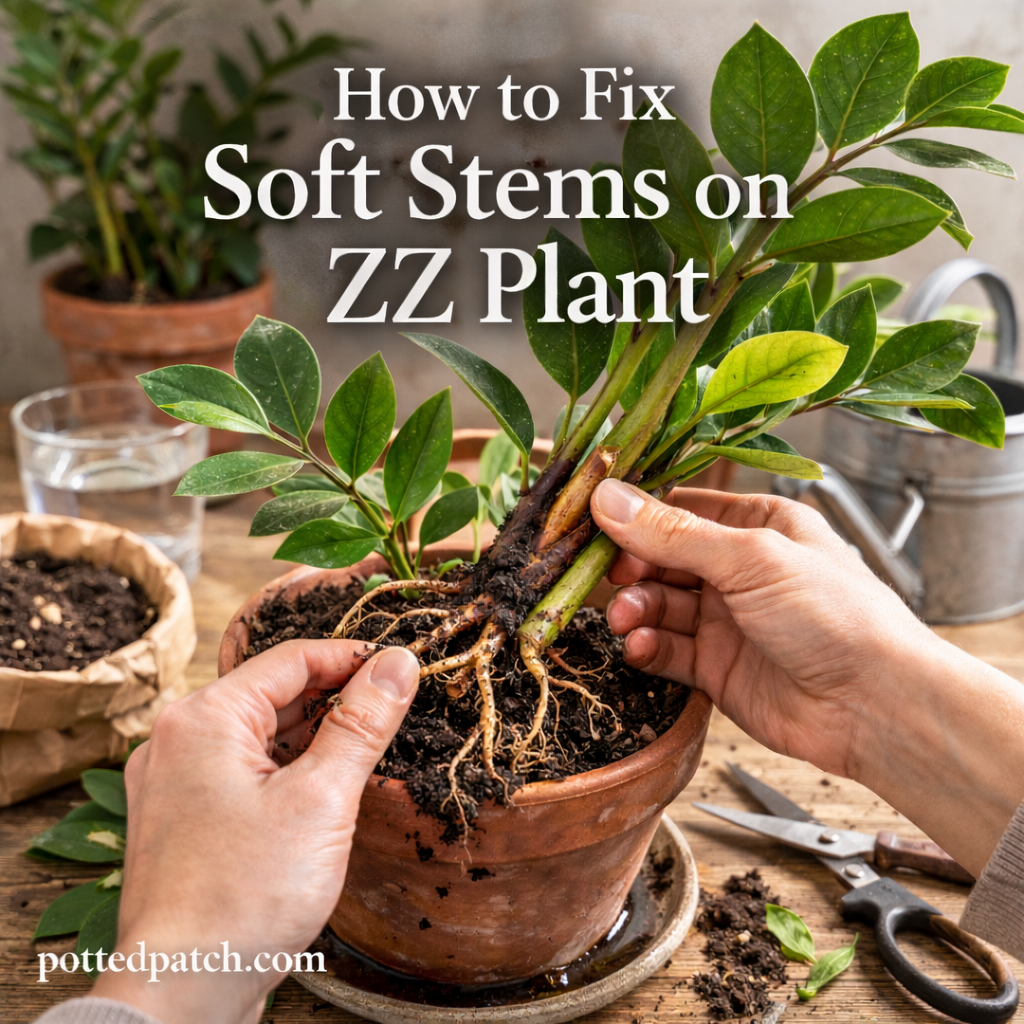
Step 3: Inspect and Trim Damaged Roots
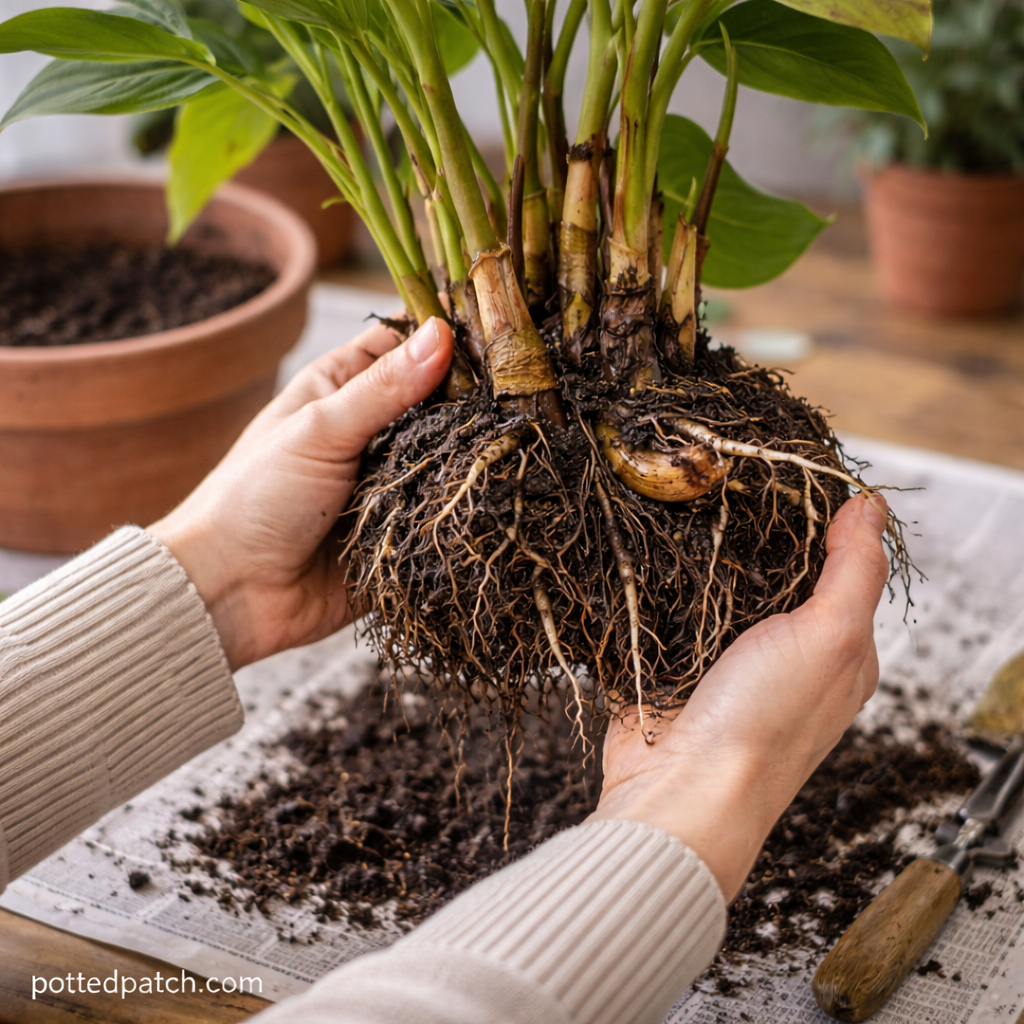
Healthy ZZ roots are:
- Firm
- White or light tan
- Odorless
Rotten roots are:
- Brown or black
- Mushy
- Slimy
- Foul-smelling
How to Trim Properly
- Use clean, sharp scissors or pruning shears.
- Remove all soft or dark roots.
- Cut back to firm, healthy tissue.
- If a rhizome is mushy, remove it entirely.
Do not leave partially rotten sections — rot spreads.
Step 4: Let the Plant Dry Out
After trimming:
- Lay the plant on a towel or newspaper.
- Allow roots and rhizomes to air-dry for several hours.
- Do not rush this step.
Drying helps prevent remaining moisture from triggering further rot.
Step 5: Repot in Fresh, Well-Draining Soil
Use a clean pot with drainage holes.
Choose a soil mix that drains quickly. A good ZZ blend includes:
- Standard potting mix
- Perlite
- Orchid bark or coarse sand
Avoid heavy, moisture-retaining soil.
Only move up in pot size if the plant was rootbound. Otherwise, keep the same size container.
Step 6: Wait Before Watering
After repotting:
- Wait 7–10 days before watering.
- Allow roots time to recover.
- Resume watering only when soil is fully dry.
ZZ plants prefer underwatering to overwatering.
What If the Rhizomes Are Severely Rotten?
If most rhizomes are soft and mushy, recovery may be difficult.
However, if even one healthy rhizome remains firm, the plant can often regrow.
Remove all damaged portions and repot the healthy section separately.
Recovery Timeline
After treatment:
- Leaves may continue yellowing temporarily.
- New growth can take 4–8 weeks.
- Avoid fertilizing until new growth appears.
Patience is important. Recovery takes time.
How to Prevent Root Rot in the Future
Once your plant recovers, prevention is key.
Follow These Guidelines
- Water only when soil is completely dry.
- Use pots with drainage holes.
- Avoid oversized containers.
- Reduce watering in winter.
- Increase light exposure if possible.
- Always empty saucers after watering.
When in doubt, wait a few extra days before watering.
Common Mistakes After Treating Root Rot
Avoid these errors:
- Watering immediately after repotting
- Fertilizing too soon
- Keeping the plant in low light
- Reusing contaminated soil
- Ignoring drainage
Consistency prevents relapse.
Final Thoughts
Fixing root rot on a ZZ plant requires quick action, clean pruning, and improved drainage.
Remember:
- ZZ plants store water in their rhizomes.
- Wet soil is their biggest enemy.
- It’s better to underwater than overwater.
With proper care adjustments, many ZZ plants can fully recover and return to healthy growth.