Rubber plants are known for their thick, glossy leaves and steady indoor growth. While they’re fairly low-maintenance, proper fertilizing can dramatically improve leaf size, color, and overall vigor.
If your rubber plant has slowed down, looks pale, or hasn’t produced new leaves in a while, it may be time to feed it.
In this guide, you’ll learn when to fertilize, what type of fertilizer to use, how often to apply it, and common mistakes to avoid.
Do Rubber Plants Need Fertilizer?
Yes — but only during active growth.
Rubber plants (Ficus elastica) benefit from supplemental nutrients during spring and summer. In fall and winter, growth slows naturally, and fertilizing during this time can do more harm than good.
Signs your rubber plant may need fertilizer:
- Slower-than-usual growth
- Smaller new leaves
- Pale or yellowing foliage
- Thin stems
- No new growth during growing season
If your plant was recently repotted in fresh soil, it may already have enough nutrients for several months.
Best Type of Fertilizer for Rubber Plants
Rubber plants prefer a balanced fertilizer.
Look for:
- A liquid houseplant fertilizer
- Balanced NPK ratio (such as 10-10-10 or 20-20-20)
- Water-soluble formula
A balanced fertilizer supports:
- Nitrogen (N) for leaf growth
- Phosphorus (P) for root development
- Potassium (K) for overall plant strength
Slow-release fertilizers can also work, but liquid fertilizer gives you more control.
How Often to Fertilize a Rubber Plant
During Spring and Summer:
- Fertilize every 4–6 weeks
- Always dilute to half strength
During Fall and Winter:
- Do not fertilize
- Resume feeding when new growth appears in spring
Over-fertilizing is far more common than under-fertilizing.
Step-by-Step: How to Fertilize a Rubber Plant
Step 1: Check the Soil Moisture
Never fertilize dry soil.
Water the plant lightly first if the soil is very dry. Fertilizing dry roots can cause root burn.
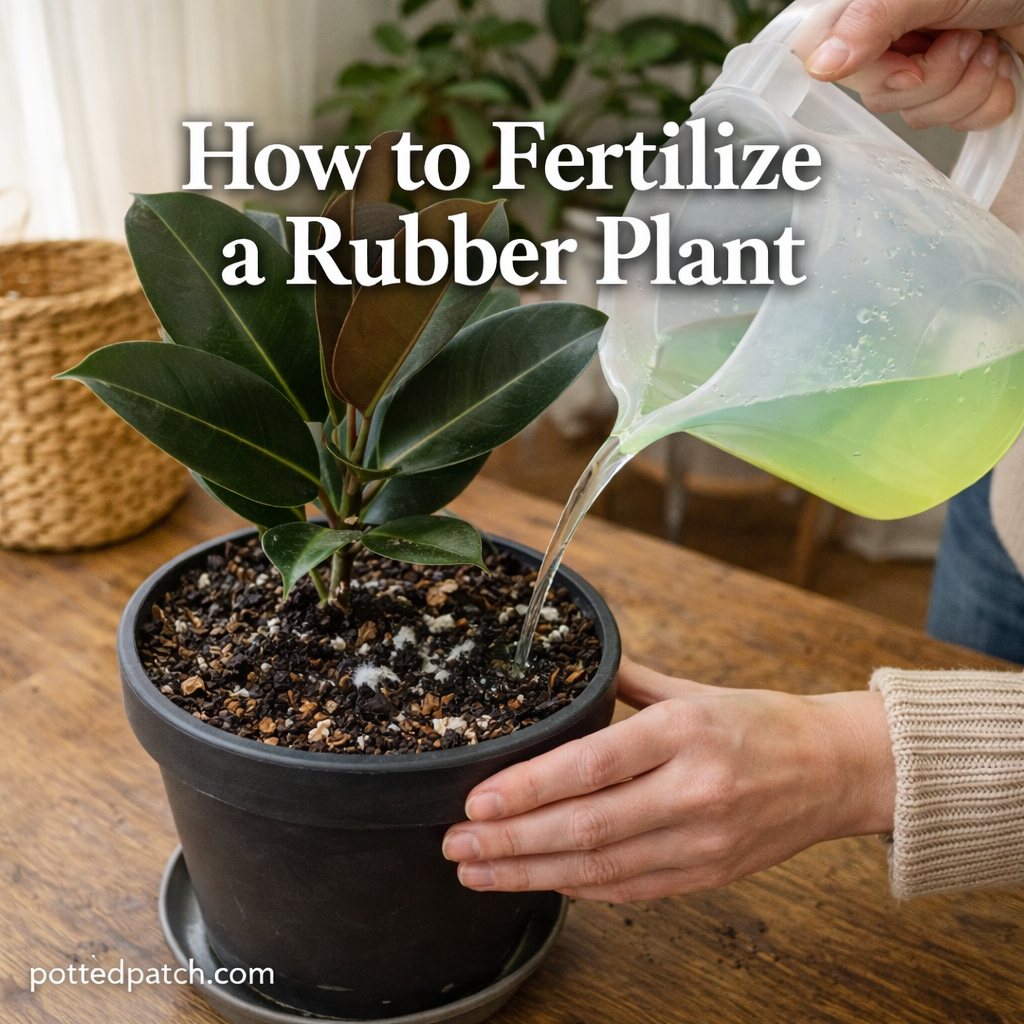
Step 2: Dilute the Fertilizer
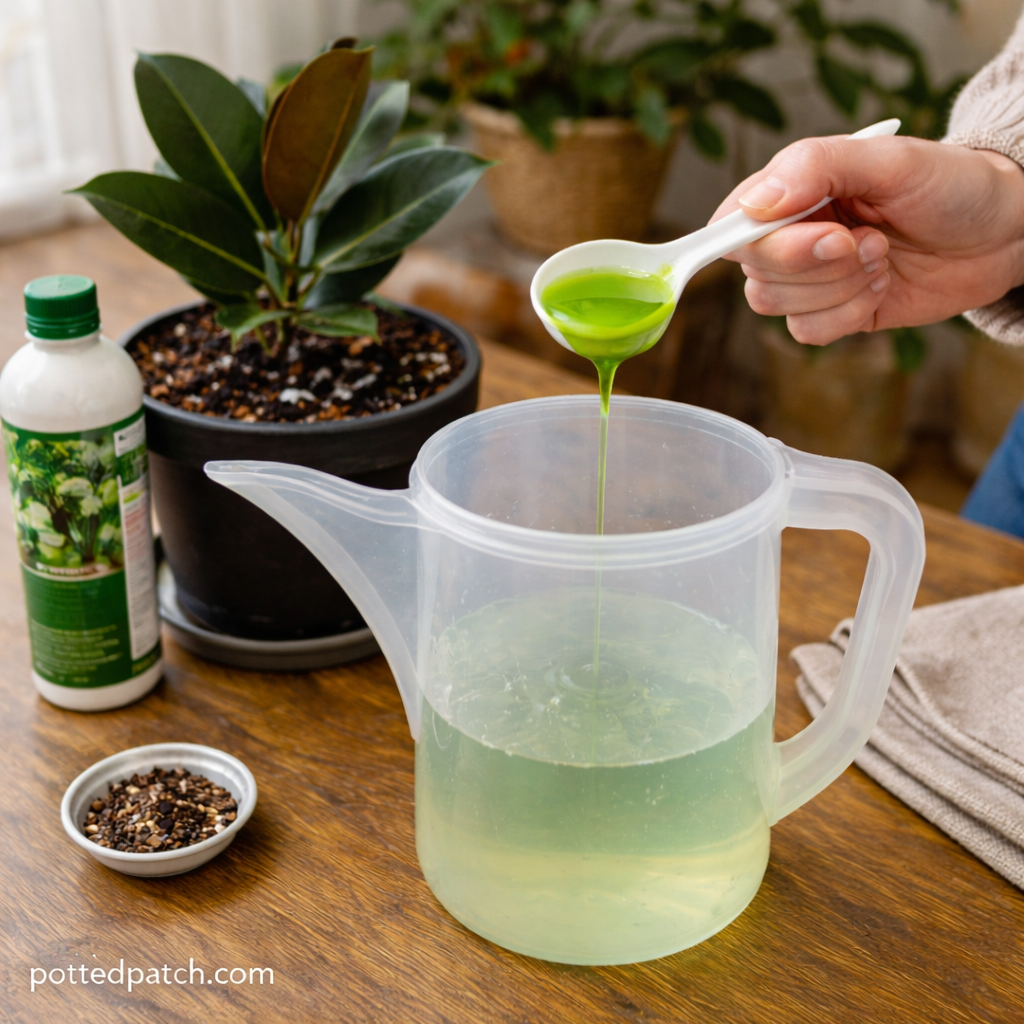
Follow package instructions, then cut the recommended strength in half.
Example:
If the label says 1 tablespoon per gallon, use ½ tablespoon per gallon.
Step 3: Apply Evenly
Pour the diluted fertilizer slowly around the soil surface, avoiding direct contact with leaves.
Let excess water drain completely.
Step 4: Empty the Saucer
Do not allow fertilizer solution to sit at the bottom of the pot.
Standing water can damage roots.
Organic Fertilizer Options
If you prefer natural feeding methods, consider:
- Worm castings (mix into top layer of soil)
- Compost tea (light monthly feeding)
- Fish emulsion (diluted, mild odor)
Organic fertilizers release nutrients more slowly and reduce the risk of overfeeding.
Signs of Over-Fertilizing
Too much fertilizer can damage your rubber plant.
Watch for:
- Brown leaf tips
- Crispy leaf edges
- White crust on soil surface
- Wilting despite moist soil
- Sudden leaf drop
If you suspect fertilizer burn:
- Flush the soil thoroughly with distilled or filtered water
- Allow excess water to drain
- Avoid fertilizing for at least 6–8 weeks
Should You Fertilize After Repotting?
No.
Fresh potting mix already contains nutrients. Wait:
- 6–8 weeks after repotting
- Or until you see new growth
Fertilizing too soon can overwhelm freshly disturbed roots.
Final Thoughts
Fertilizing a rubber plant is simple when done correctly:
- Feed during spring and summer
- Use a balanced, diluted fertilizer
- Avoid feeding in winter
- Watch for signs of overfeeding
When paired with bright indirect light and well-draining soil, proper fertilizing helps your rubber plant grow taller, stronger, and fuller over time.
A little feeding goes a long way.