Rubber plants are loved for their glossy leaves and bold presence—but they’re very sensitive to soggy soil. If water sits around the roots too long, your plant can quickly develop yellowing leaves, soft stems, or even root rot.
The good news? Improving drainage is simple once you understand what your rubber plant needs.
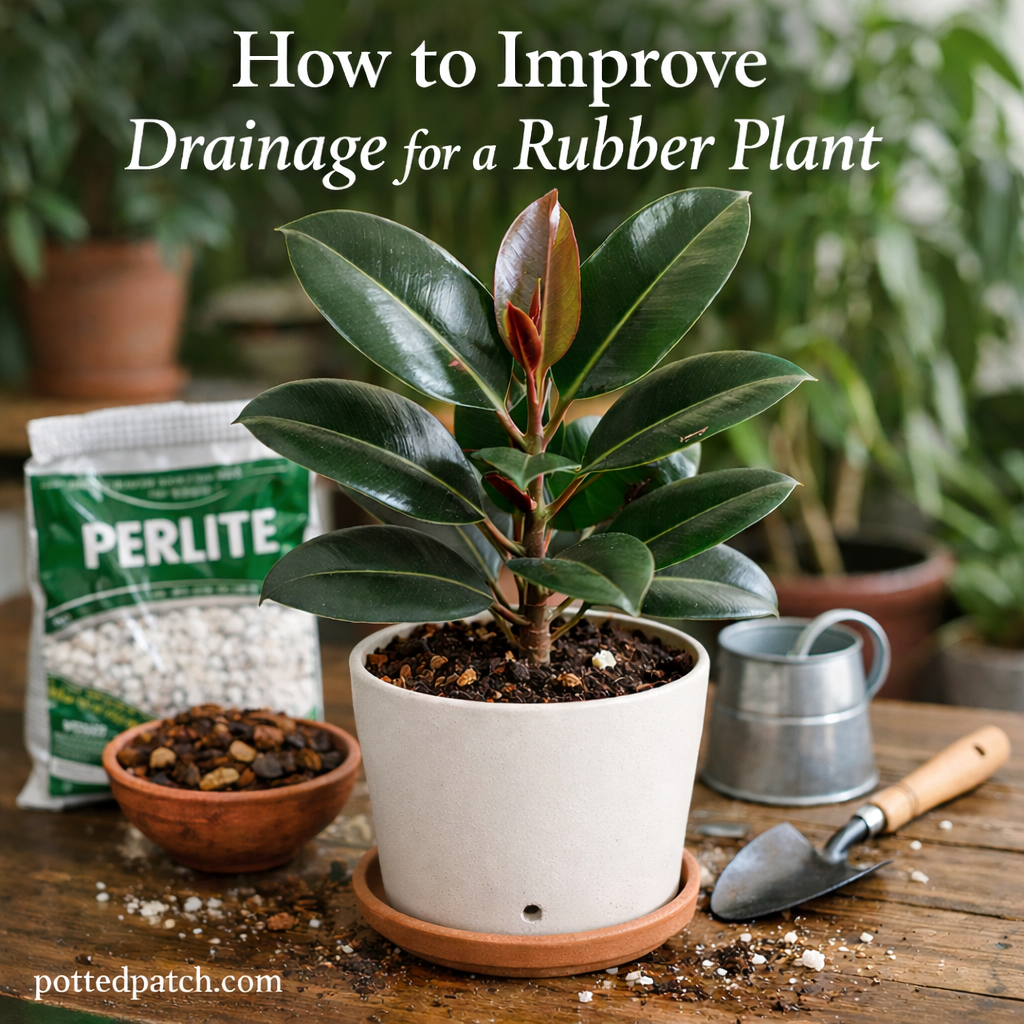
In this guide, you’ll learn how to improve drainage for a rubber plant using the right soil mix, container choices, and watering habits.
Why Drainage Is So Important for Rubber Plants
The rubber plant (Ficus elastica) naturally grows in well-draining, airy tropical soils. In its native habitat, excess rainwater drains away quickly.
When planted in dense or compacted soil indoors, water can become trapped. This leads to:
- Root rot
- Yellowing lower leaves
- Drooping or mushy stems
- Fungus gnats
- Slow growth
Good drainage allows oxygen to reach the roots while preventing water from pooling at the bottom of the pot.
Signs Your Rubber Plant Has Poor Drainage
Before making changes, check for these common symptoms:
1. Soil Stays Wet for Over a Week
If the top 2 inches remain damp long after watering, drainage is likely insufficient.
2. Water Sits on the Surface
If water pools before soaking in, the soil may be compacted.
3. Roots Smell Sour
A foul odor when repotting often indicates root rot from excess moisture.
4. Leaves Turn Yellow or Brown
Especially lower leaves—this is often the first warning sign.
If you notice any of these, it’s time to improve your setup.
Step 1: Choose a Pot with Proper Drainage Holes
This is the most important fix.
Always use a container with at least one large drainage hole at the bottom. Multiple holes are even better.
Avoid:
- Decorative pots without holes
- Glass containers
- Sealed ceramic planters
If you love decorative pots, use them as cachepots. Place your rubber plant in a plastic nursery pot inside, then remove it to water and fully drain before returning it.
Step 2: Upgrade to a Well-Draining Soil Mix
Standard potting soil alone is usually too dense for rubber plants.
Instead, use a chunky, airy mix.
Ideal Rubber Plant Soil Blend
You can buy a well-draining houseplant mix or create your own:
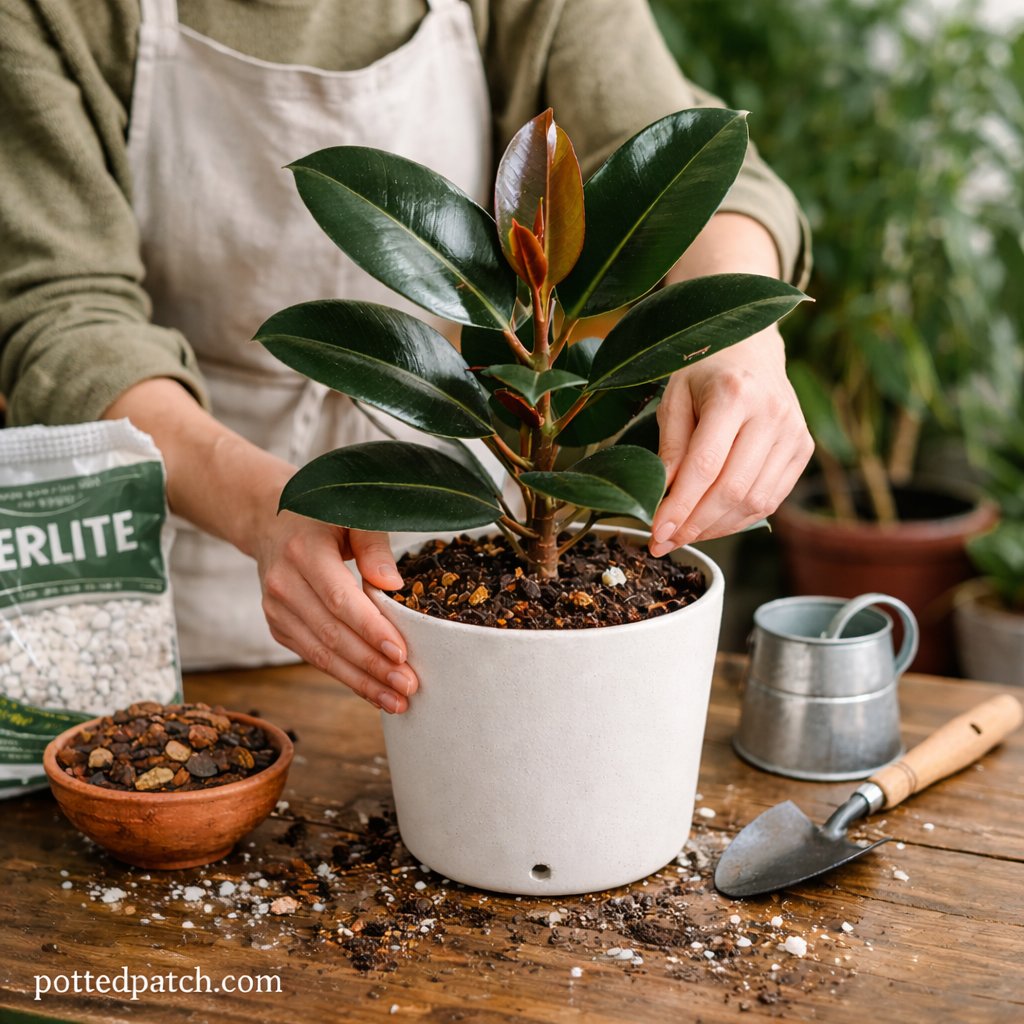
- 2 parts quality potting soil
- 1 part perlite
- 1 part orchid bark
Optional additions:
- A small amount of horticultural charcoal
- Coco coir for structure
This combination improves airflow while allowing excess water to escape.
Step 3: Avoid the “Gravel at the Bottom” Myth
Many people believe adding rocks or gravel at the bottom improves drainage.
It doesn’t.
In fact, it can:
- Trap water higher in the soil
- Raise the perched water table
- Increase root rot risk
Drainage depends on soil structure—not bottom layering.
Skip the gravel and focus on improving the soil mix instead.
Step 4: Repot If Necessary
If your rubber plant is currently in heavy, compacted soil, repotting may be the best solution.
When to Repot
- Soil feels dense and muddy
- Drainage holes are clogged
- Roots are circling tightly
- The plant hasn’t been repotted in 2+ years
How to Repot for Better Drainage
- Remove the plant gently from its pot.
- Loosen compacted soil around the roots.
- Trim any black or mushy roots.
- Place into a slightly larger pot with drainage holes.
- Fill with fresh, well-draining mix.
Water lightly and allow excess water to fully drain.
Step 5: Adjust Your Watering Technique
Even the best soil won’t help if watering habits are off.
Proper Watering Method
- Wait until the top 2–3 inches of soil are dry
- Water thoroughly until water drains from the bottom
- Empty the saucer immediately
Never let your rubber plant sit in standing water.
In winter, reduce watering frequency since growth slows.
Step 6: Improve Airflow and Light
Environmental factors affect drying time.
To help soil dry properly:
- Place near bright, indirect light
- Avoid dark corners
- Ensure good air circulation
- Keep away from cold drafts
More light and airflow naturally improve drainage performance.
Quick Drainage Checklist
Use this to assess your setup:
- Pot has drainage holes
- Soil includes perlite or bark
- No gravel layer at bottom
- Water drains freely within seconds
- Saucer emptied after watering
- Soil dries within 5–10 days
If you can check all of these, your drainage is likely ideal.
Final Thoughts
Improving drainage for a rubber plant isn’t complicated—it’s about mimicking the fast-draining tropical soil it evolved in.
Focus on:
- The right container
- A chunky soil mix
- Smart watering habits
Once drainage improves, you’ll likely see stronger growth, healthier leaves, and fewer issues with yellowing or root rot.
A well-drained rubber plant is a happy rubber plant.