Spider plants are known for being resilient and fast-growing. But because they grow quickly—especially in the right conditions—they can outgrow their containers sooner than you expect.
If your spider plant looks crowded, dries out too quickly, or has roots pushing out of the pot, it may be time to repot.
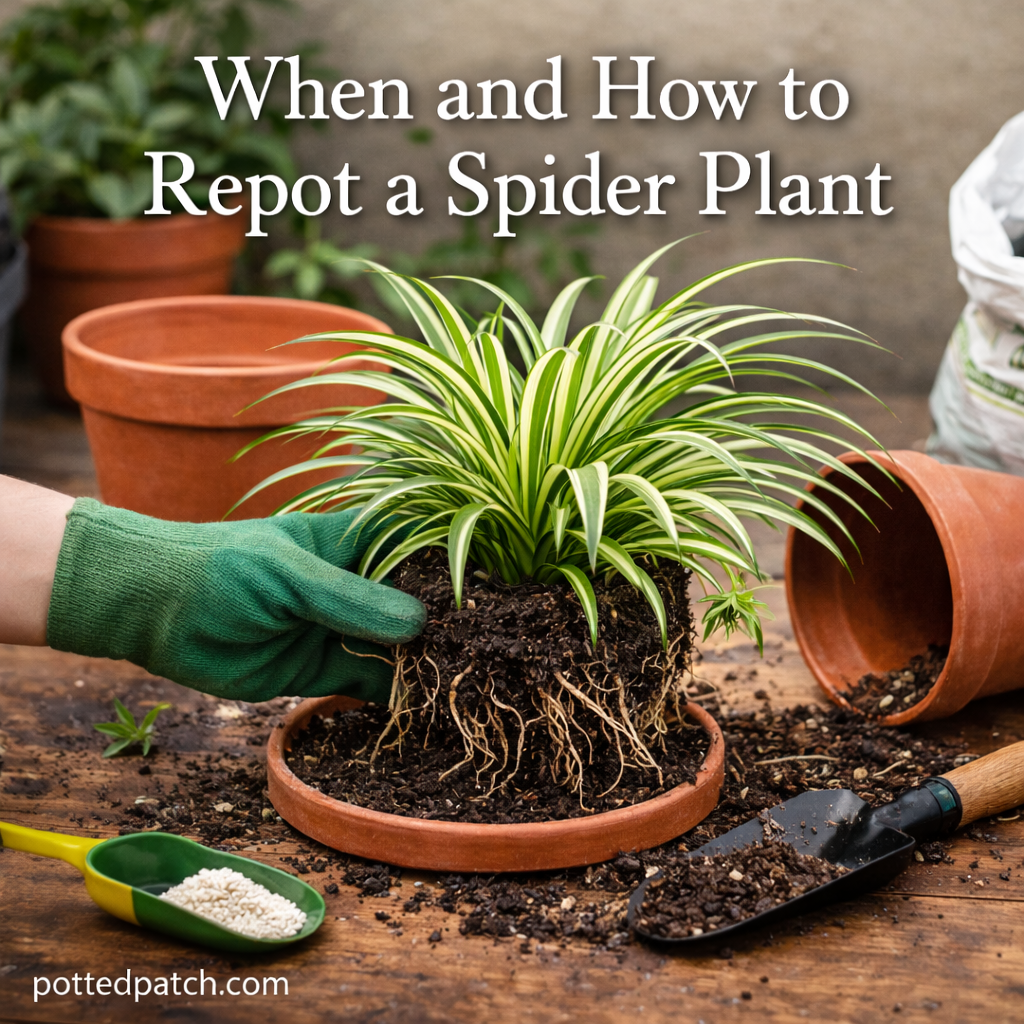
This guide explains exactly when and how to repot a spider plant safely so it continues thriving.
Why Spider Plants Need Repotting
Spider plants (Chlorophytum comosum) develop thick, tuberous roots that store water. Over time, these roots expand and fill the container.
When a plant becomes root-bound, it can:
- Stop growing
- Dry out very quickly
- Produce fewer baby plantlets
- Show yellowing or stressed leaves
- Crack or warp thin plastic pots
Repotting gives the roots space to expand and access fresh nutrients.
When to Repot a Spider Plant
Most spider plants need repotting every 1–2 years.
Best Time of Year
Repot during:
- Early spring
- Late spring
- Early summer
This is when the plant is actively growing and can recover quickly.
Avoid repotting in winter unless absolutely necessary, as growth slows during dormancy.
Signs Your Spider Plant Is Root-Bound
Look for these indicators:
- Roots growing out of drainage holes
- Soil pulling away from the edges of the pot
- Water running straight through the pot
- The plant tipping over easily
- Thick roots circling the surface
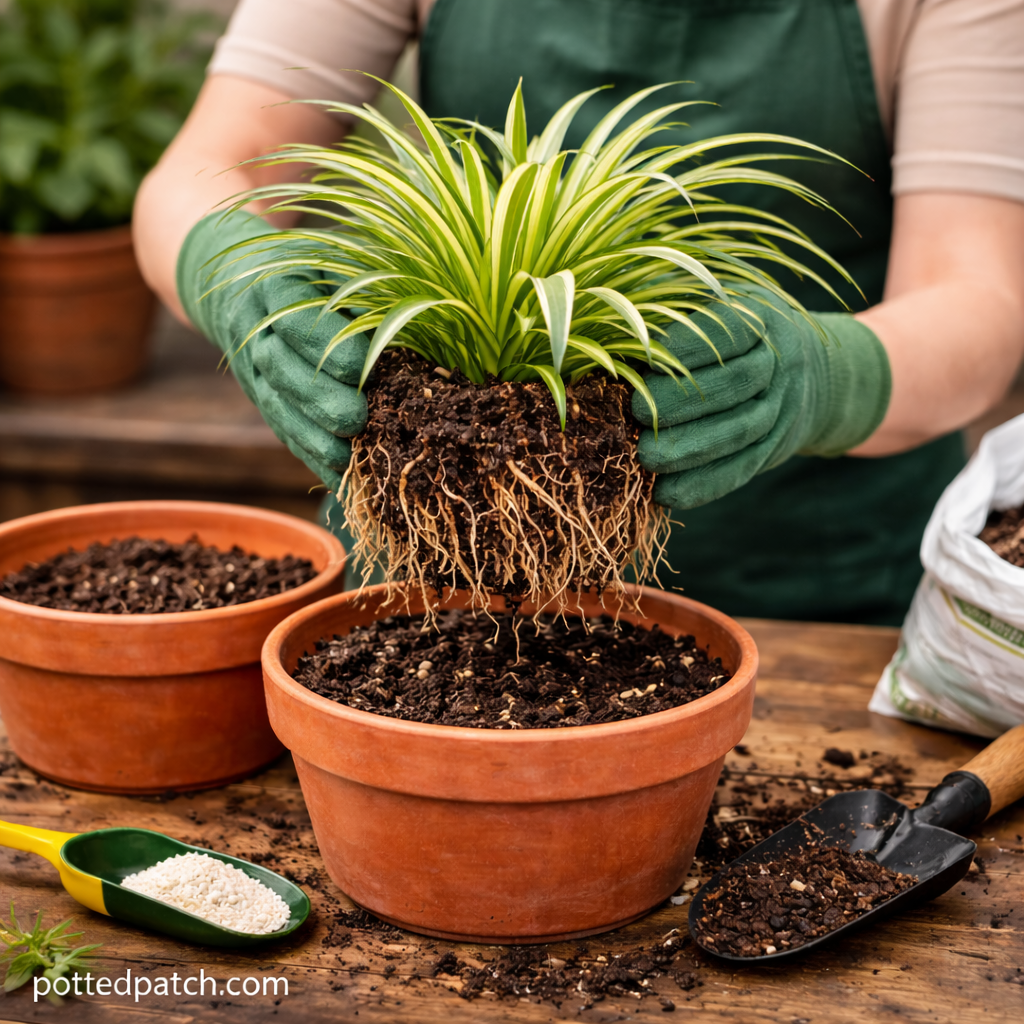
If you gently remove the plant and see tightly packed roots with very little soil visible, it’s time.
Choosing the Right Pot
Spider plants prefer being slightly snug, but not cramped.
When selecting a new container:
- Choose a pot 1–2 inches wider than the current one
- Ensure proper drainage holes
- Use breathable materials like terracotta if possible
Avoid jumping to a pot that is too large. Oversized pots hold excess moisture and increase the risk of root rot.
Best Soil for Repotting
Spider plants thrive in well-draining potting mix.
A good blend includes:
- Standard houseplant potting soil
- Perlite or pumice for aeration
- A small amount of compost (optional)
The goal is moisture retention without soggy soil.
Step-by-Step: How to Repot a Spider Plant
Follow these simple steps for a smooth transition.
Step 1: Water the Plant First
Water your spider plant a day before repotting.
Moist soil reduces transplant shock and makes removal easier.
Step 2: Remove the Plant Gently
Hold the base of the plant and tilt the pot sideways.
Tap the bottom to loosen the root ball. Avoid pulling hard on leaves.
Step 3: Loosen the Roots
If roots are tightly bound:
- Gently tease them apart with your fingers
- Trim extremely long or damaged roots with clean scissors
Do not aggressively cut unless necessary.
Step 4: Add Fresh Soil
Place a layer of fresh potting mix at the bottom of the new pot.
Position the plant so the top of the root ball sits about 1 inch below the rim.
Fill in around the sides with soil and lightly press to secure.
Step 5: Water Thoroughly
After repotting:
- Water until excess drains out
- Discard runoff
- Place the plant in bright, indirect light
Avoid fertilizing for 4–6 weeks. Fresh soil already contains nutrients.
What to Expect After Repotting
It’s normal for spider plants to show mild stress after repotting.
You may notice:
- Slight drooping for a few days
- Temporary slowed growth
Keep lighting consistent and avoid overwatering. Most plants bounce back quickly during the growing season.
Can You Divide a Spider Plant While Repotting?
Yes.
Spider plants are easy to divide if they’ve grown large.
To divide:
- Separate natural clumps at the root base.
- Ensure each division has healthy roots attached.
- Pot each section individually.
Division is a great way to manage size and create new plants.
How Often Should You Repot Mature Spider Plants?
Once fully grown, spider plants can remain in the same pot for up to 2 years, especially if:
- Growth has slowed
- The plant is no longer producing excessive babies
- Roots are not pushing outward
Regularly check root growth instead of following a strict schedule.
Common Repotting Mistakes
Avoid these common issues:
- Moving to a pot that’s too large
- Using heavy, poorly draining soil
- Repotting during winter dormancy
- Fertilizing immediately after repotting
- Overwatering in the first week
Spider plants are forgiving—but balance is key.
Final Thoughts
Repotting a spider plant is simple when done at the right time and with the right pot size. Most plants only need repotting every 1–2 years, and the process takes just a few careful steps.
Give your spider plant fresh soil, proper drainage, and bright indirect light—and it will reward you with healthy growth and plenty of cascading plantlets.