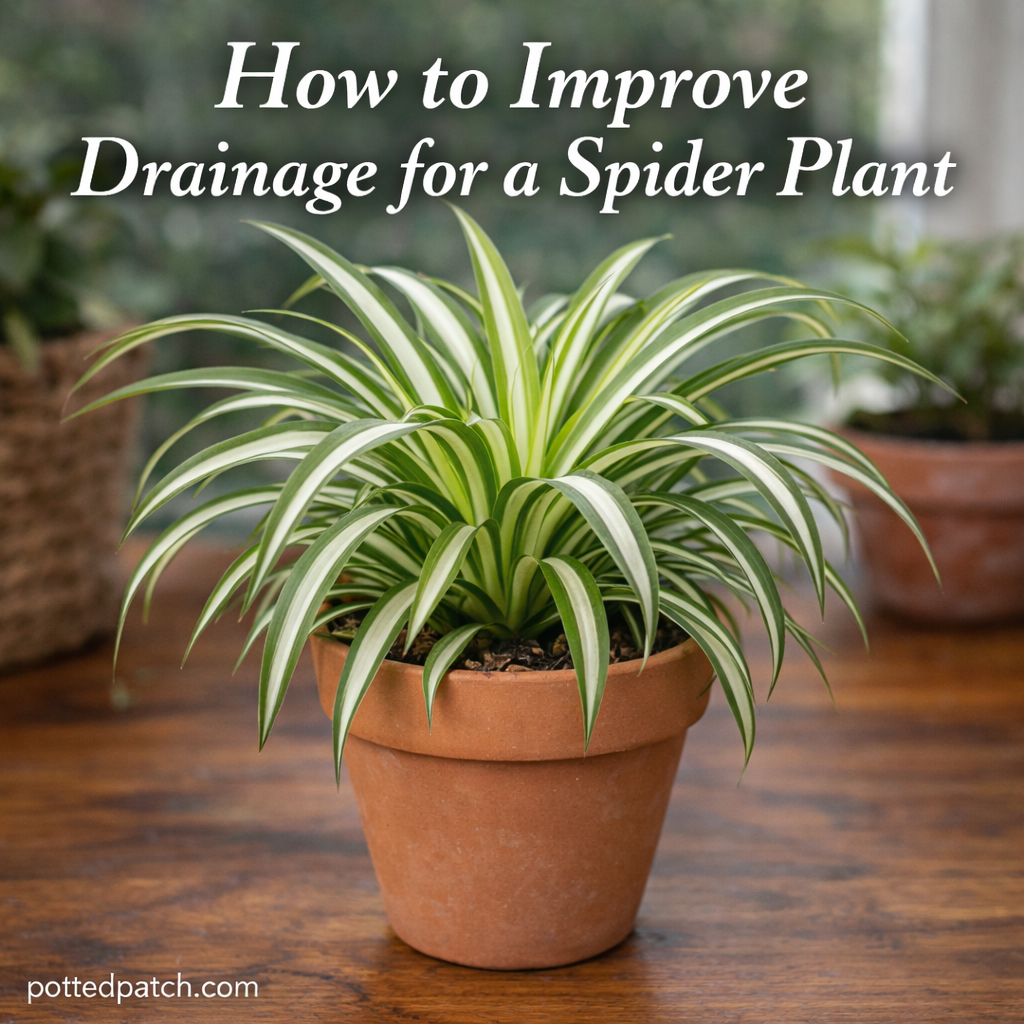
Spider plants are resilient, beginner-friendly houseplants. But even hardy plants struggle when their roots sit in water too long.
If your spider plant has yellowing leaves, brown tips, or drooping growth, poor drainage may be the culprit.
The good news? Improving drainage is simple and can dramatically boost your plant’s health.
Why Drainage Matters for Spider Plants
Spider plants dislike soggy soil. When excess water can’t escape:
- Roots become oxygen-starved
- Root rot can develop
- Leaves may turn yellow or limp
- Growth slows down
Healthy roots need both moisture and air. Proper drainage creates that balance.
Signs Your Spider Plant Has Poor Drainage
Before making changes, confirm the issue.
Common warning signs include:
- Water pooling on top of soil
- Soil staying wet for more than 5–7 days
- Mushy or foul-smelling roots
- Yellow leaves near the base
- Fungus gnats around the pot
If you notice multiple symptoms, it’s time to improve drainage.
Step 1: Make Sure the Pot Has Drainage Holes
This is the most important factor.
Why It Matters
Drainage holes allow excess water to escape. Without them, water collects at the bottom and suffocates roots.
What to Do
- Check the bottom of your pot.
- If there are no holes, repot into one that has at least one drainage hole.
- Avoid permanently sealing decorative pots.
If you love a decorative container without holes, use it as a cover pot. Keep your spider plant in a plastic nursery pot inside it.
Step 2: Upgrade Your Soil Mix
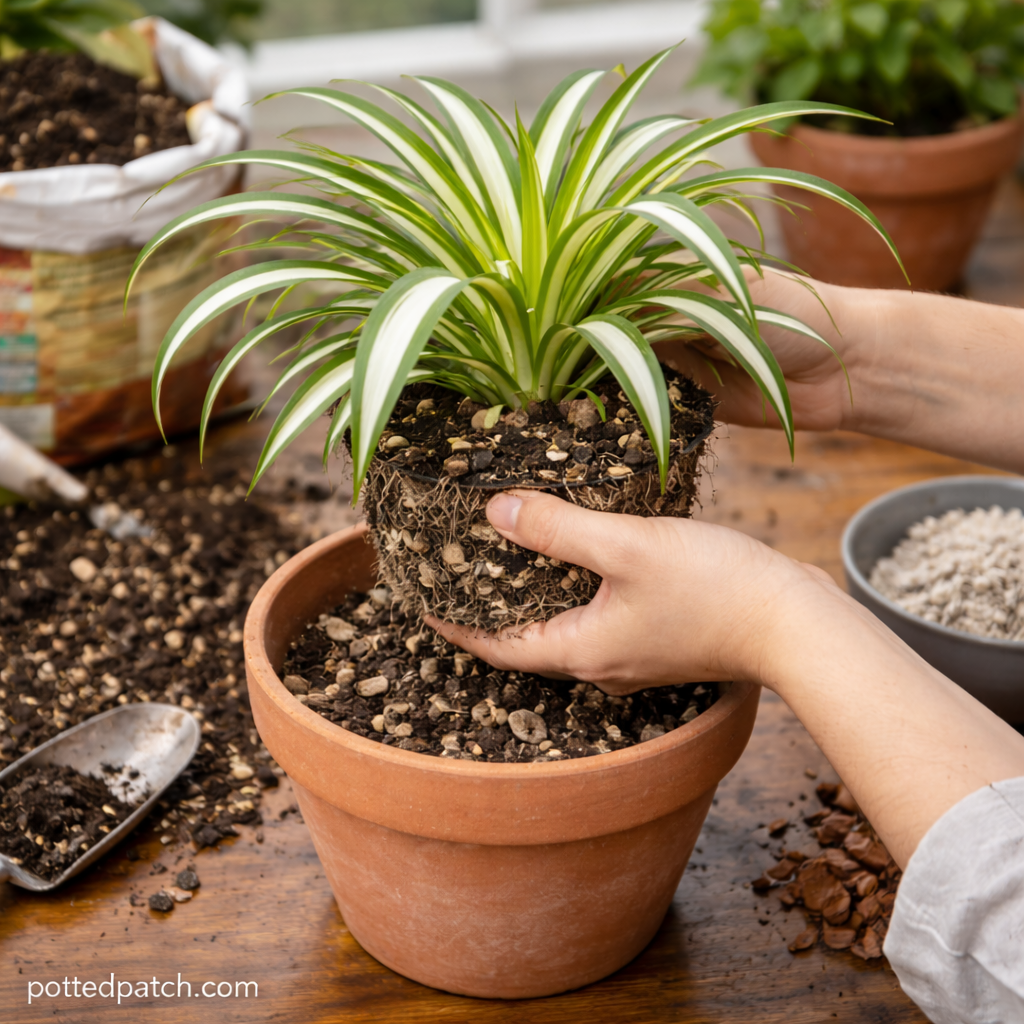
Heavy soil traps moisture. Spider plants prefer light, airy soil.
Improve Your Mix With:
- Perlite
- Pumice
- Orchid bark
- Coarse sand
A simple drainage-friendly mix:
- 2 parts regular potting soil
- 1 part perlite
- 1 part orchid bark
This creates air pockets that help water drain quickly.
Step 3: Avoid the “Gravel Layer” Myth
Adding rocks at the bottom of a pot does not improve drainage.
Instead, it raises the water table inside the container and can actually keep roots wetter.
Better solution: Use a well-draining soil mix and a pot with holes.
Step 4: Choose the Right Pot Material
Pot material affects moisture retention.
Terracotta Pots
- Porous and breathable
- Help soil dry faster
- Great for overwaterers
Plastic or Glazed Ceramic Pots
- Hold moisture longer
- Better for dry homes
- Require careful watering
If your spider plant stays wet too long, switching to terracotta can make a noticeable difference.
Step 5: Adjust Your Watering Routine
Even perfect drainage can’t fix constant overwatering.
Follow these simple guidelines:
- Let the top 2 inches of soil dry before watering.
- Water thoroughly until excess drains out.
- Empty the saucer after 10–15 minutes.
- Reduce watering in winter.
Consistency matters more than a strict schedule.
Step 6: Repot if Rootbound or Compacted
If soil feels dense or roots are tightly packed, drainage may be restricted.
Signs It’s Time to Repot
- Roots circling the pot
- Water runs straight through without soaking in
- Soil shrinks away from the edges
When repotting:
- Choose a pot only 1–2 inches larger.
- Gently loosen compacted roots.
- Replace old, dense soil with a fresh airy mix.
Bonus Tip: Improve Air Circulation
Good airflow helps soil dry evenly.
Place your spider plant:
- Near bright, indirect light
- Away from cold drafts
- In a room with moderate airflow
Avoid dark corners where moisture lingers.
Preventing Future Drainage Problems
Keep your spider plant thriving with these habits:
- Always use pots with drainage holes
- Refresh soil every 1–2 years
- Use lightweight soil mixes
- Water based on soil dryness, not a calendar
Drainage issues are one of the easiest plant problems to fix — and one of the most impactful.
Final Thoughts
Improving drainage for a spider plant isn’t complicated. Most problems come down to the right pot, the right soil, and mindful watering.
Make a few simple adjustments, and your spider plant will reward you with vibrant green leaves and steady growth.
Healthy roots mean a healthy plant.