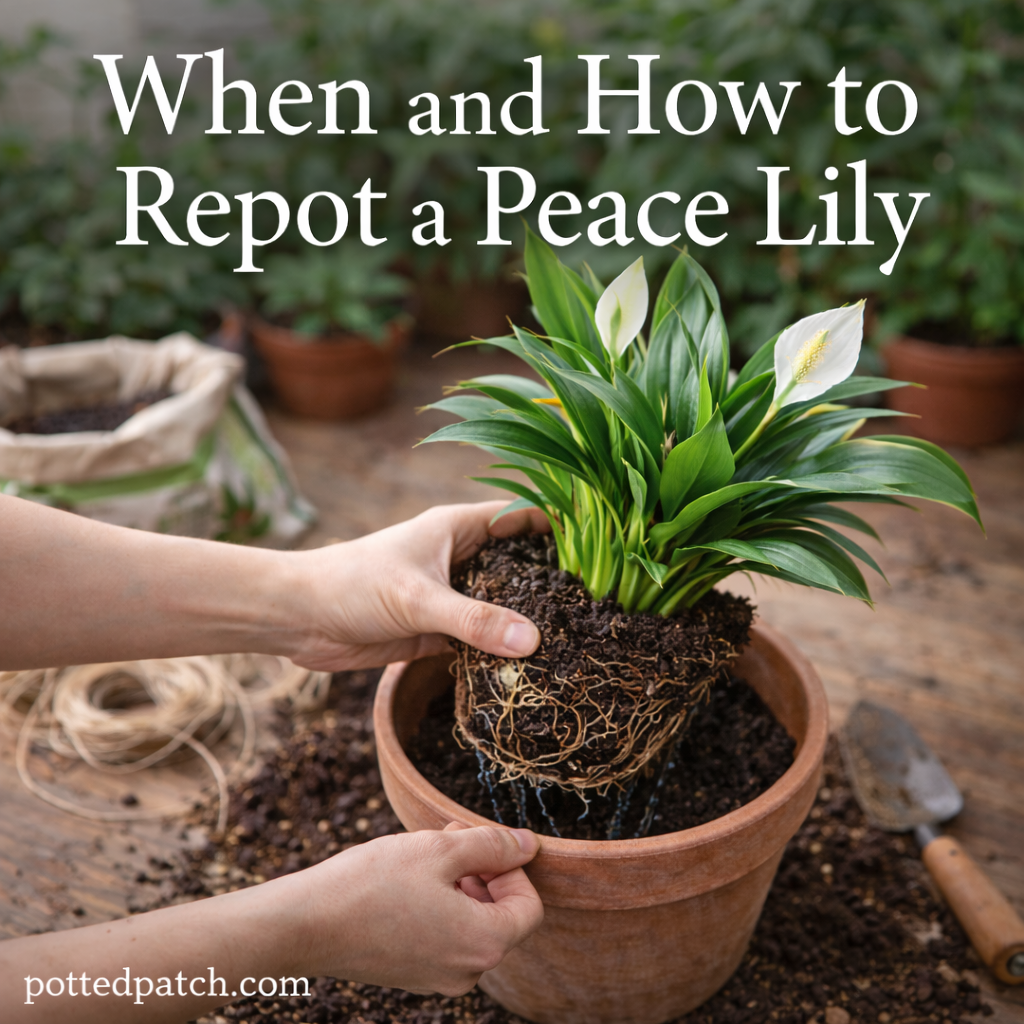
Peace lilies are resilient indoor plants, but even they outgrow their containers over time. Repotting at the right moment keeps roots healthy, prevents stress, and encourages strong foliage and blooming.
If your peace lily looks crowded, dries out too quickly, or has roots pushing through the drainage holes, it may be time for a new pot.
Here’s how to know when to repot — and exactly how to do it properly.
When to Repot a Peace Lily
Peace lilies typically need repotting every 12–24 months, depending on growth rate.
Clear Signs It’s Time
- Roots growing out of drainage holes
- Soil drying out unusually fast
- Water running straight through the pot
- Slowed growth
- Leaves drooping more frequently
- Visible roots at the soil surface
Mild root binding is normal. Severe crowding is not.
Best Time of Year to Repot
The ideal time to repot is early spring.
Why spring?
- The plant is entering active growth
- Roots recover faster
- Less transplant shock
- Encourages new leaf production
Avoid repotting during winter unless the plant is severely root bound or experiencing rot.
Choosing the Right Pot
When selecting a new container:
- Increase diameter by 1–2 inches only
- Always choose a pot with drainage holes
- Avoid oversized pots
A pot that’s too large holds excess moisture, increasing the risk of root rot.
Terracotta promotes airflow, while plastic retains moisture longer. Choose based on your watering habits.
Best Soil for Repotting
Use a light, well-draining indoor potting mix.
A good blend includes:
- High-quality houseplant soil
- Perlite or pumice for drainage
- Optional orchid bark for airflow
Avoid heavy garden soil or dense moisture-control mixes.
Step-by-Step: How to Repot a Peace Lily
1. Water the Plant the Day Before
Lightly moist soil helps reduce root stress and makes removal easier.
2. Remove the Plant from Its Pot
Gently tilt the pot and support the base of the plant. Tap the sides if necessary.
If roots are tightly packed, squeeze plastic pots or run a knife along the edge.
3. Inspect and Loosen the Roots
Examine the root system.
Healthy roots are firm and light-colored.
- Trim black or mushy roots
- Gently loosen circling roots
- Shake off compacted soil
Loosening encourages outward growth into fresh soil.
4. Add Fresh Soil to the New Pot
Place a layer of soil at the bottom.
Position the plant so the root ball sits at the same height as before.
Do not bury the crown deeper than it was originally.
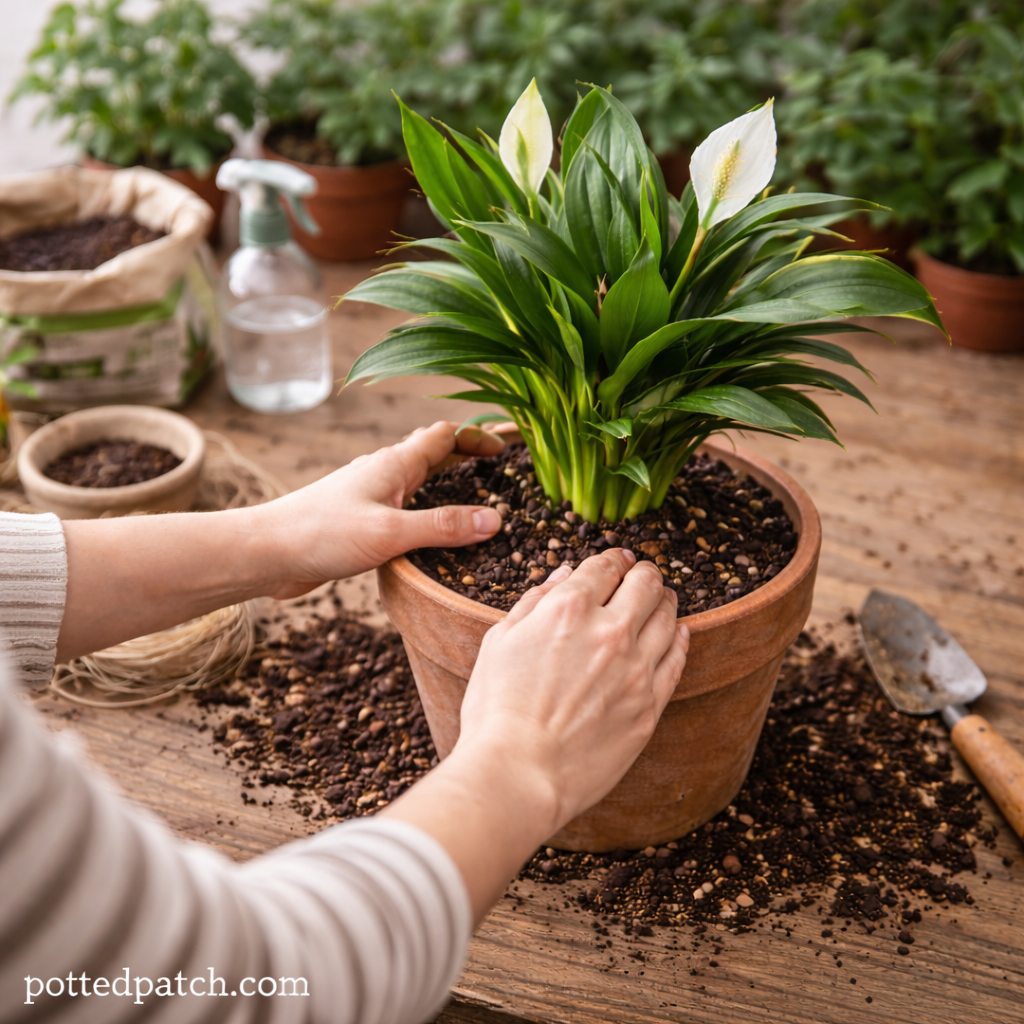
5. Fill Around the Roots
Add soil around the sides, pressing gently to remove large air pockets.
Do not compact too firmly — roots need airflow.
6. Water Thoroughly
Water until it drains from the bottom.
This helps settle soil around the roots.
Place the plant in bright, indirect light afterward.
Aftercare Following Repotting
For the next few weeks:
- Avoid fertilizing for 6–8 weeks
- Keep soil lightly moist
- Avoid direct sunlight
- Monitor for temporary drooping
Some minor leaf droop is normal for a few days after repotting.
Can You Divide a Peace Lily While Repotting?
Yes — and it’s often the best time.
To divide:
- Separate natural root clumps.
- Ensure each division has healthy roots and several leaves.
- Repot each section individually.
Division prevents overcrowding and gives you additional plants.
Common Repotting Mistakes
- Moving to a pot too large
- Using heavy, compact soil
- Skipping drainage holes
- Repotting during winter dormancy
- Fertilizing immediately after transplant
Gentle handling makes all the difference.
How Long Does It Take to Recover?
Most peace lilies adjust within 1–3 weeks.
New leaf growth within a month is a sign of successful repotting.
If severe wilting continues beyond a few weeks, check drainage and root health again.
Final Thoughts
Repotting a peace lily at the right time prevents root bound stress and supports healthy growth.
Choose a slightly larger pot, use airy soil, loosen roots carefully, and allow time for recovery. With proper technique, your peace lily will thrive for years to come.